


1. Why king and pawn endgames matter
King-and-pawn endgames are the purest form of chess endgames: a small change in tempo, square control, or pawn placement often decides the whole game. Mastering these fundamentals makes you a stronger player across all phases because many middlegame plans flow naturally into endgame advantages. The most common practical decisions in practical play—trading into an endgame, advancing a passed pawn, or centralizing a king—depend on understanding a few repeatable ideas.
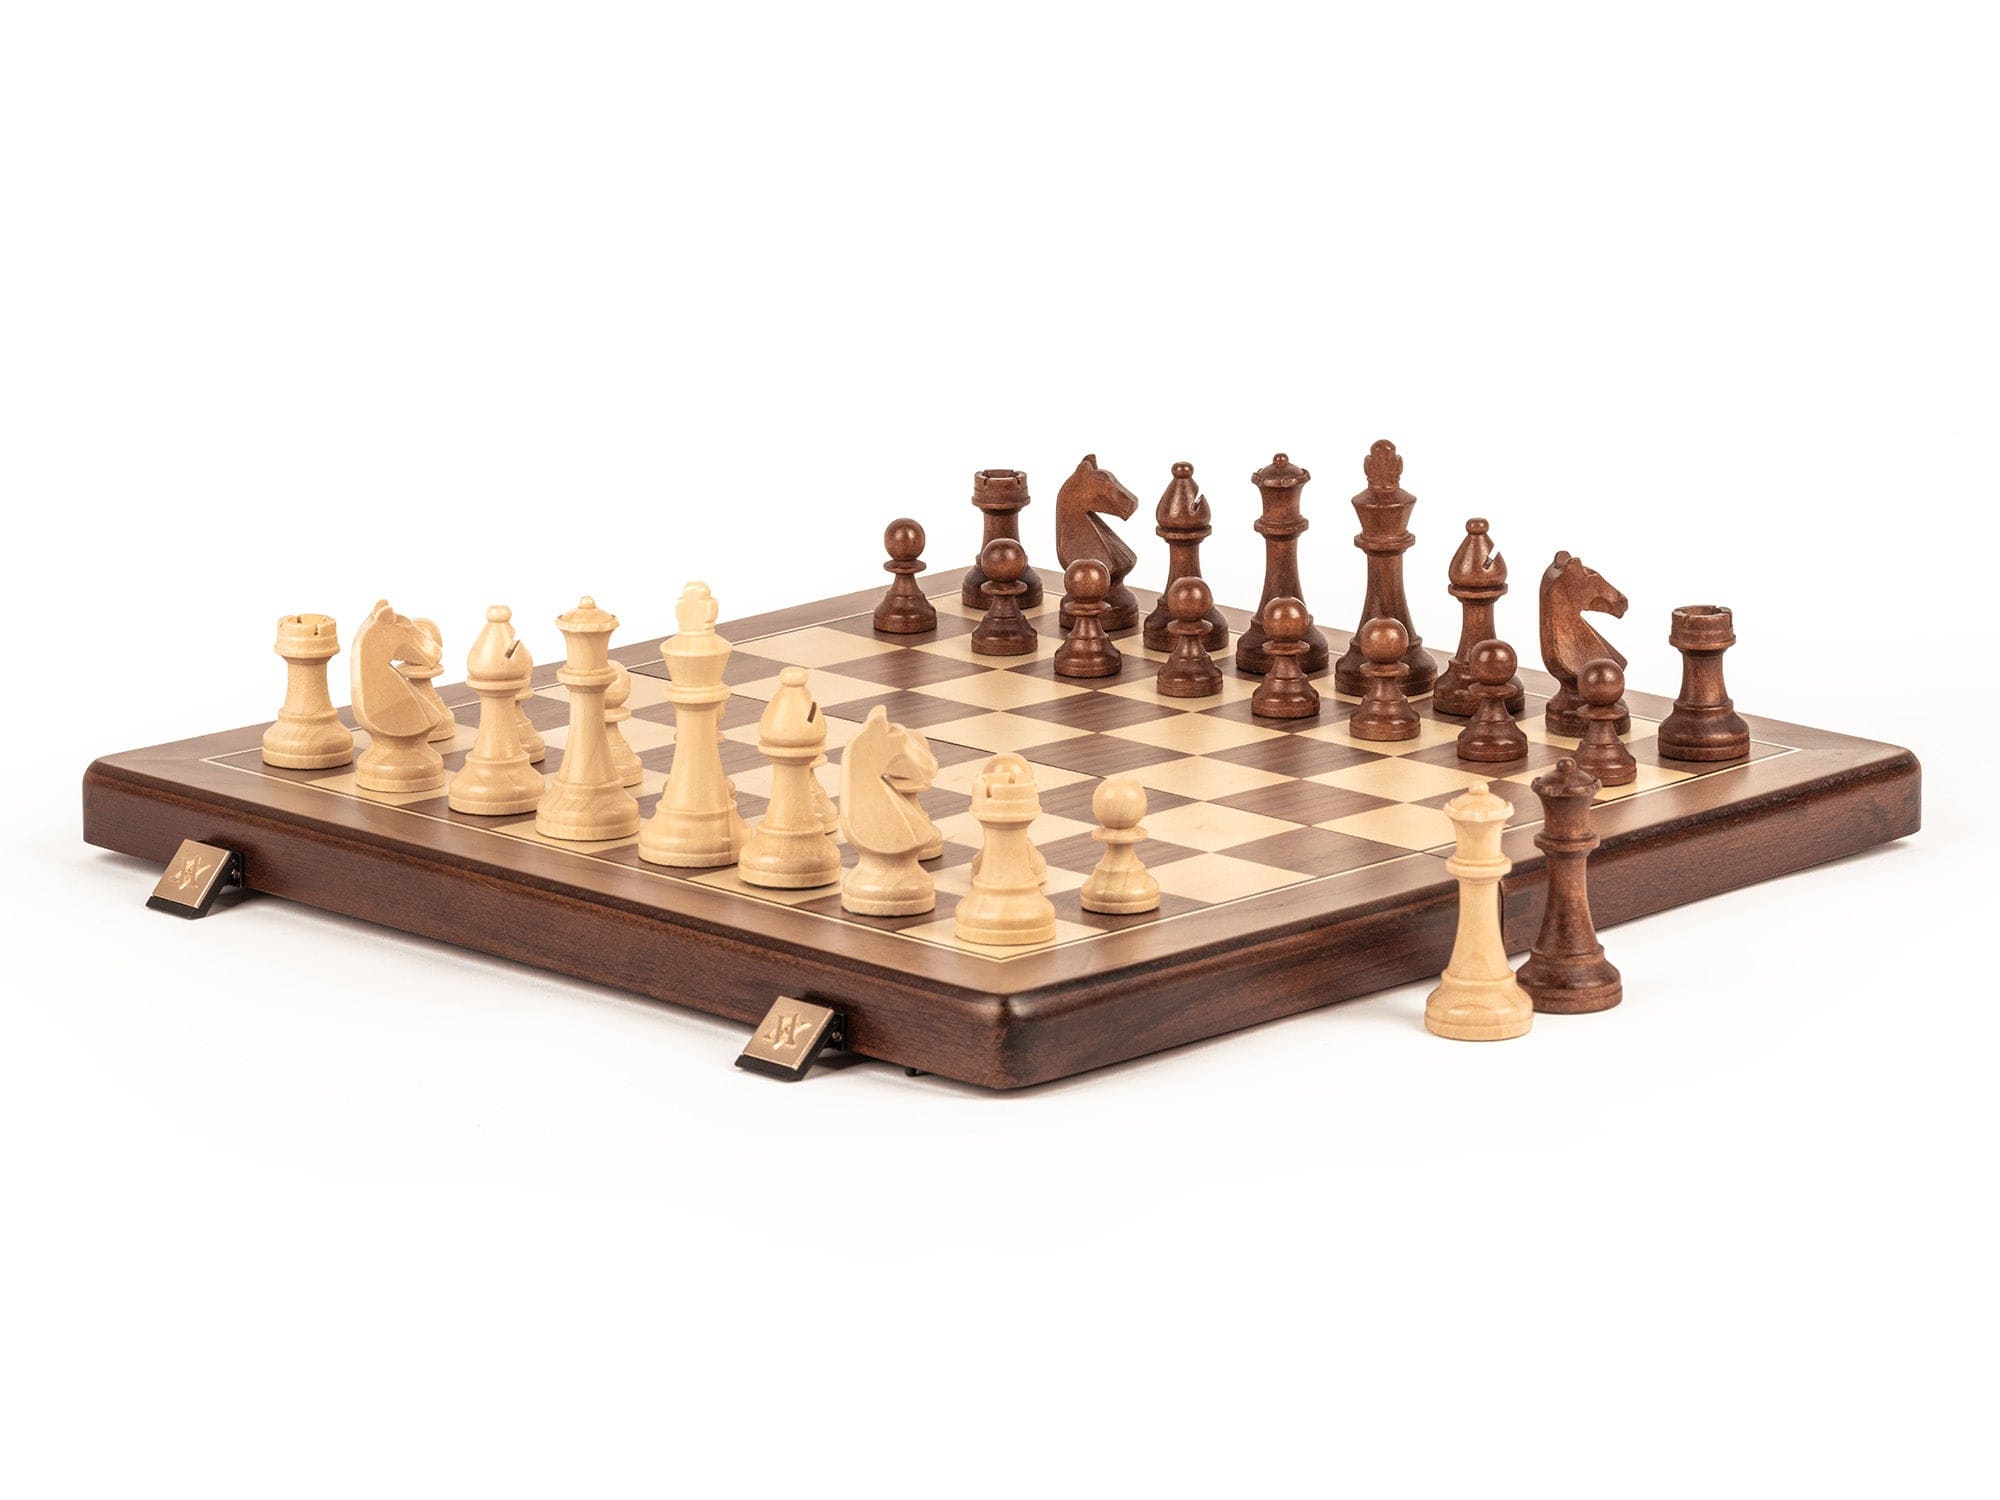
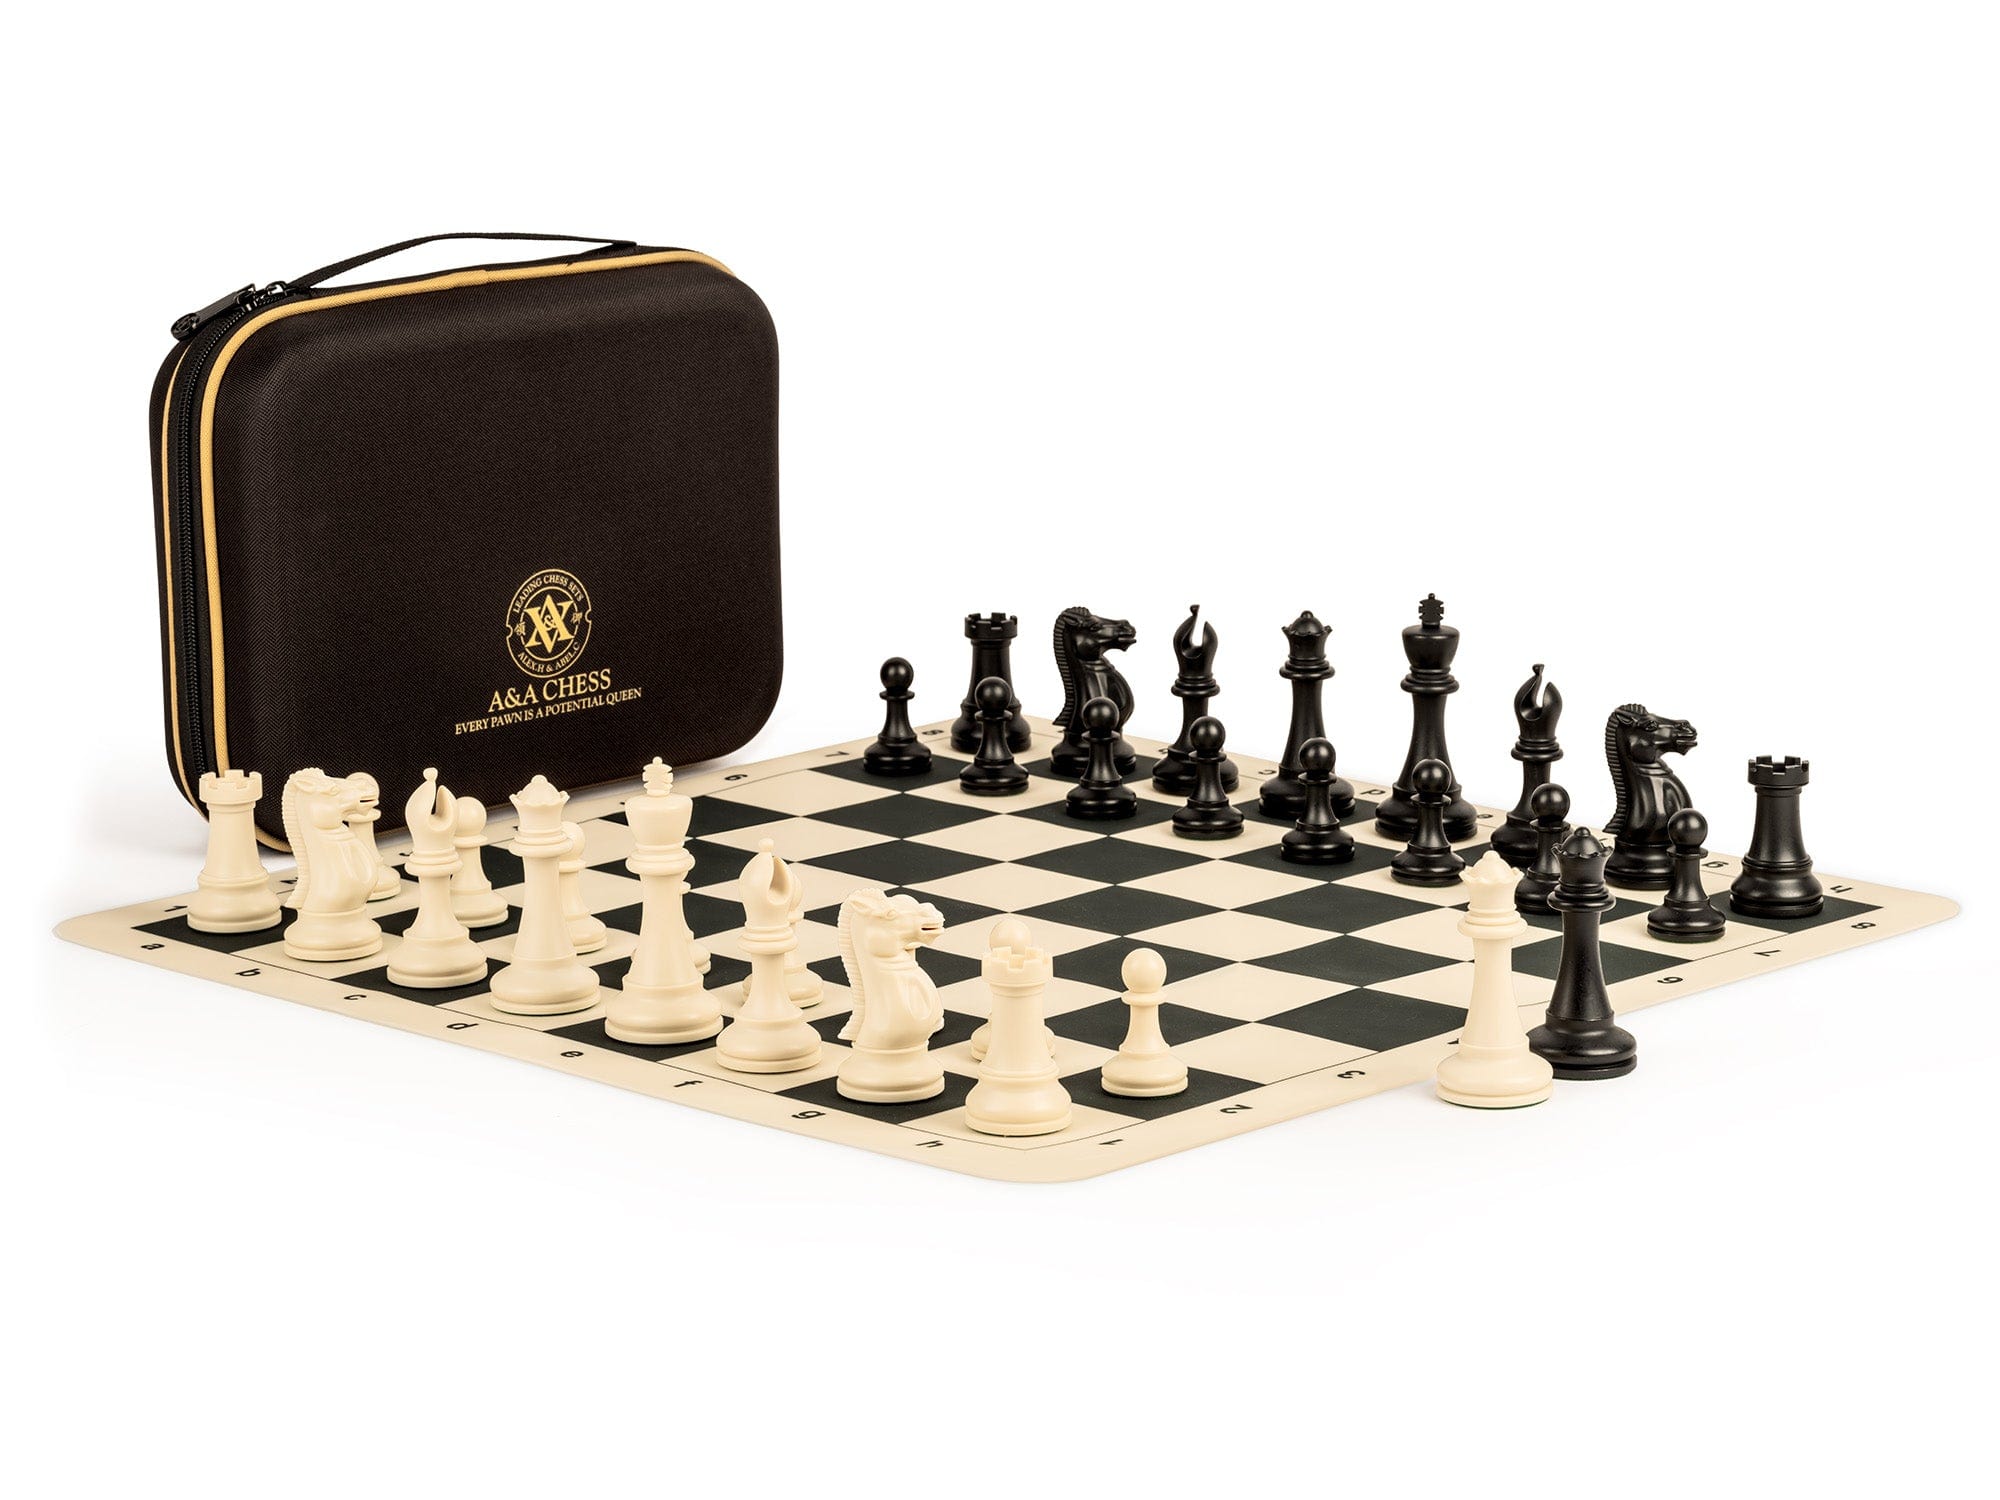
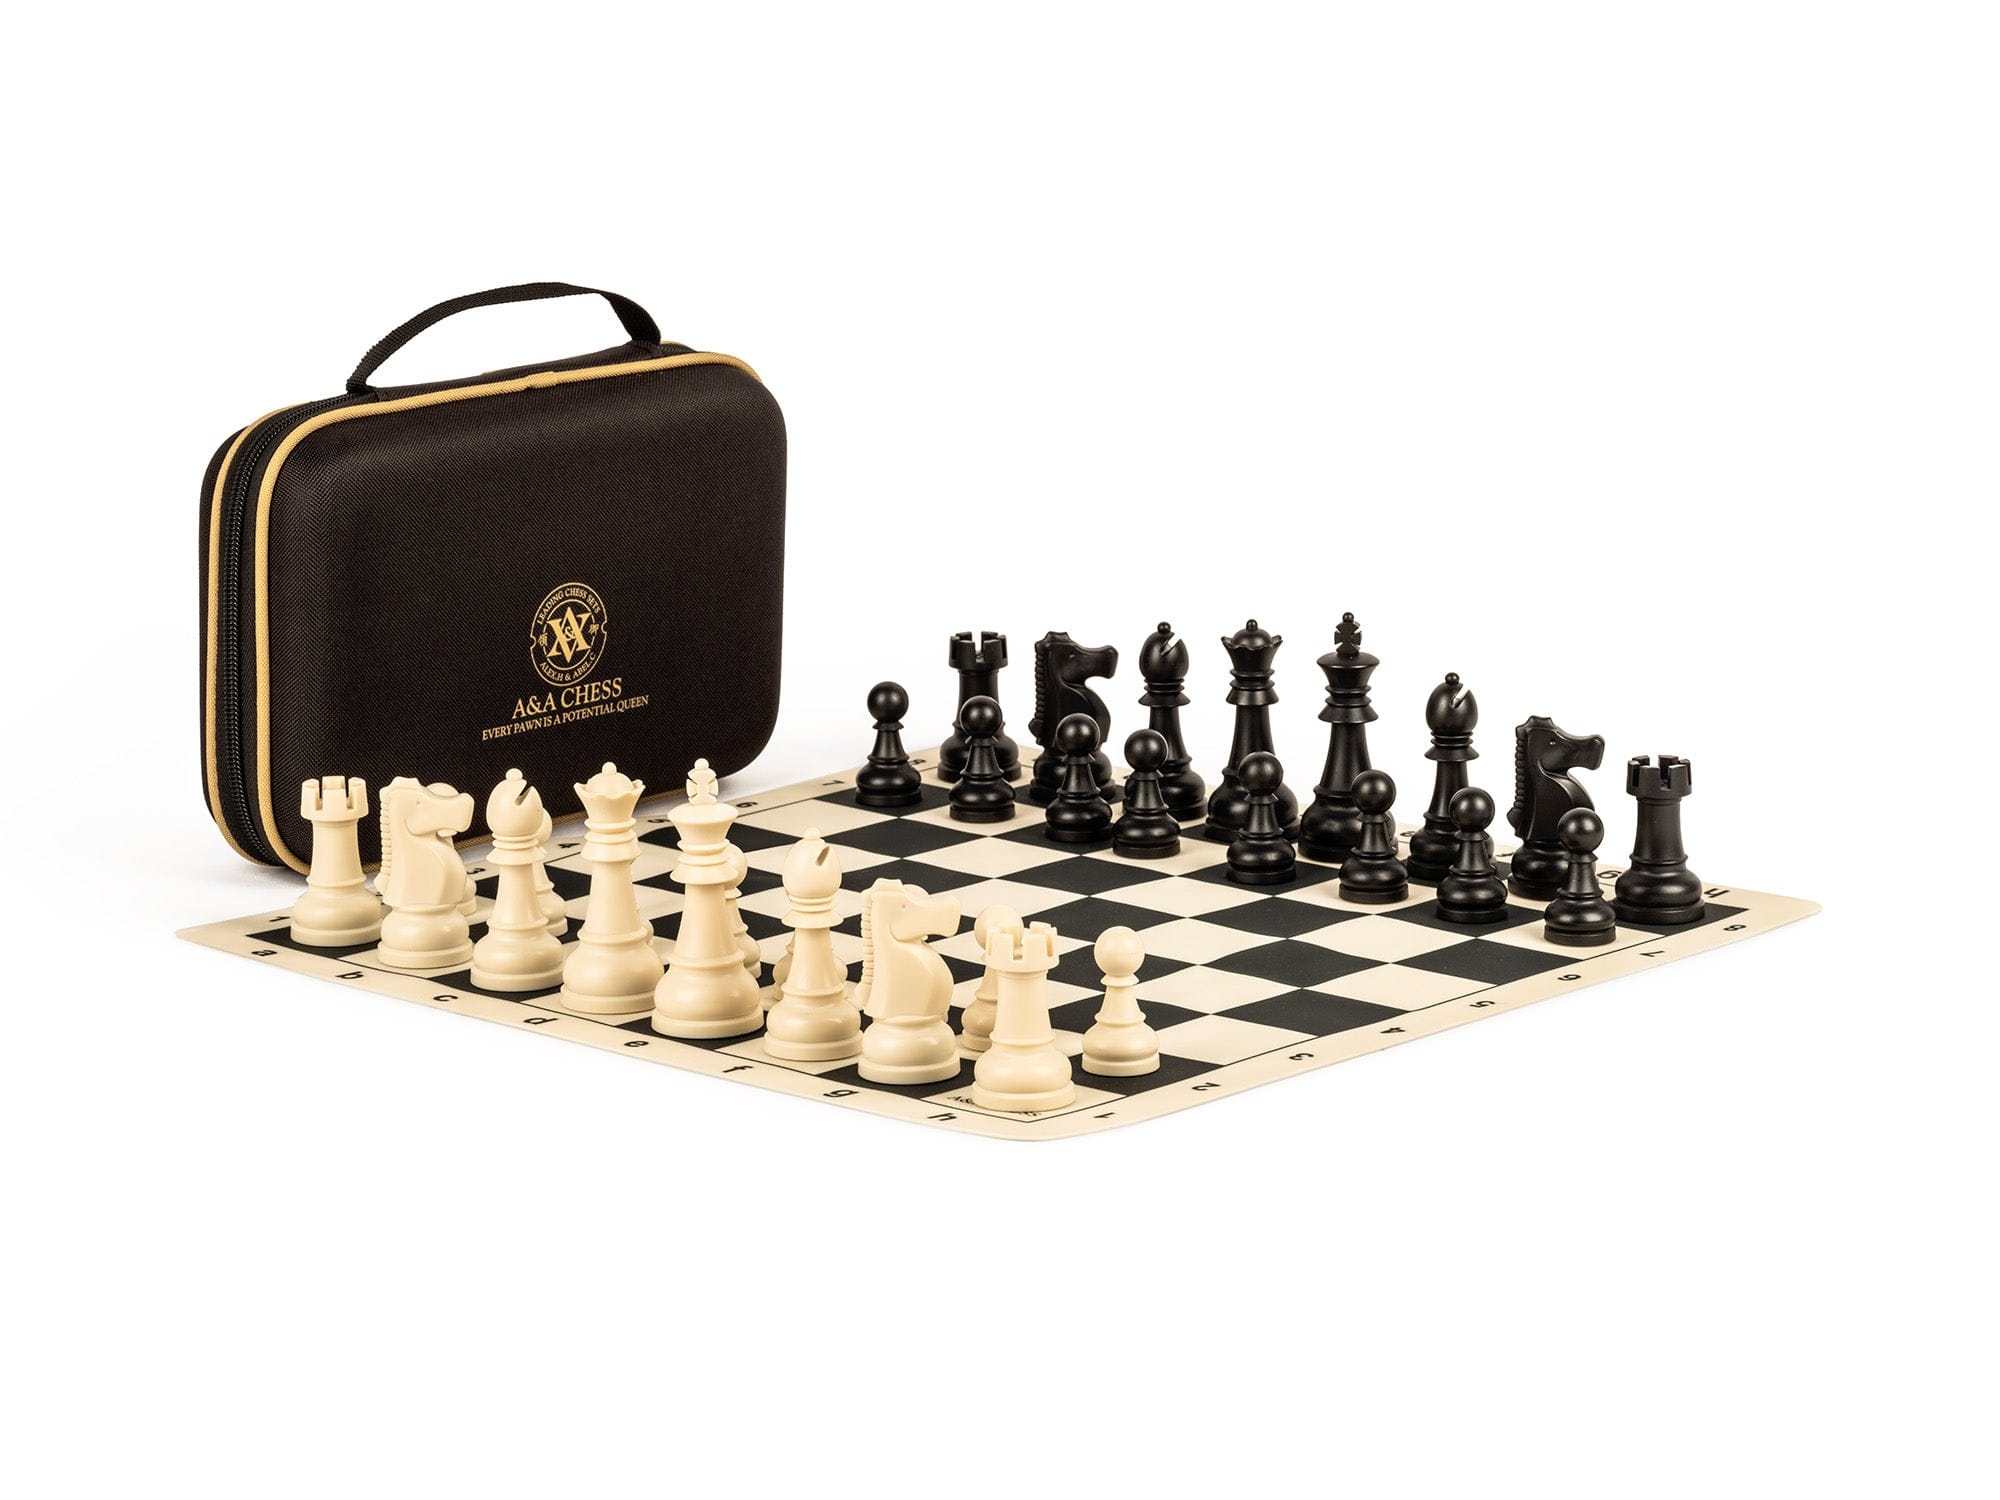
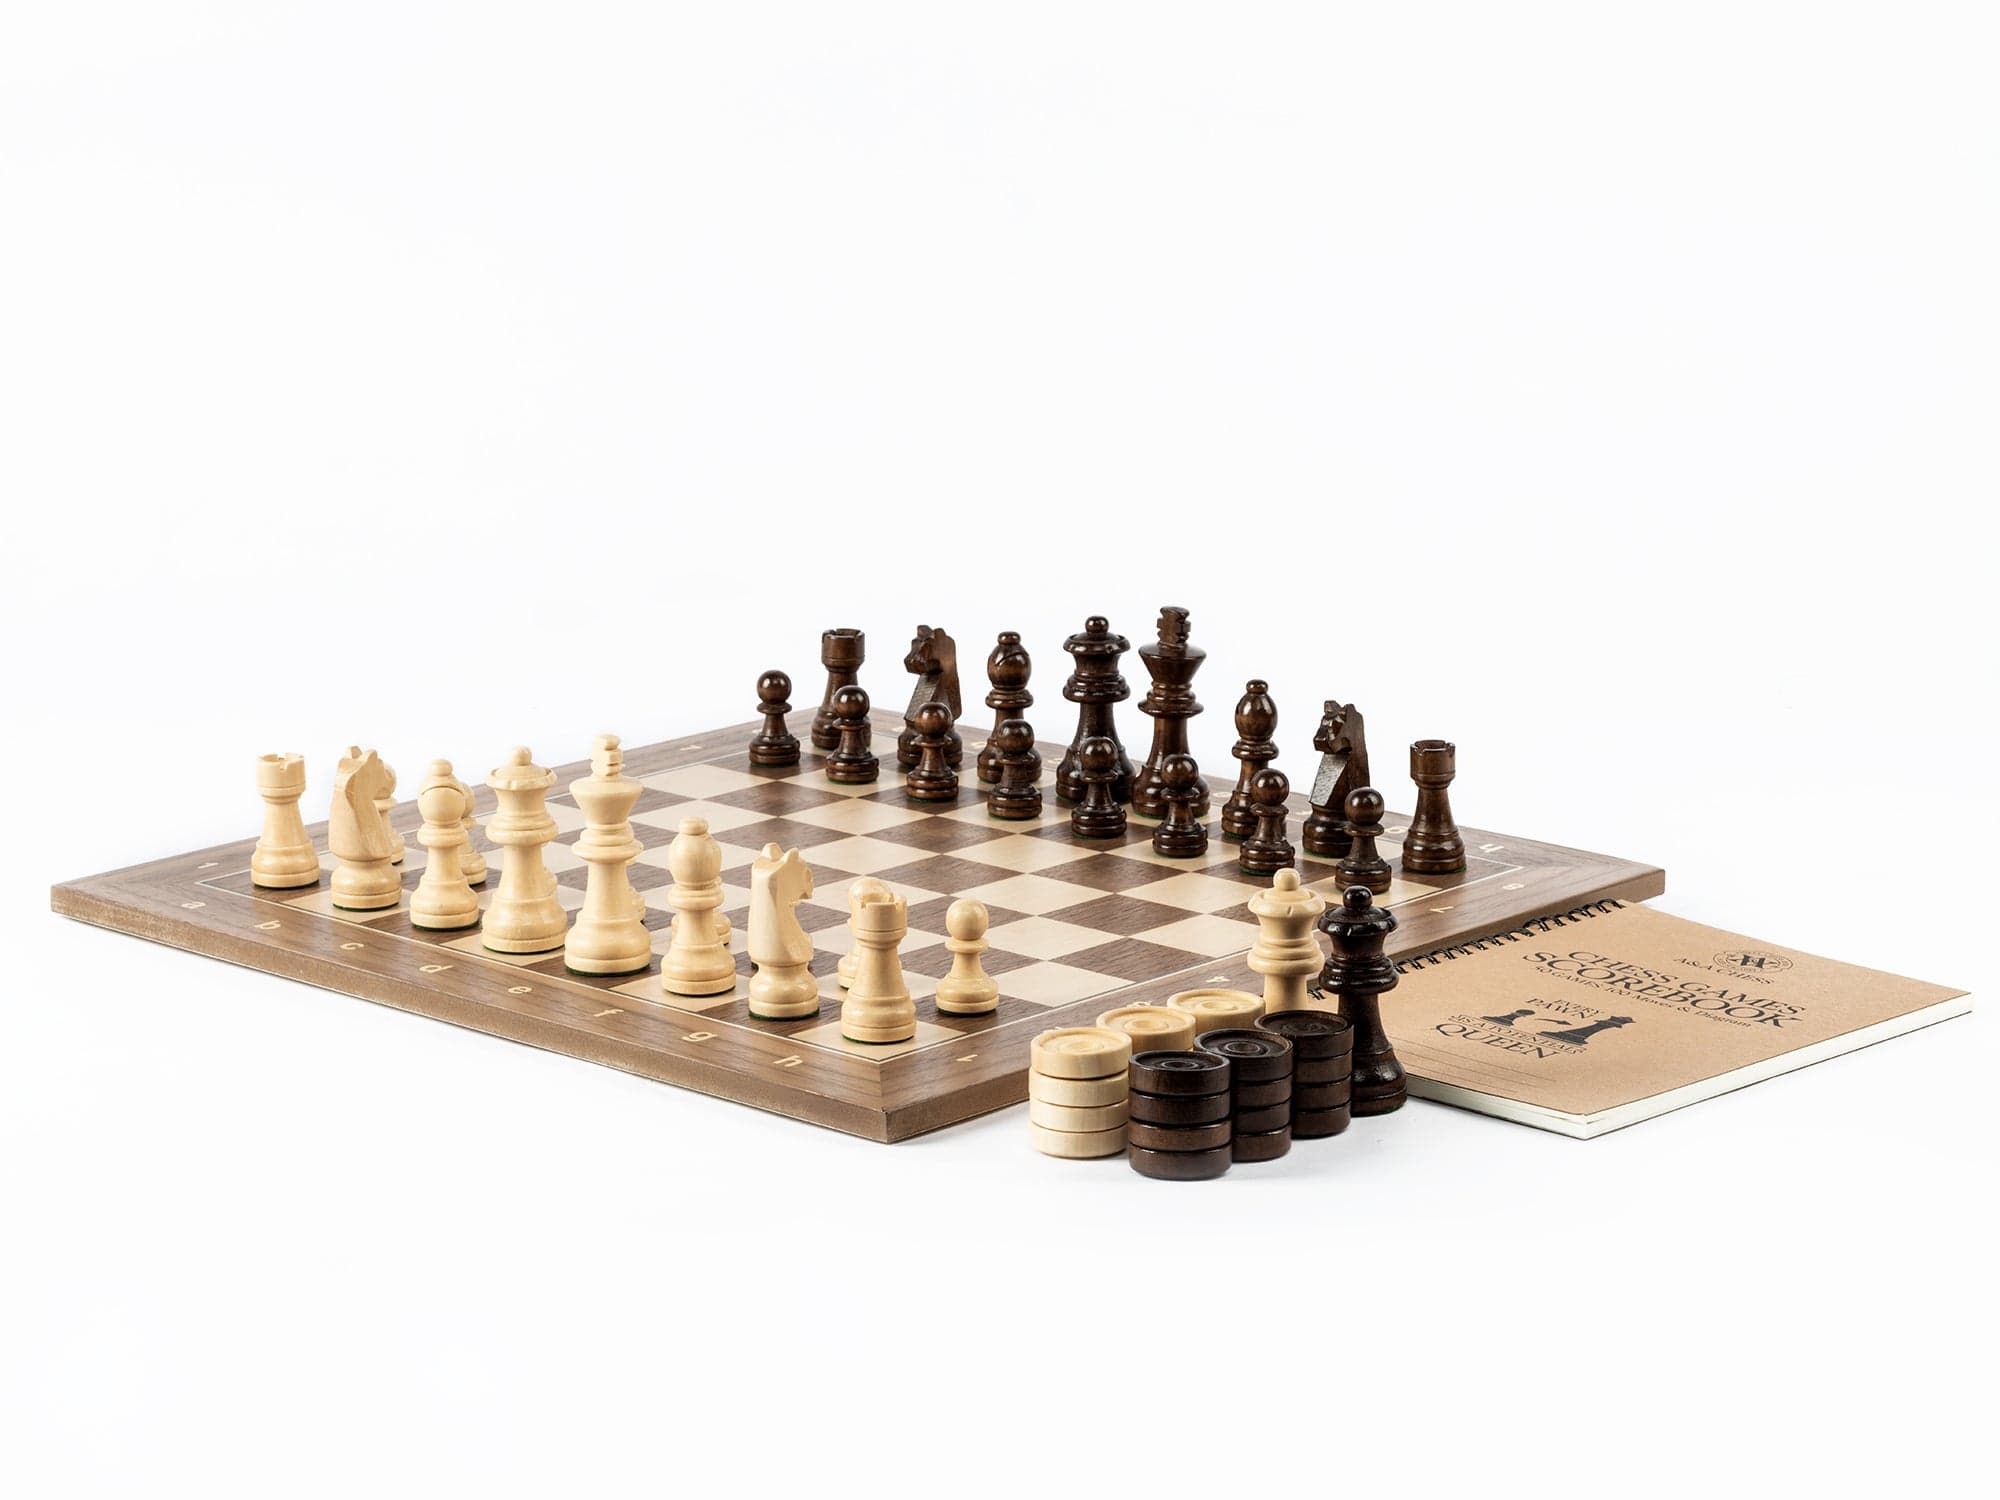
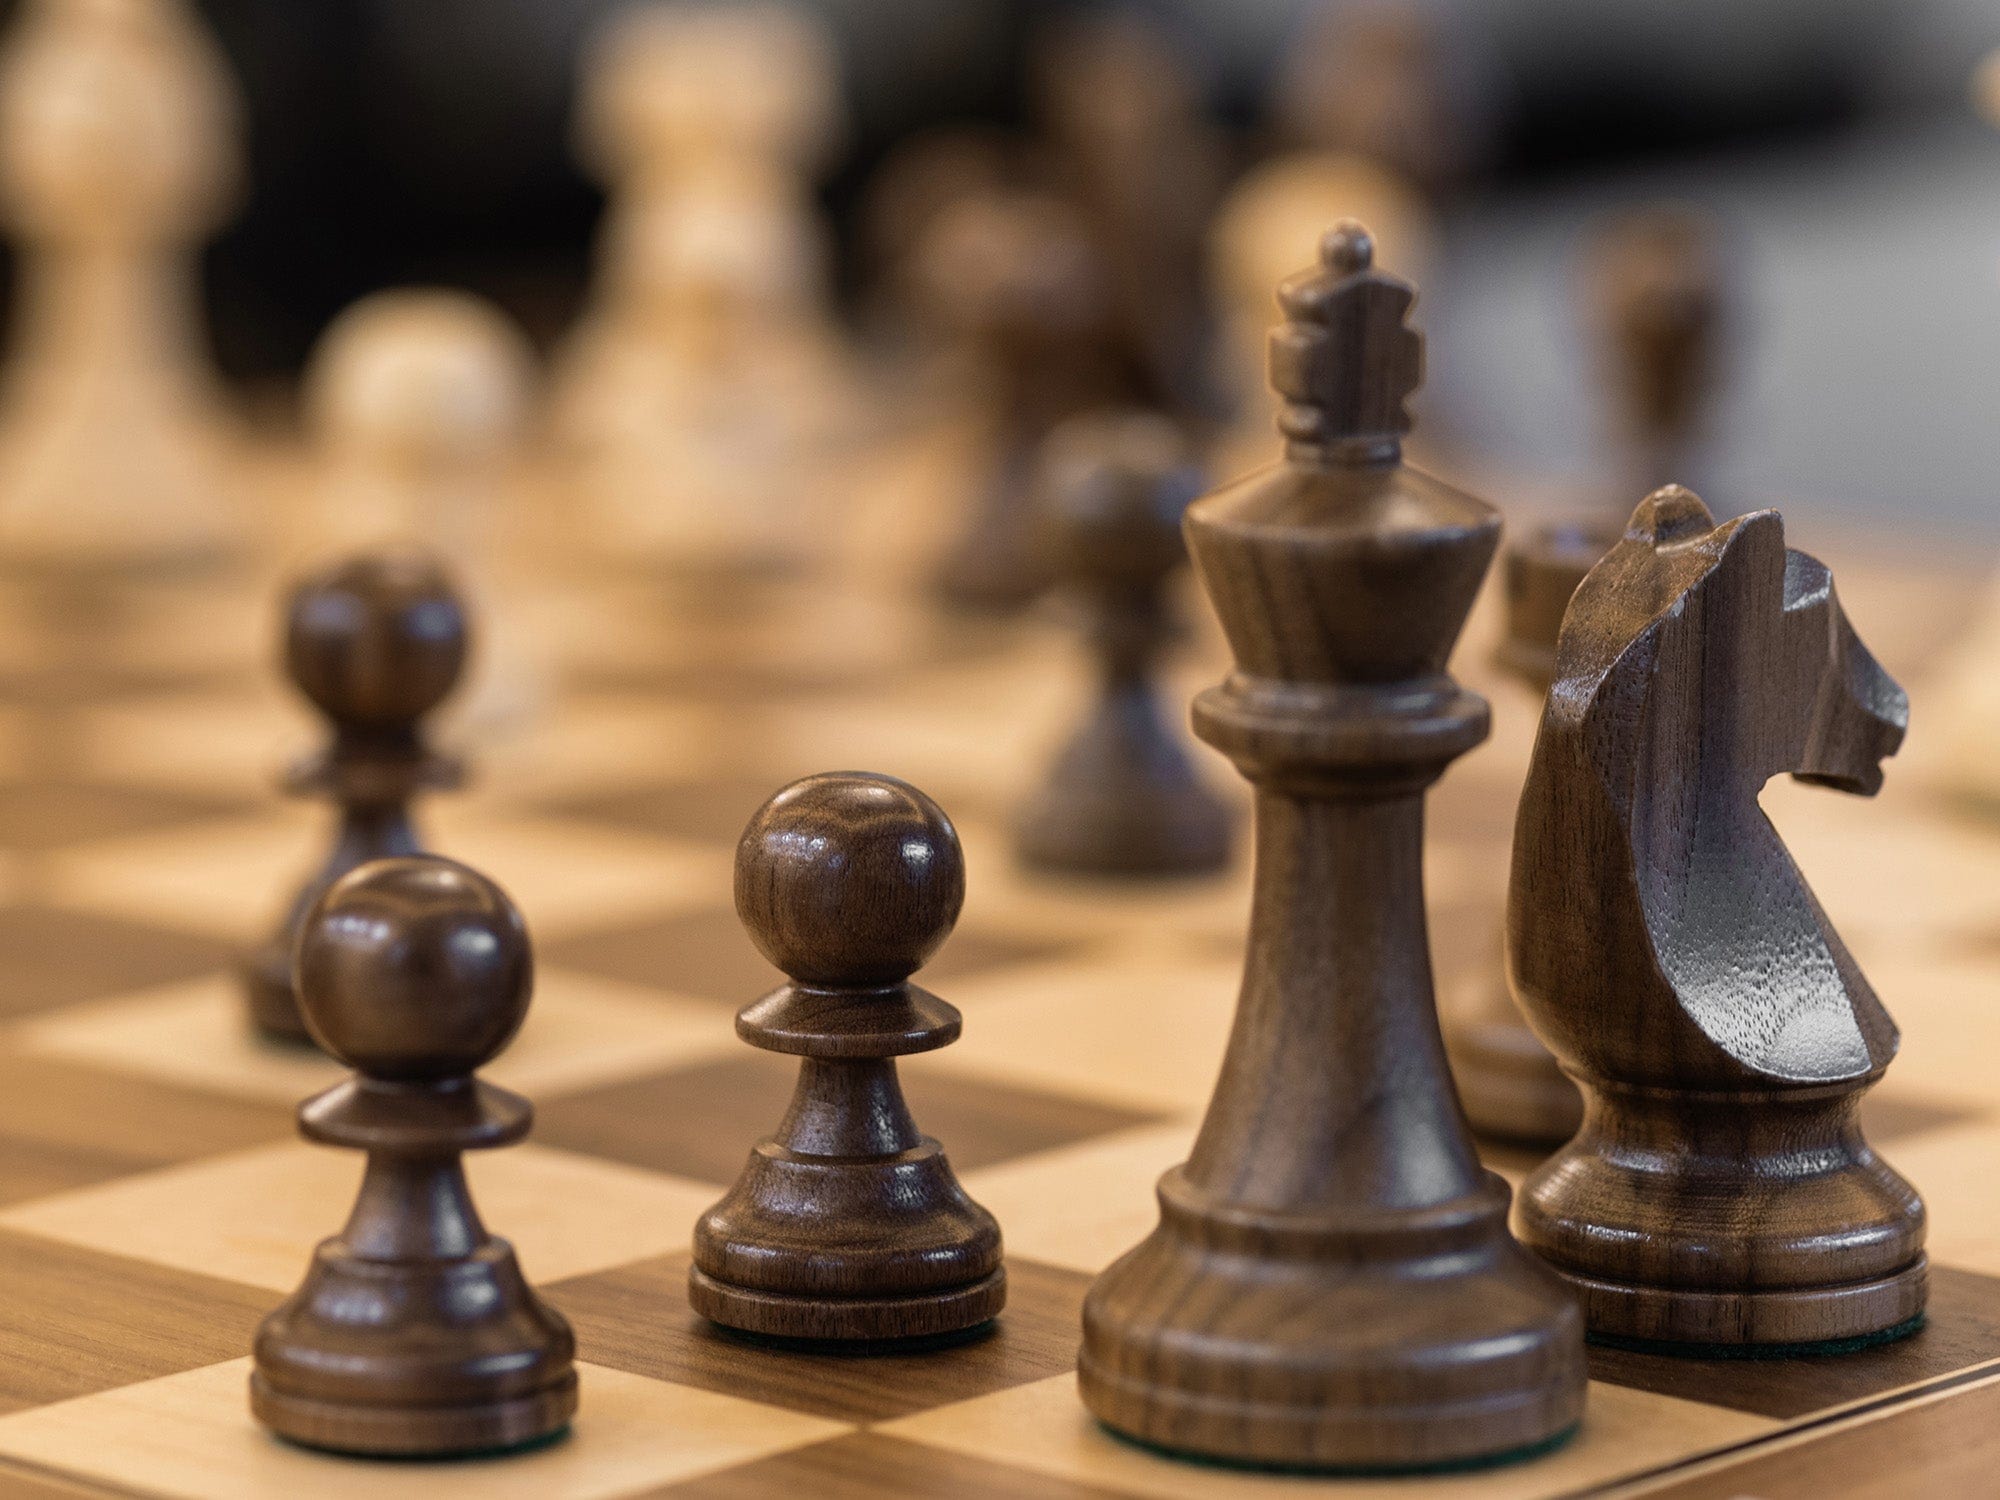
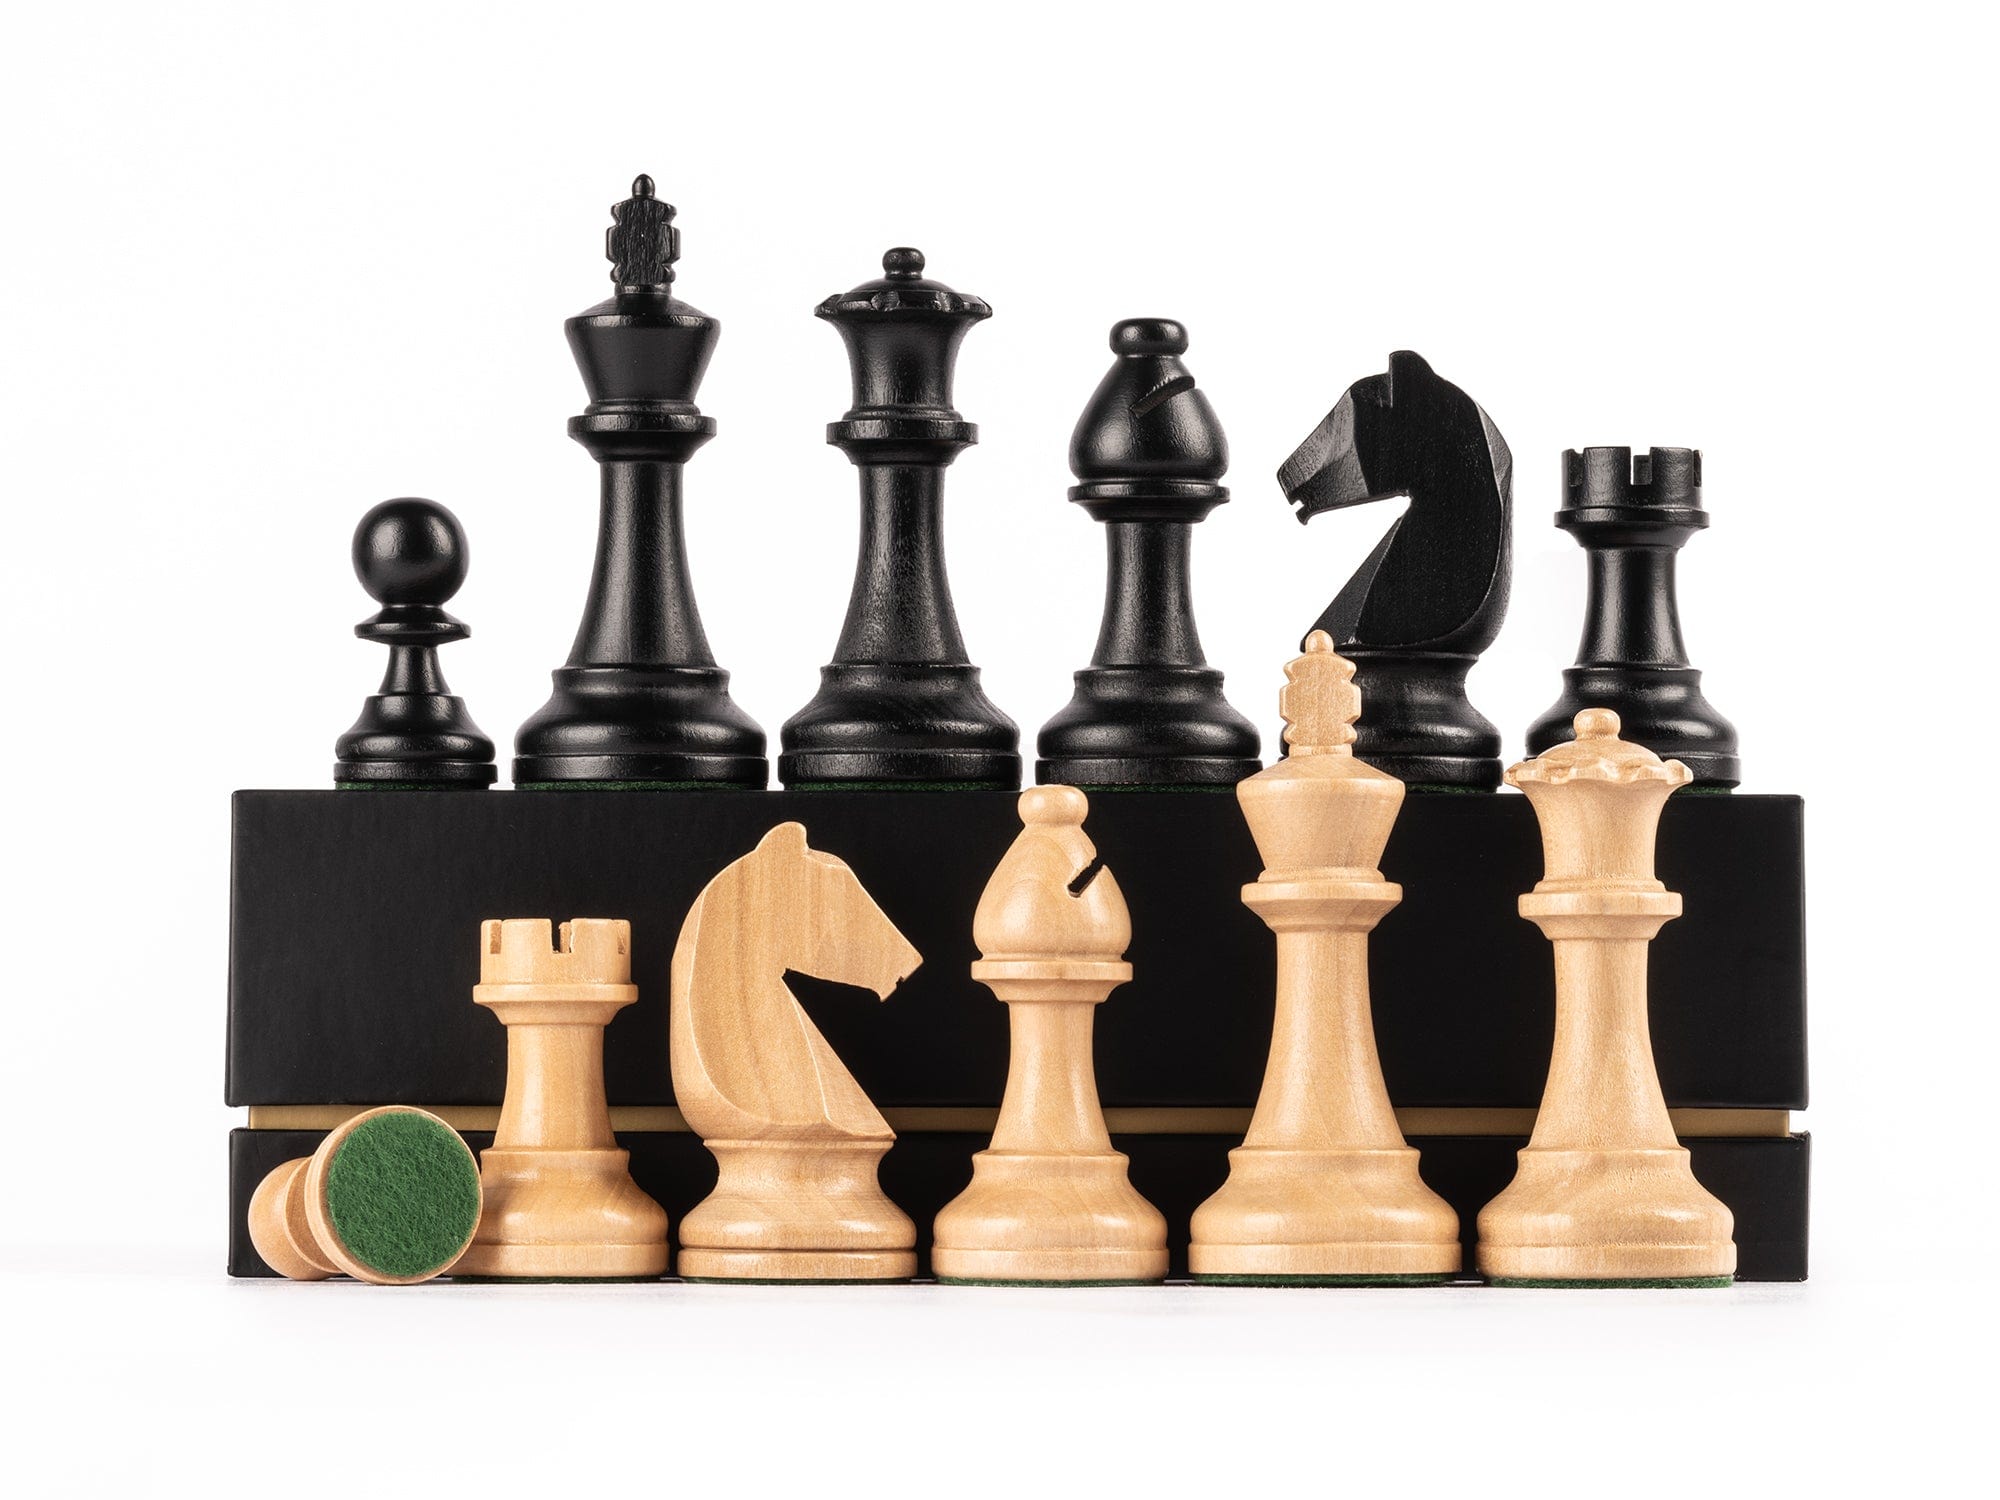
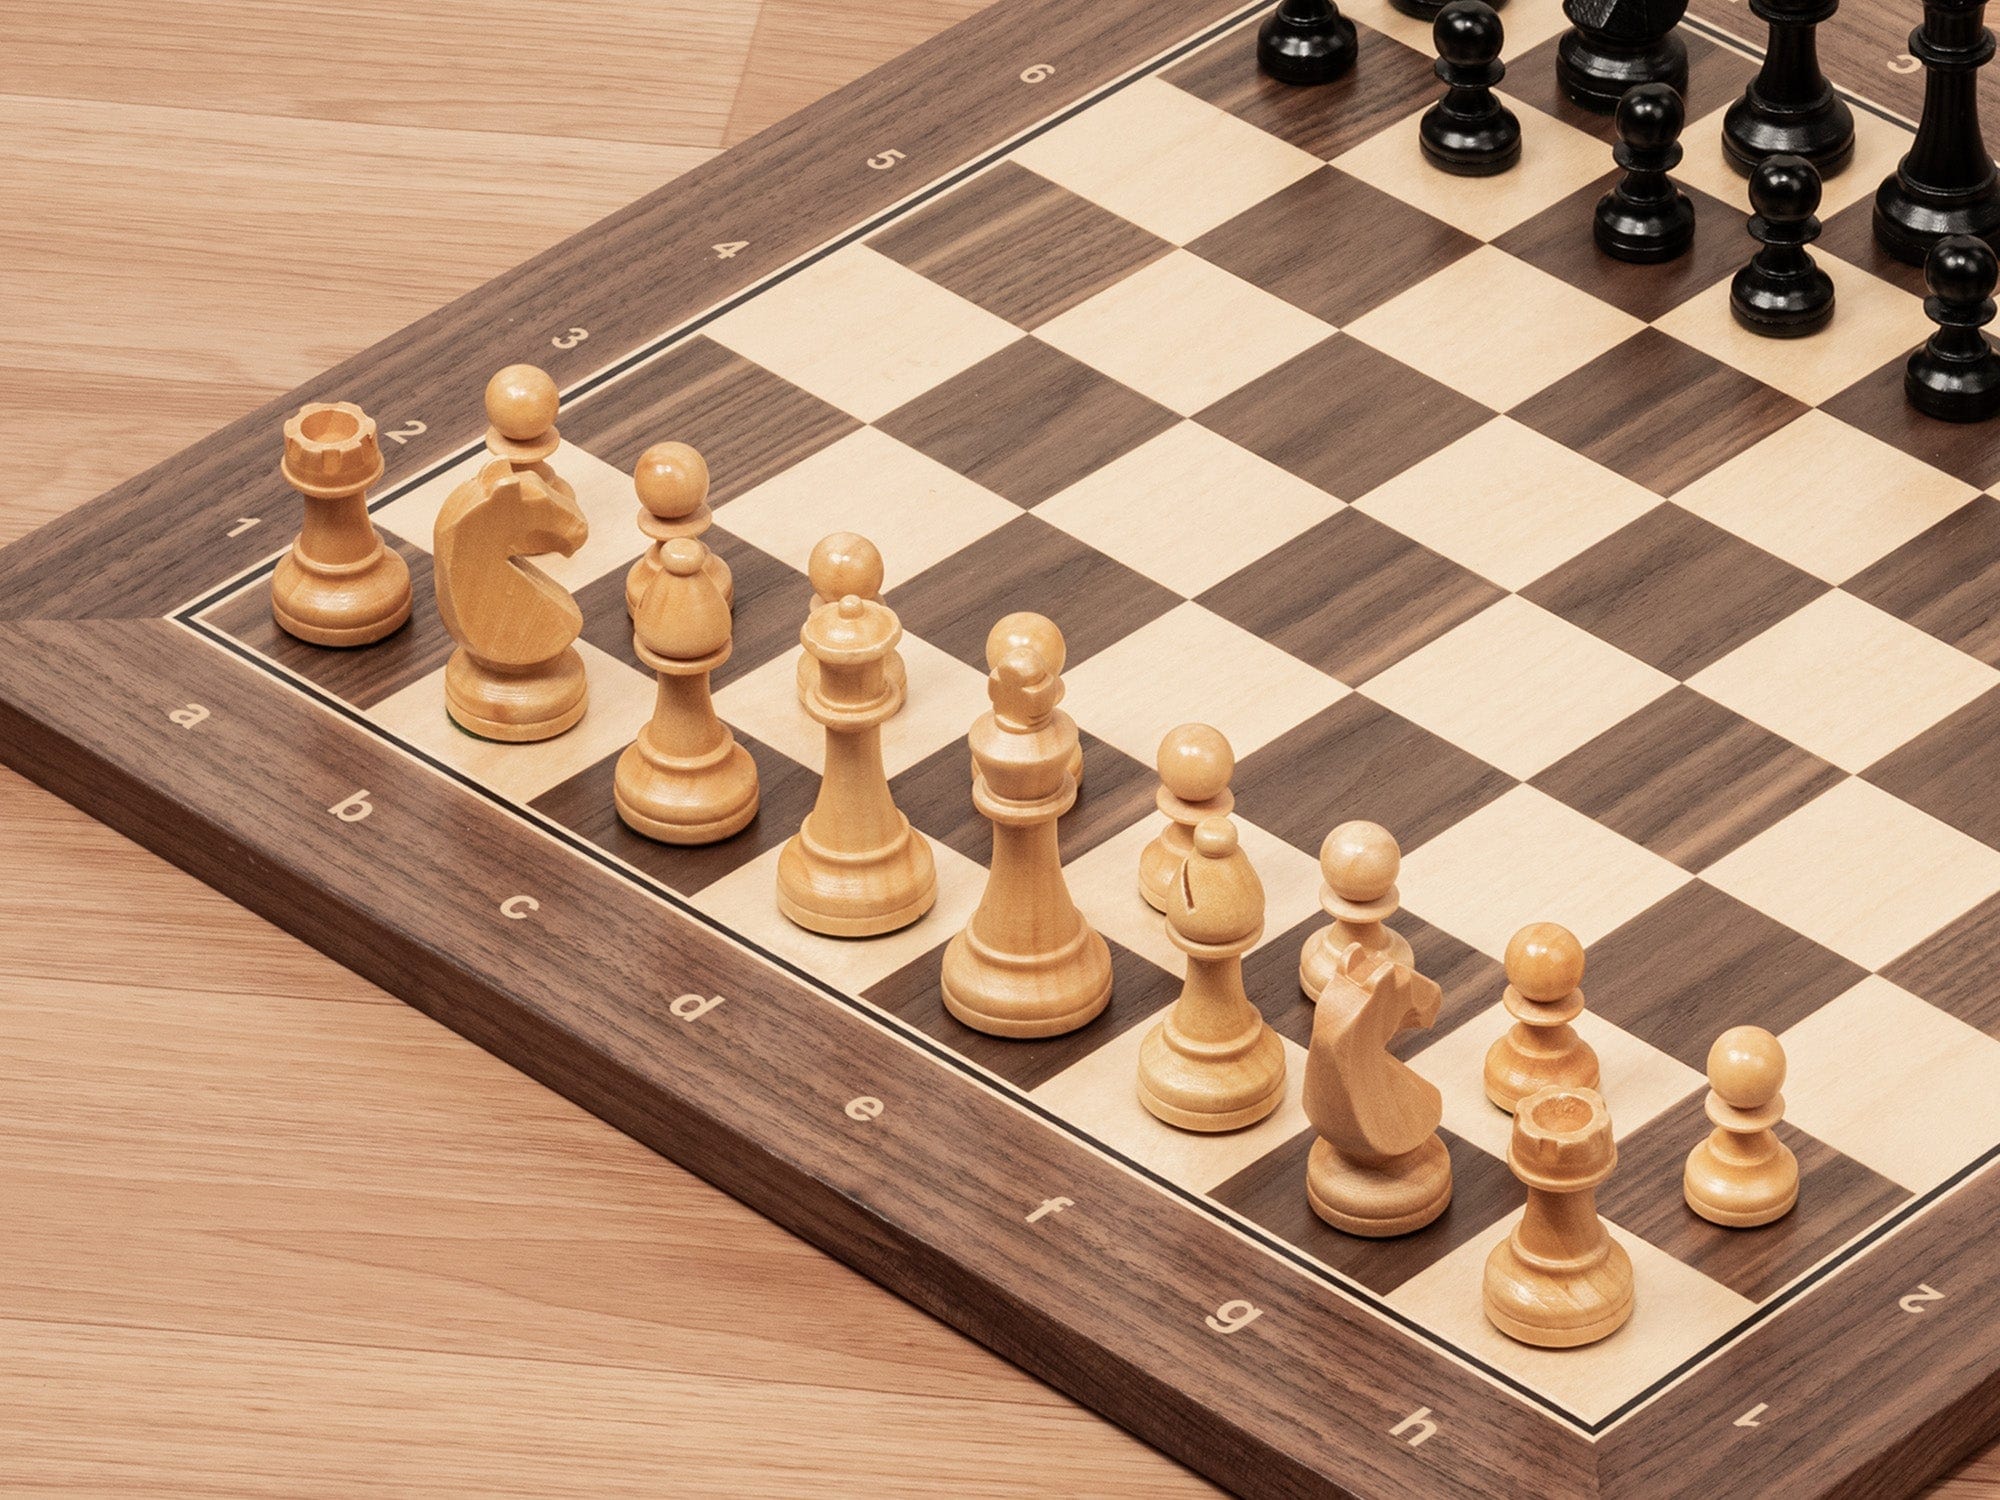
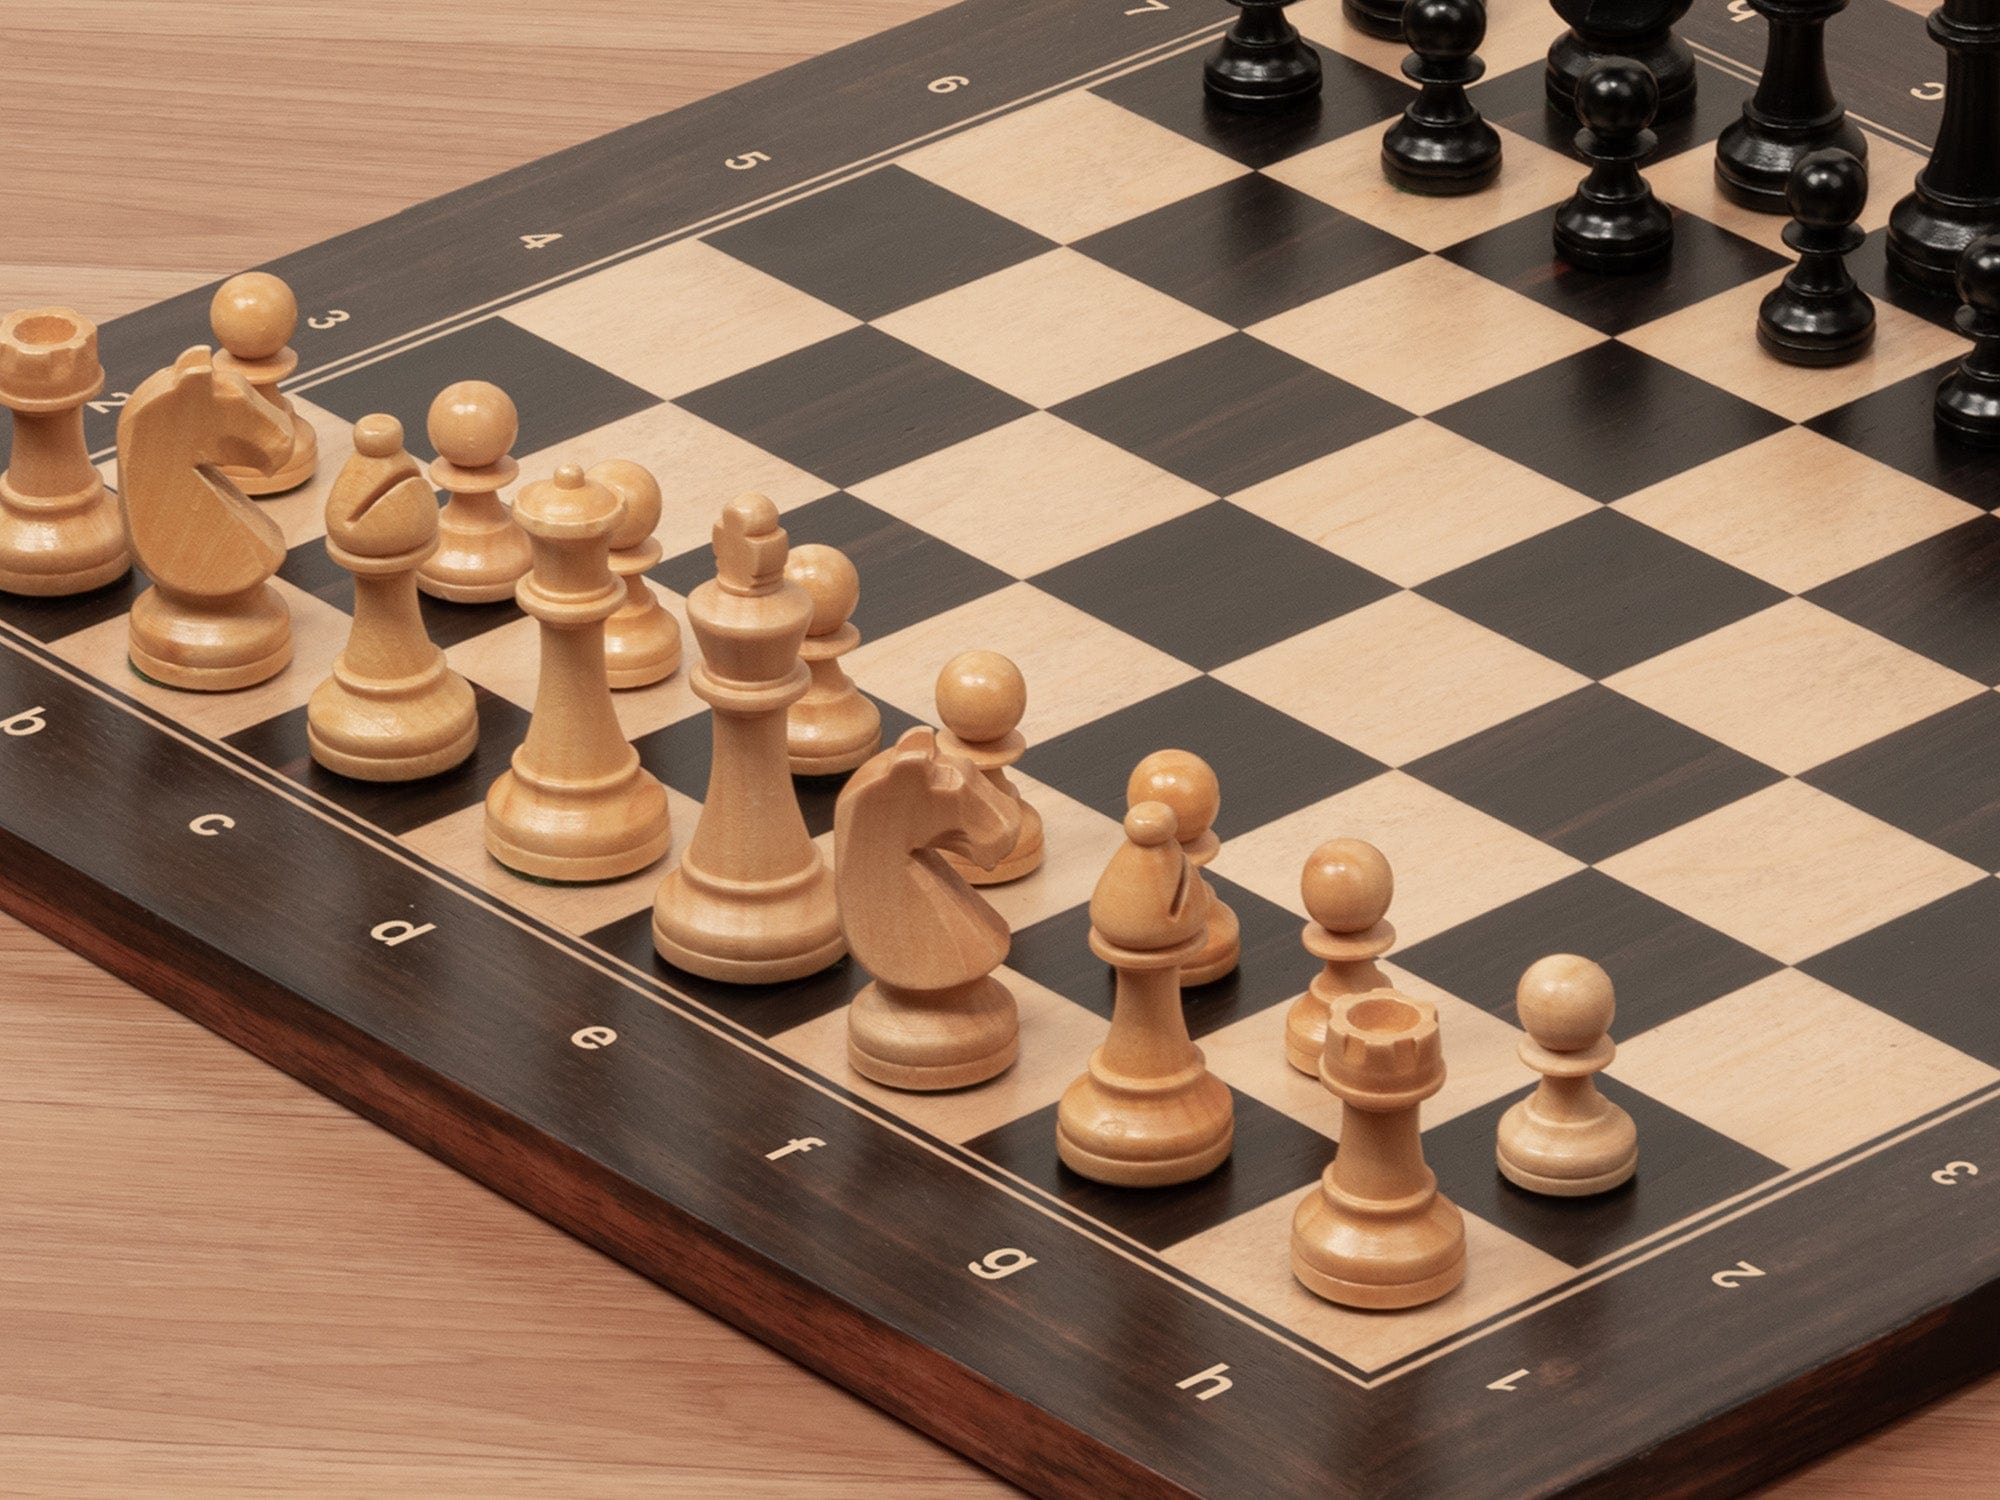
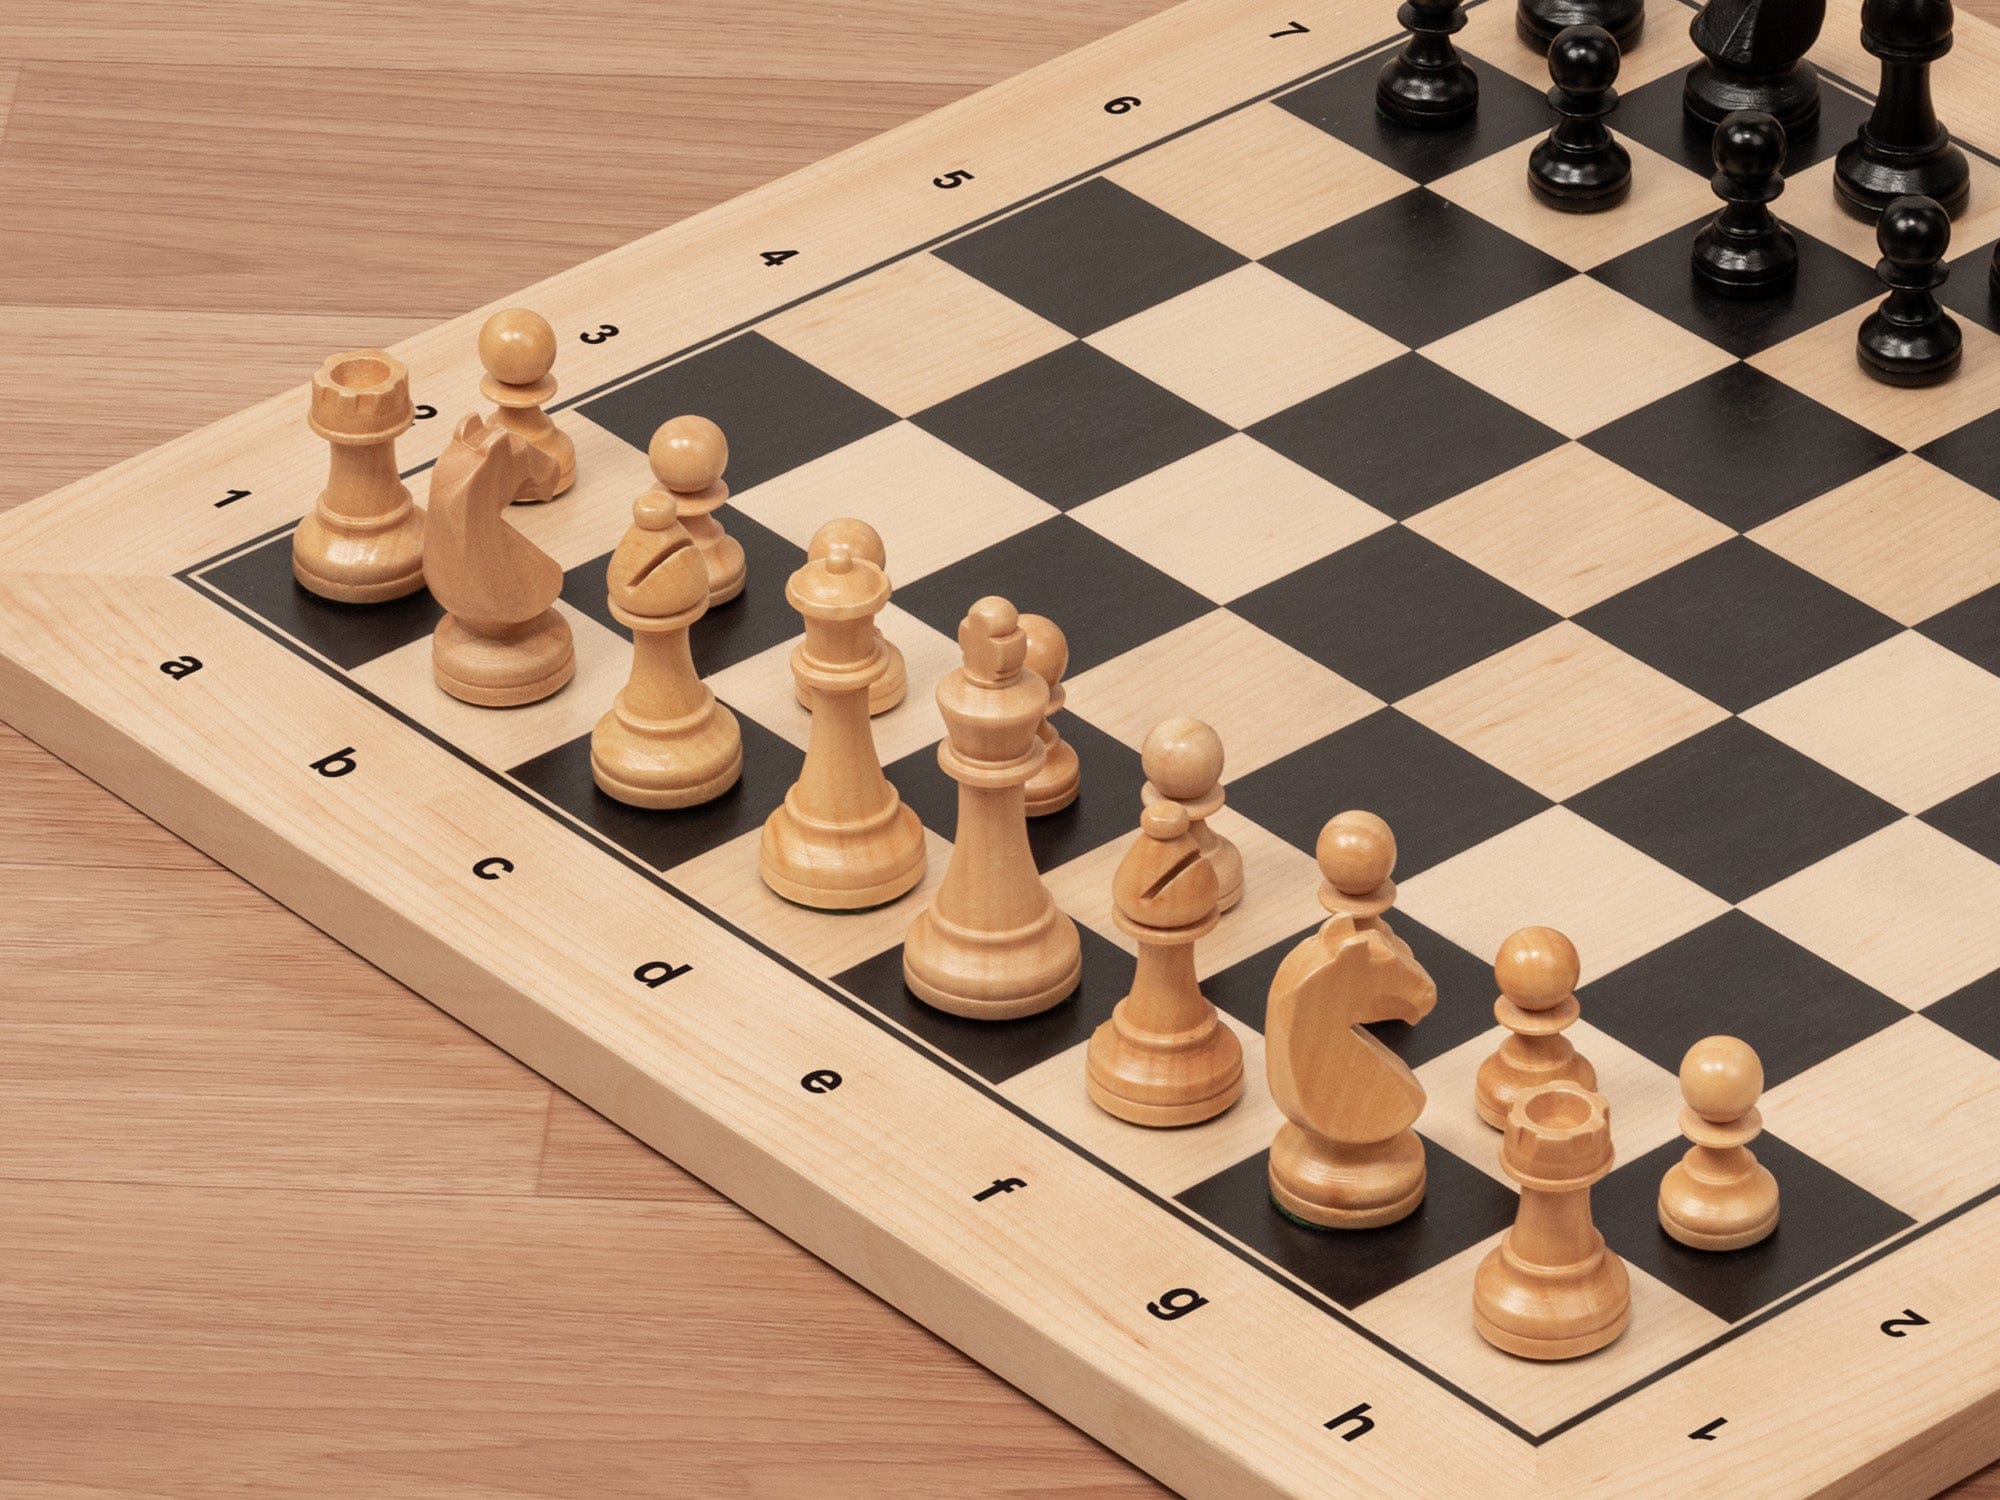
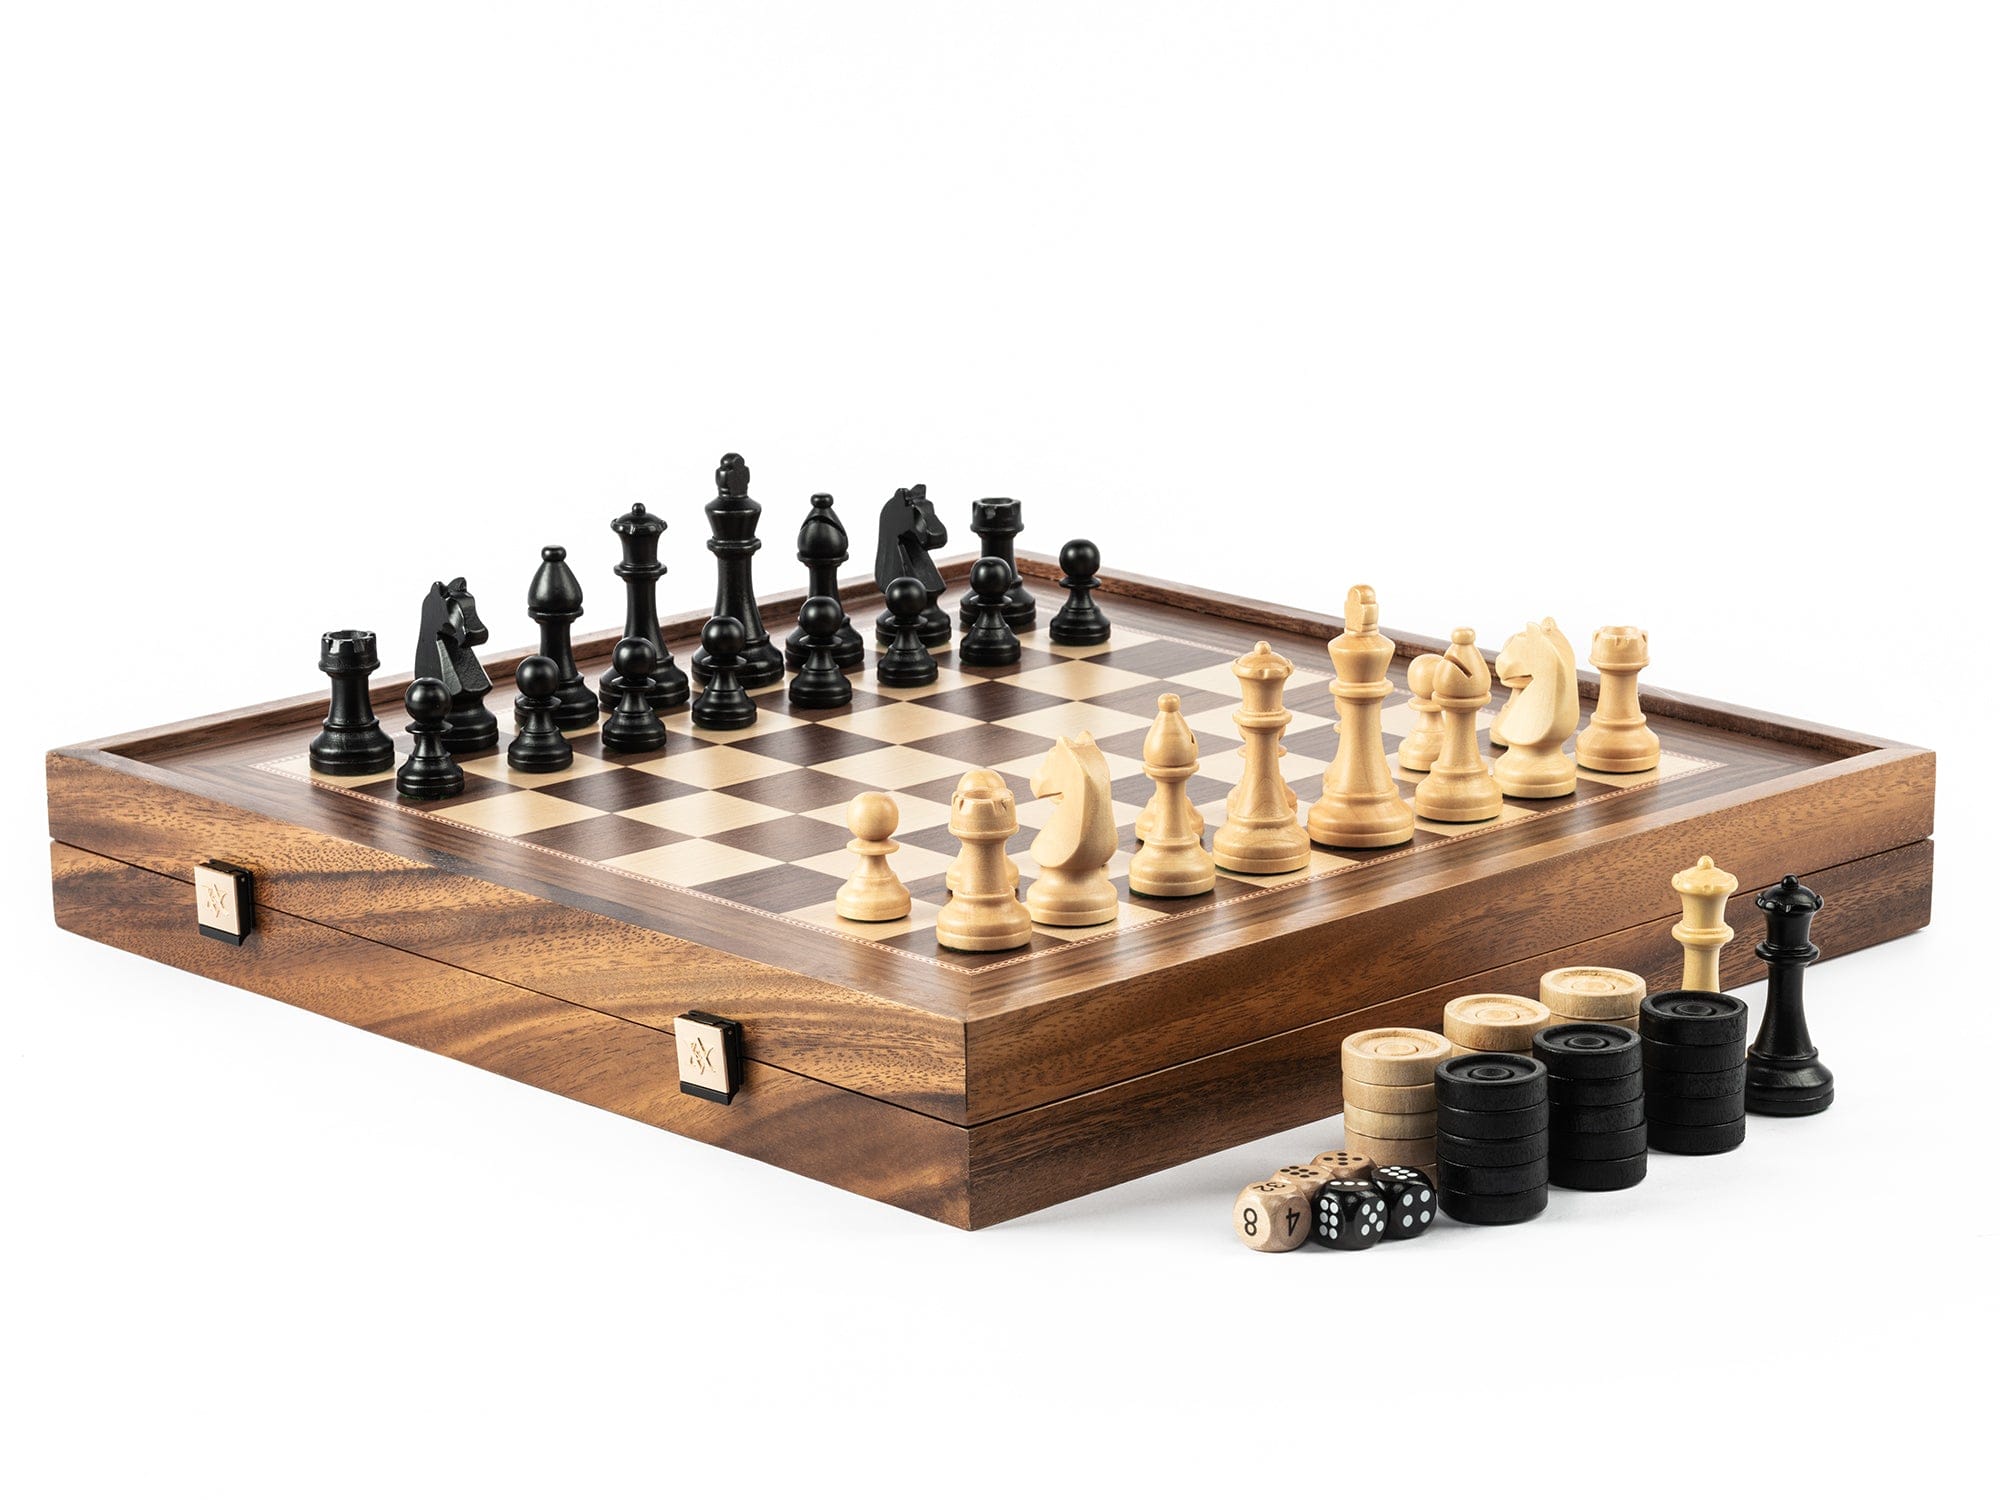
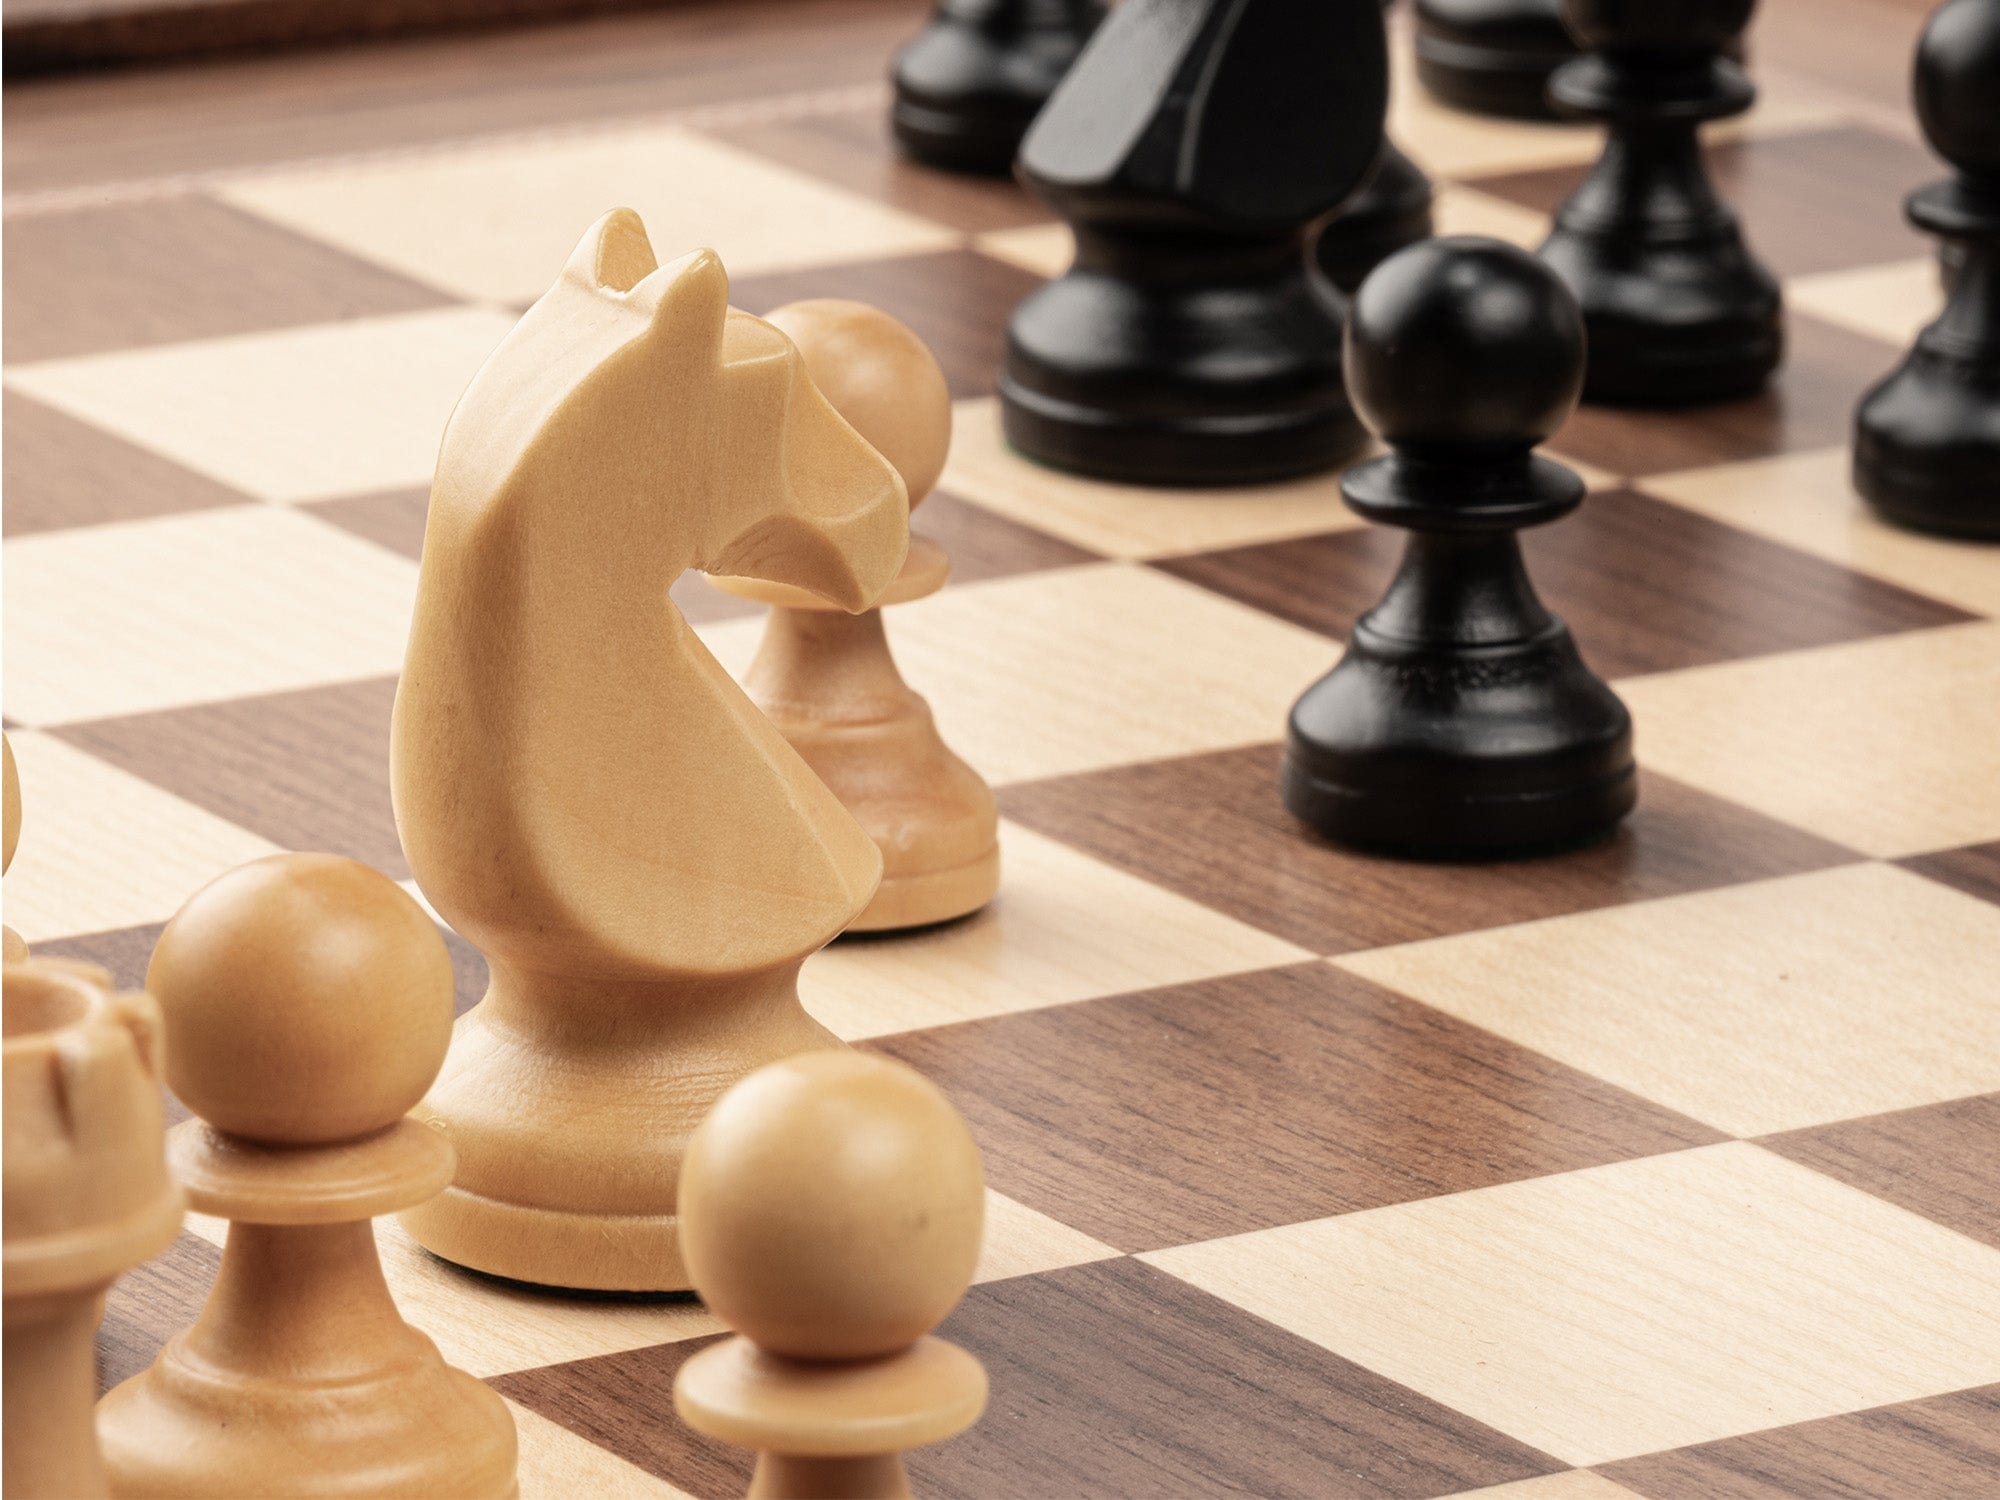
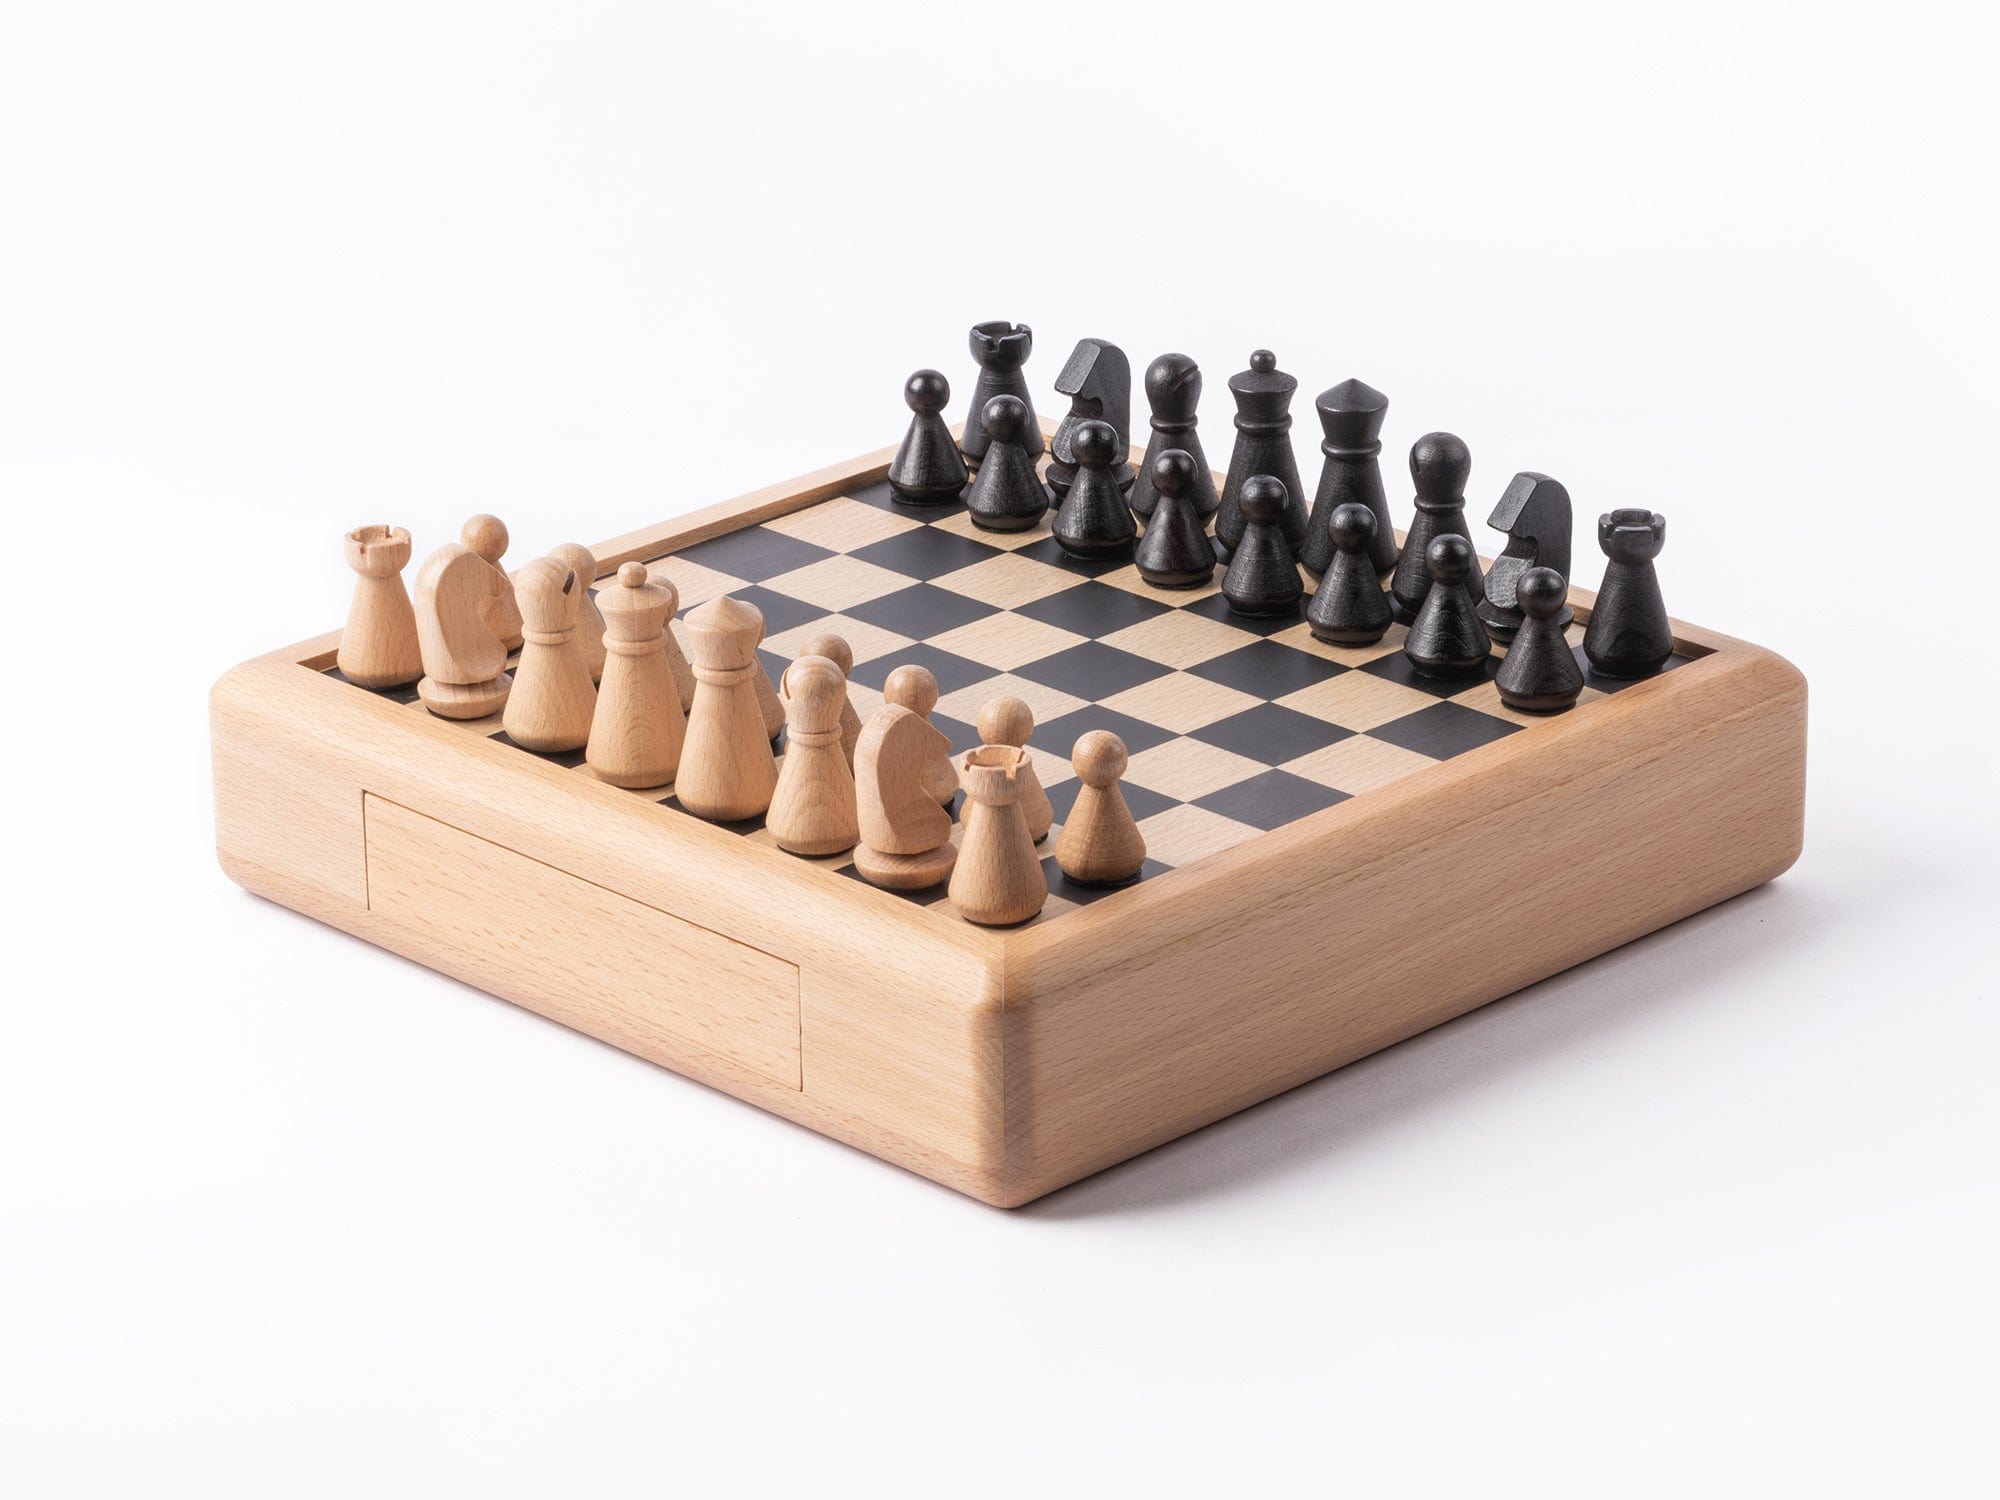
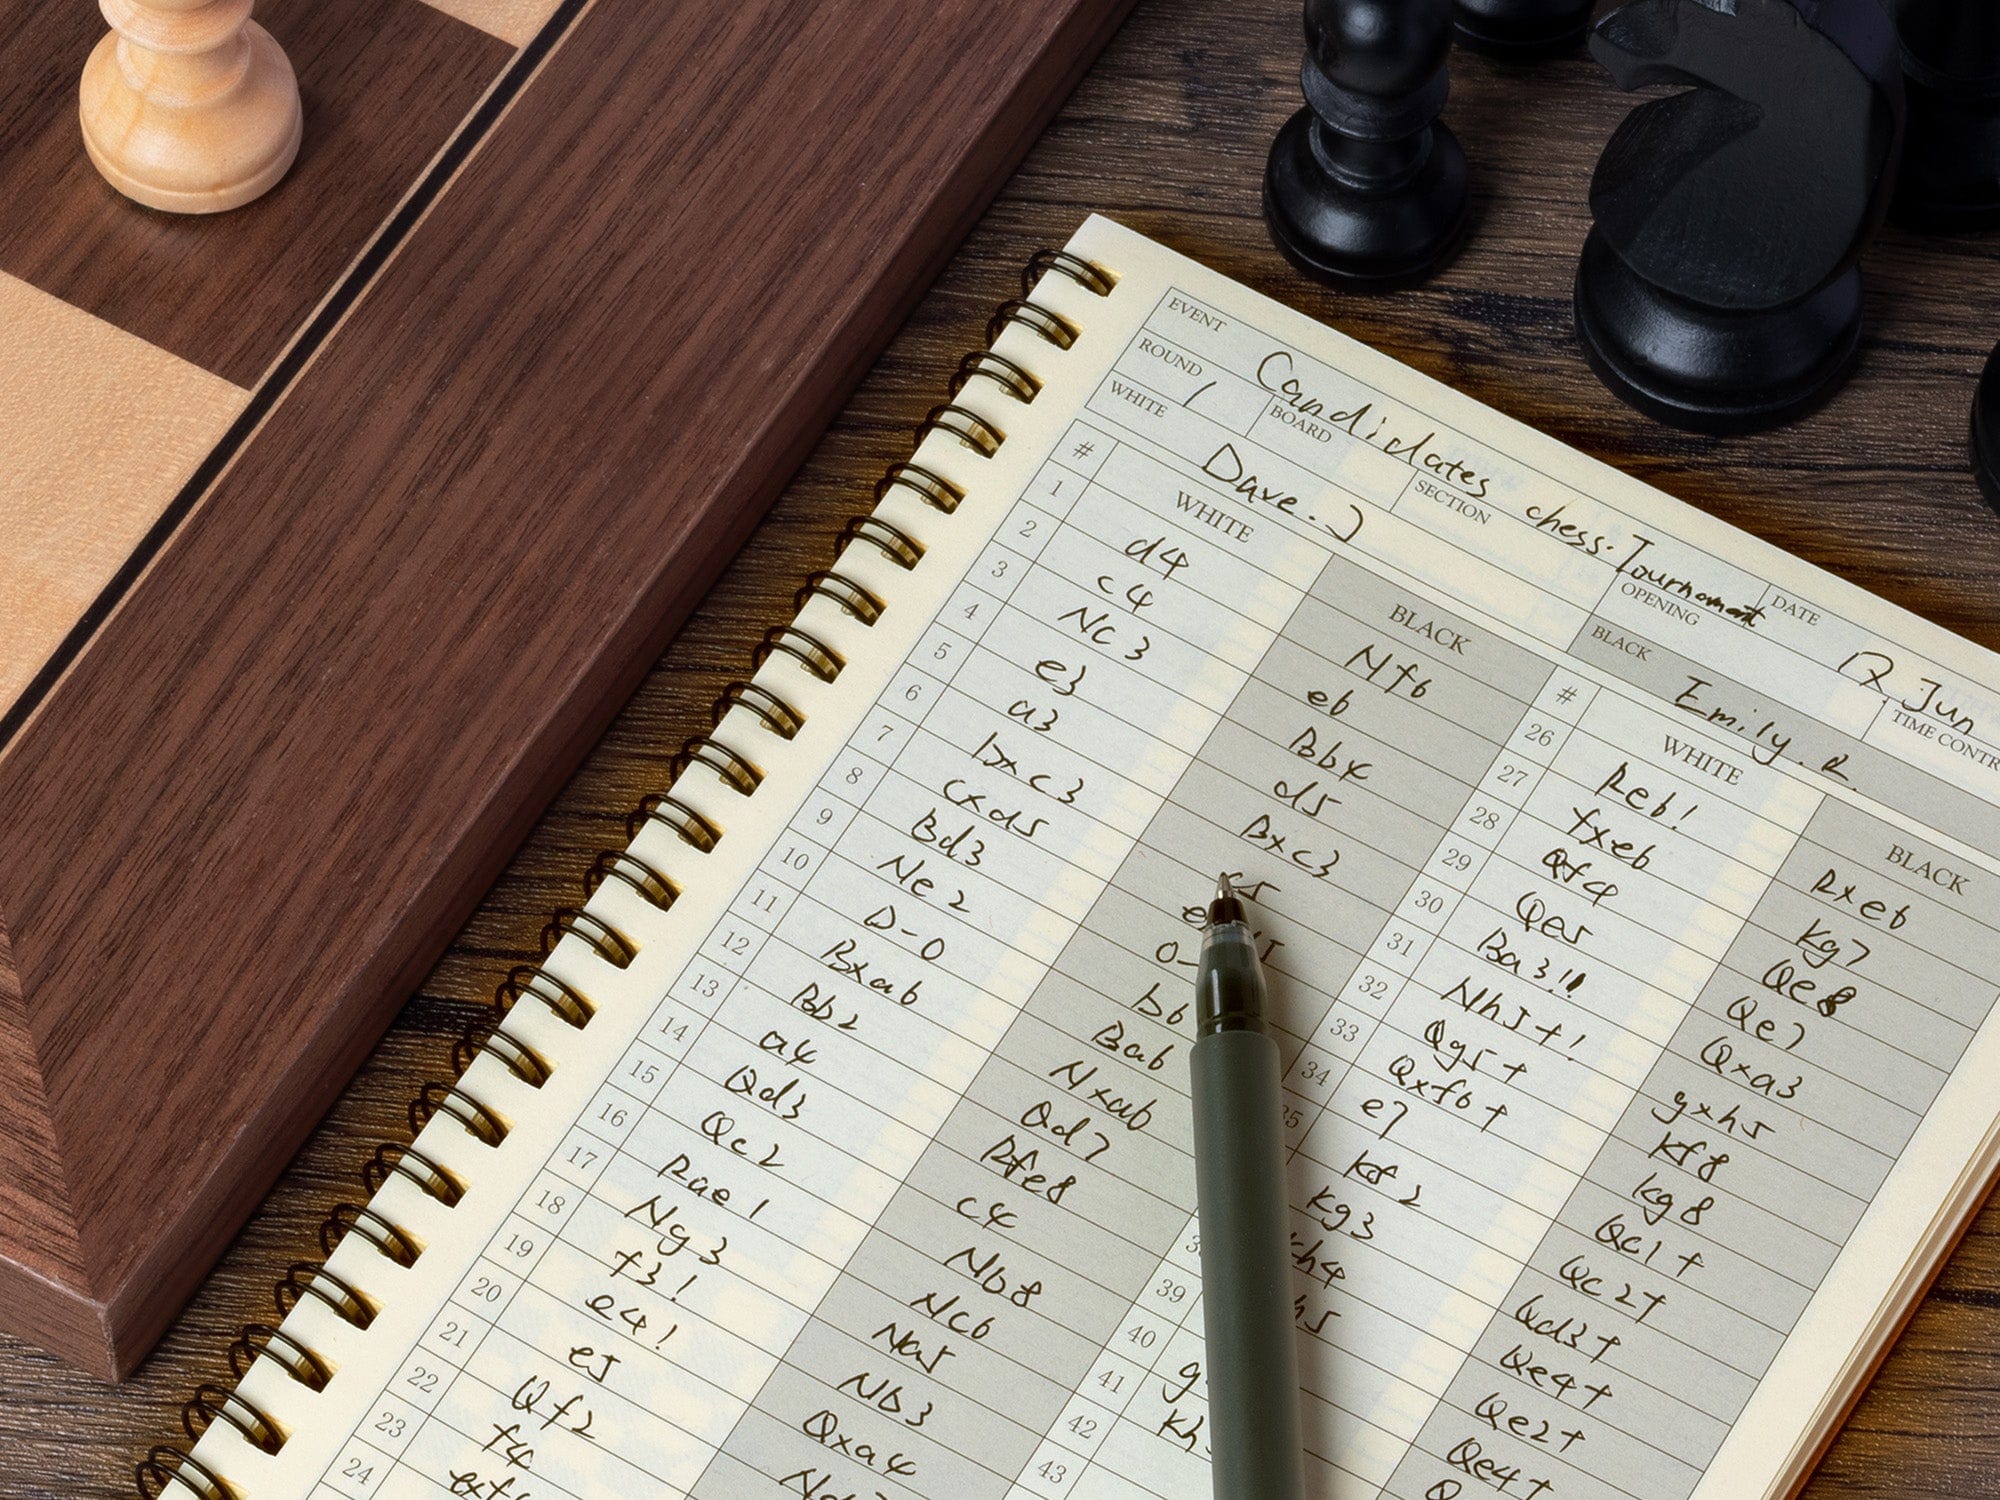
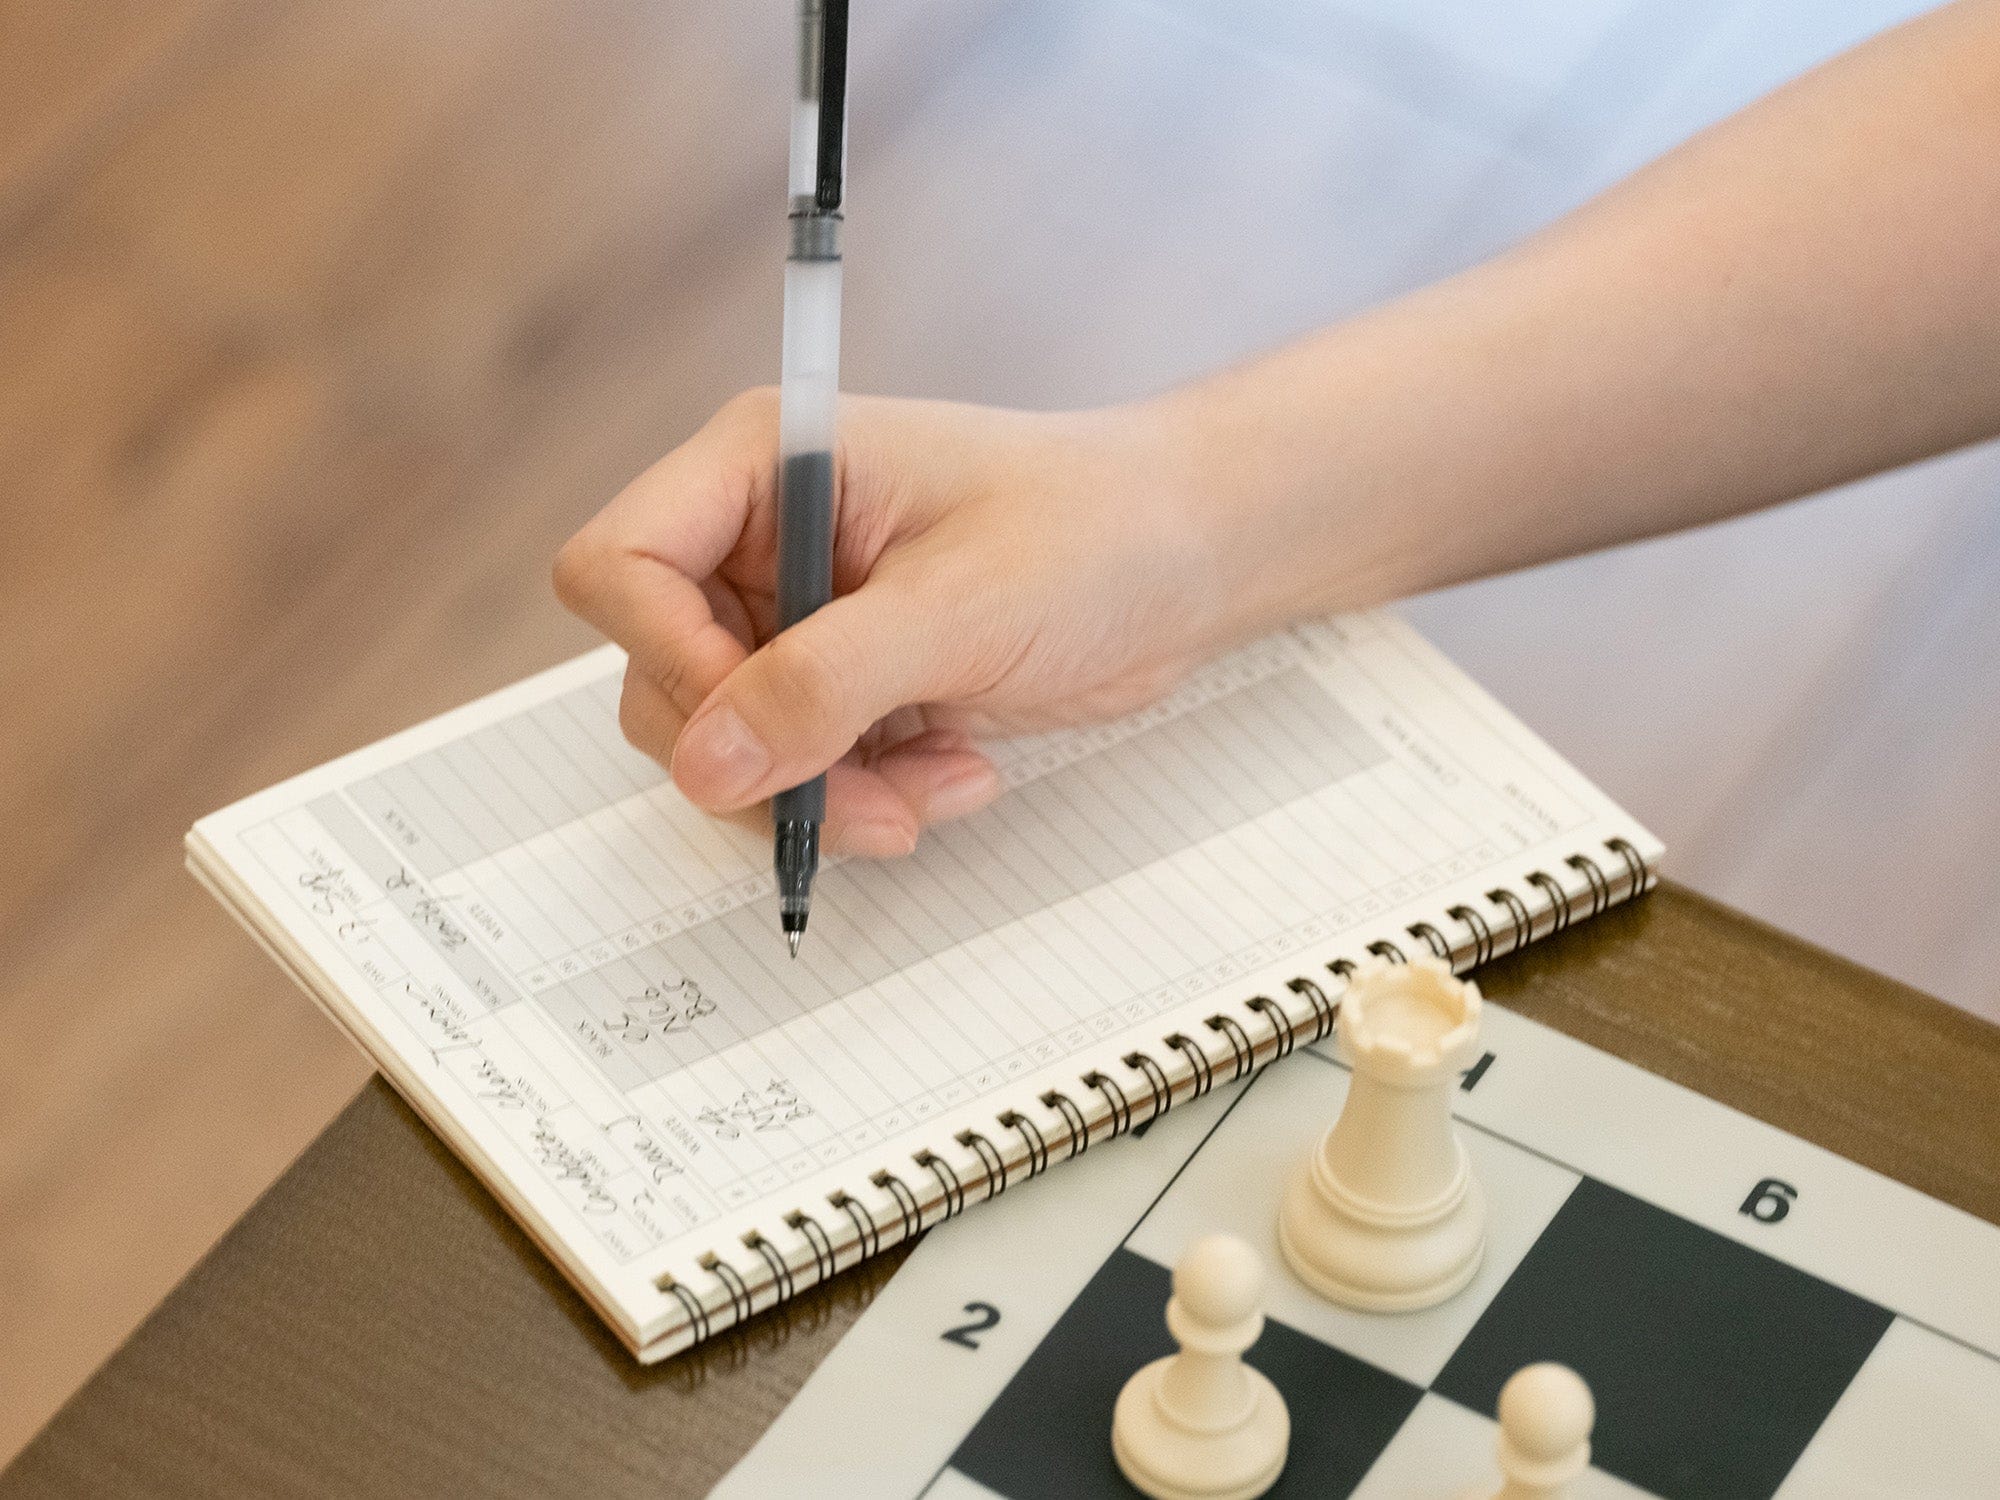
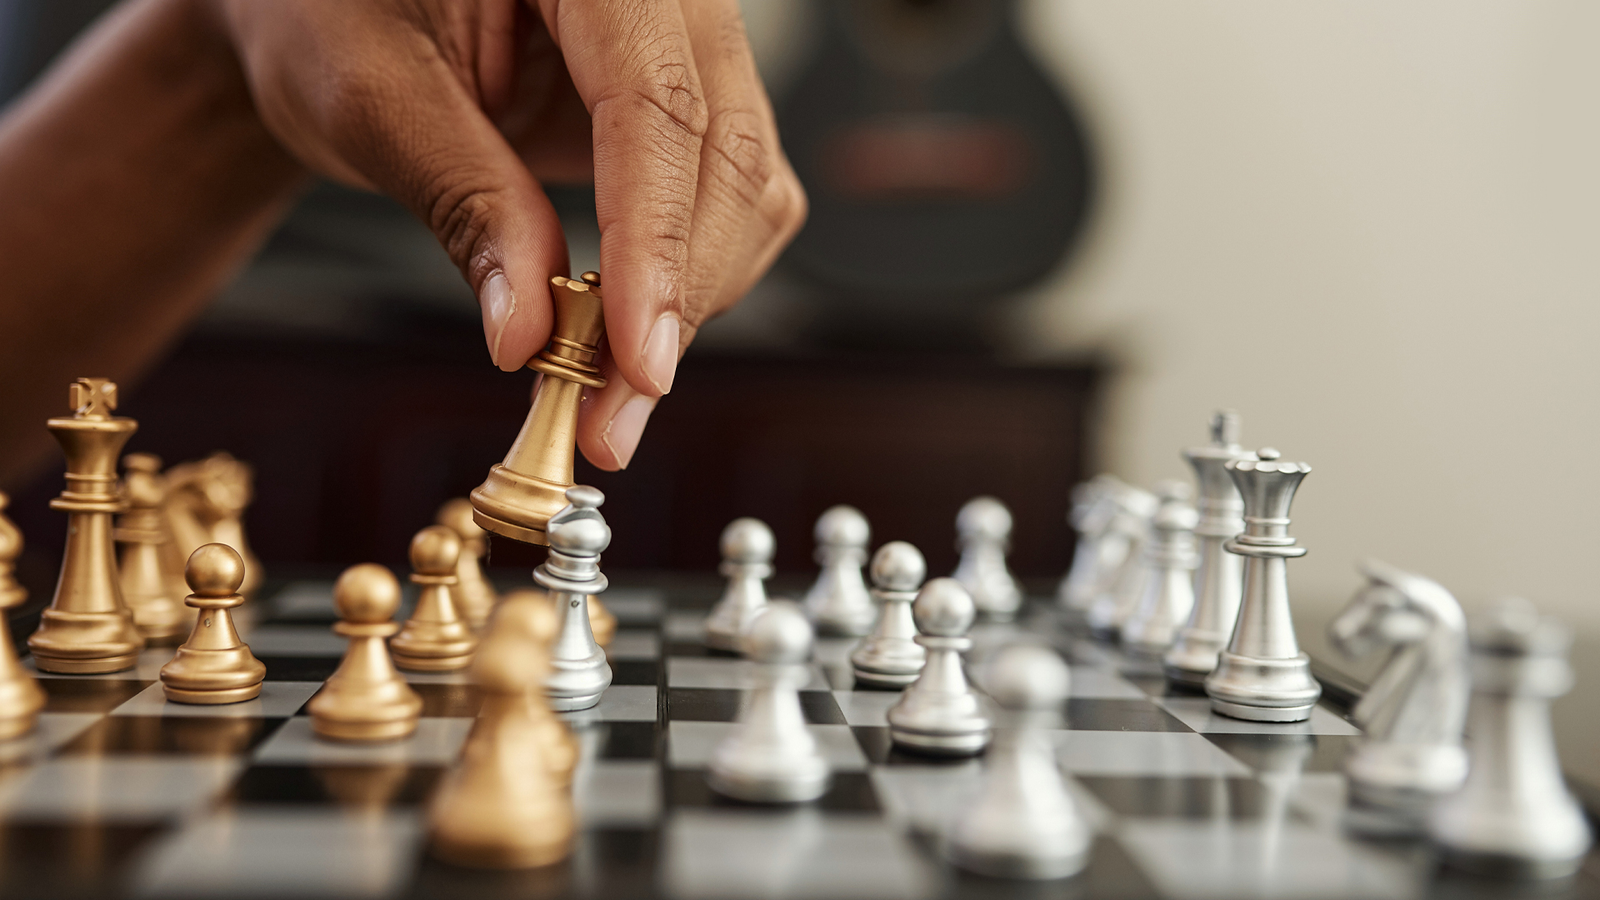
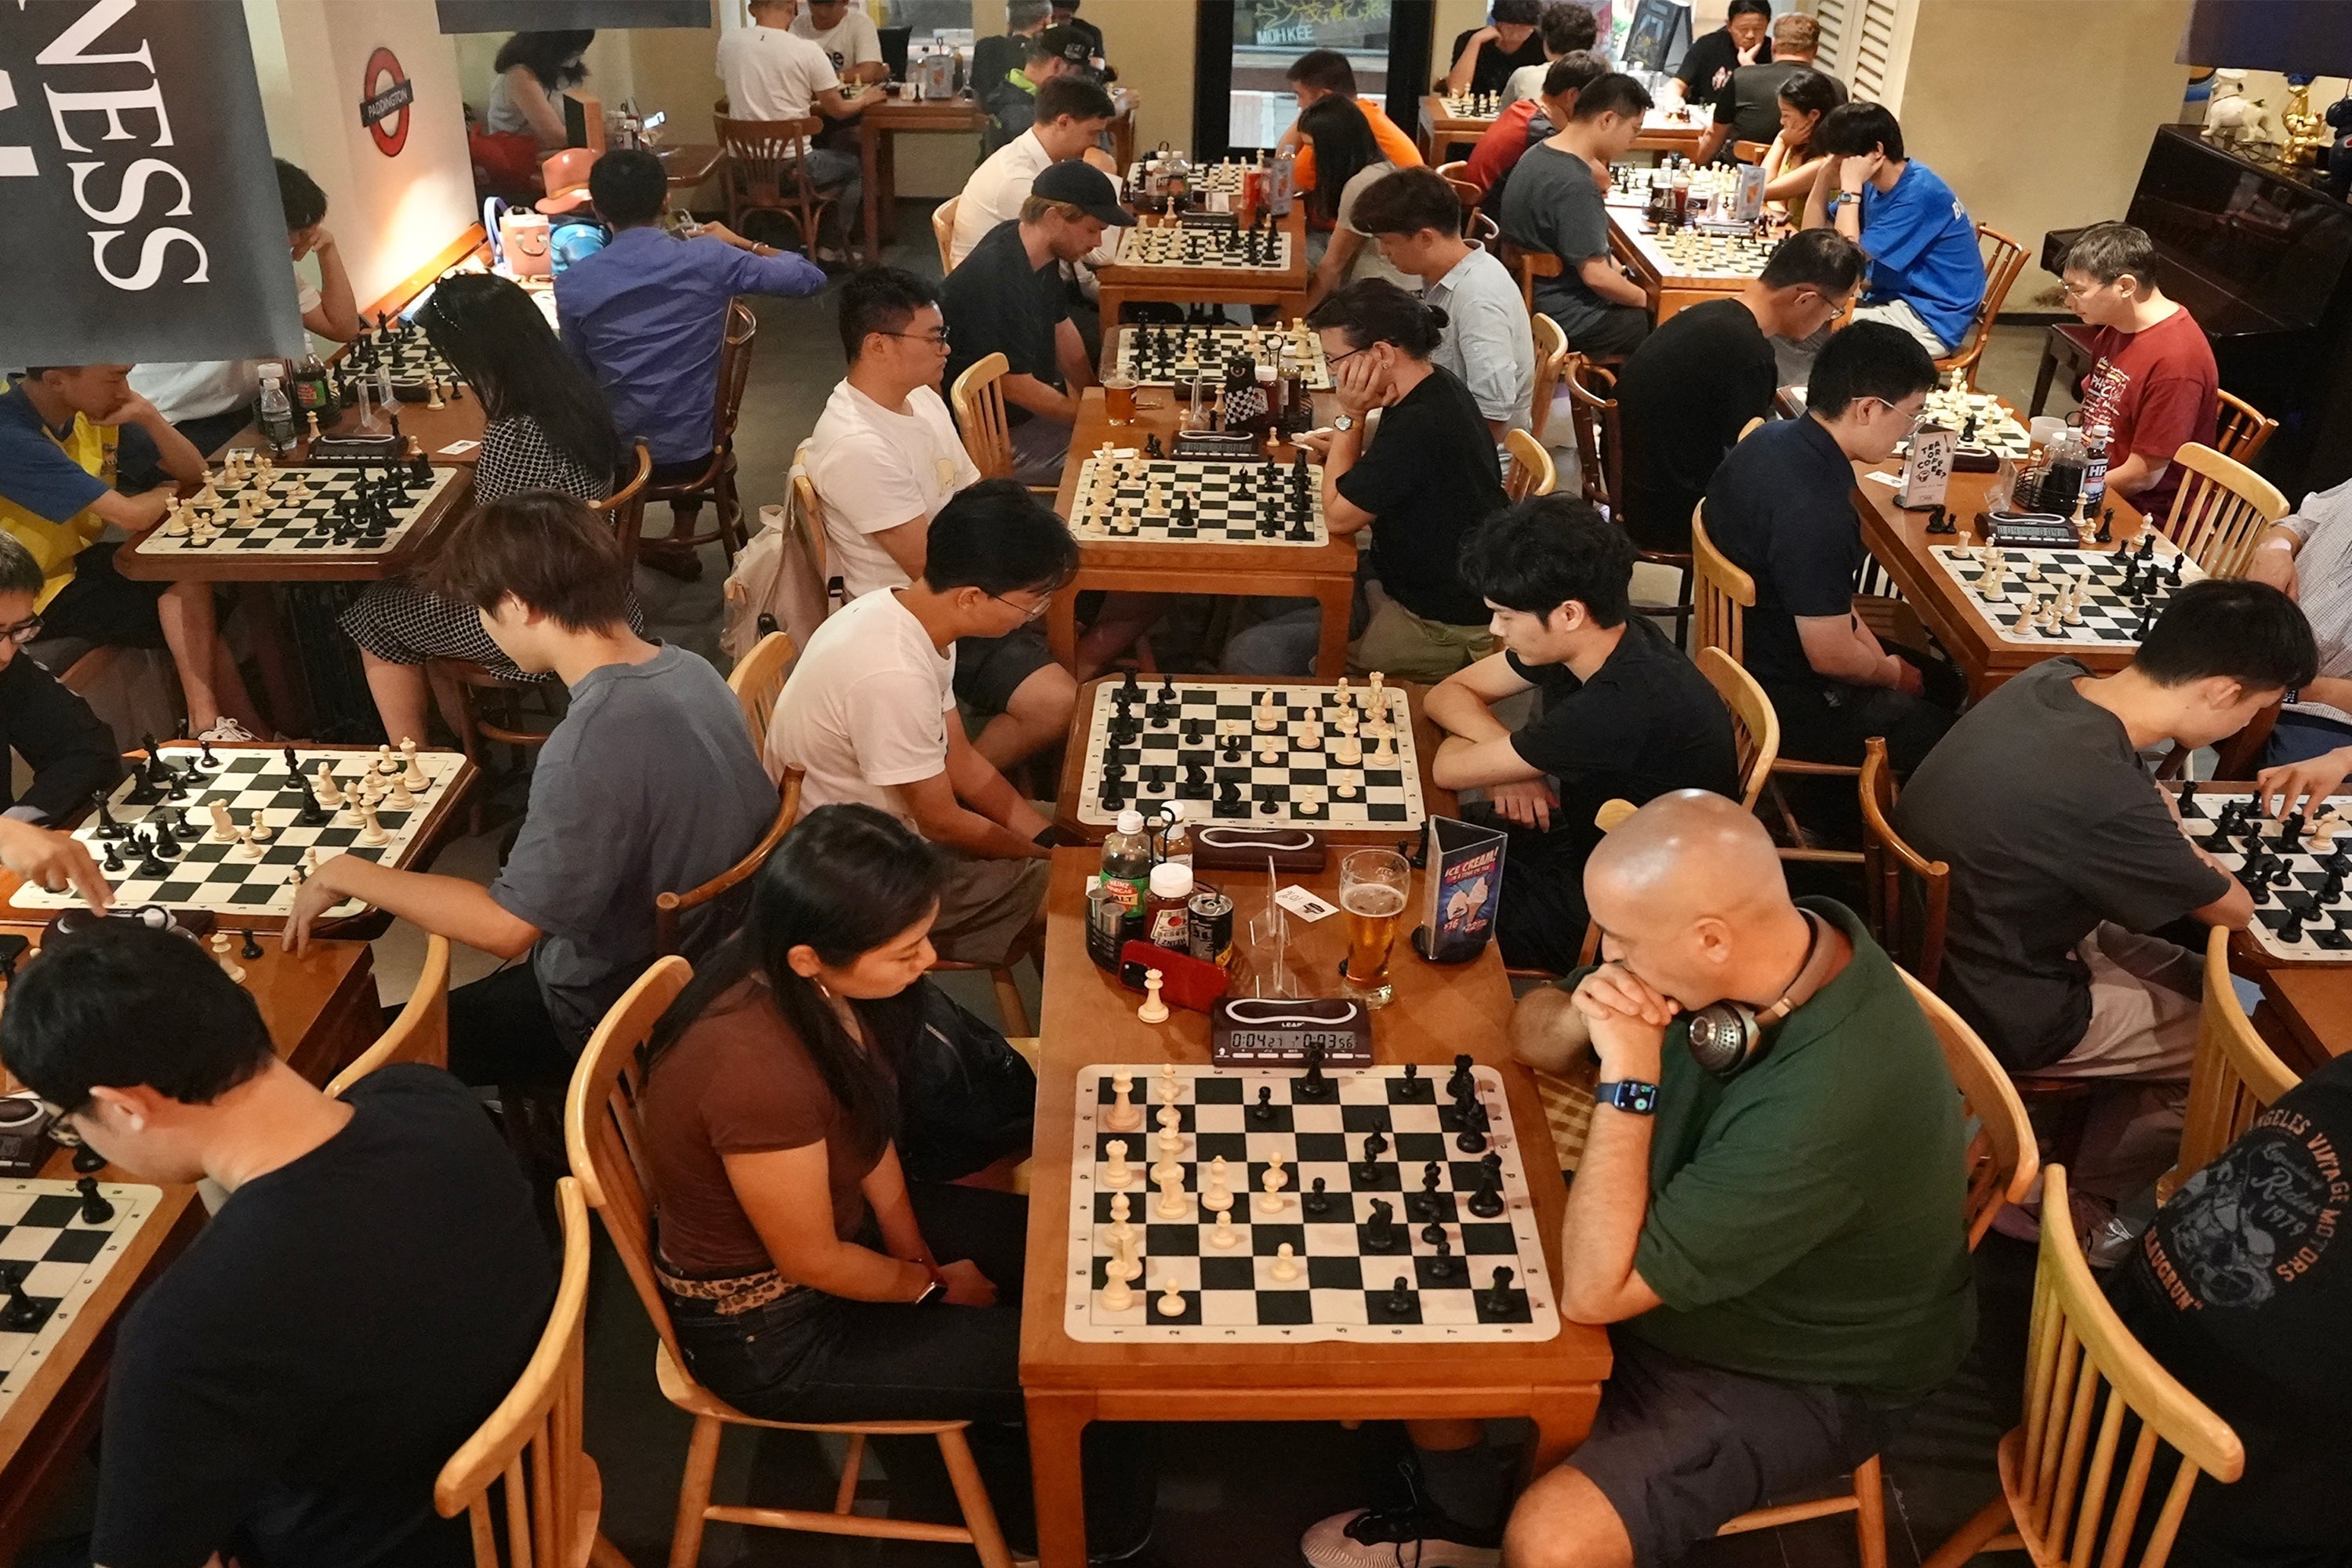
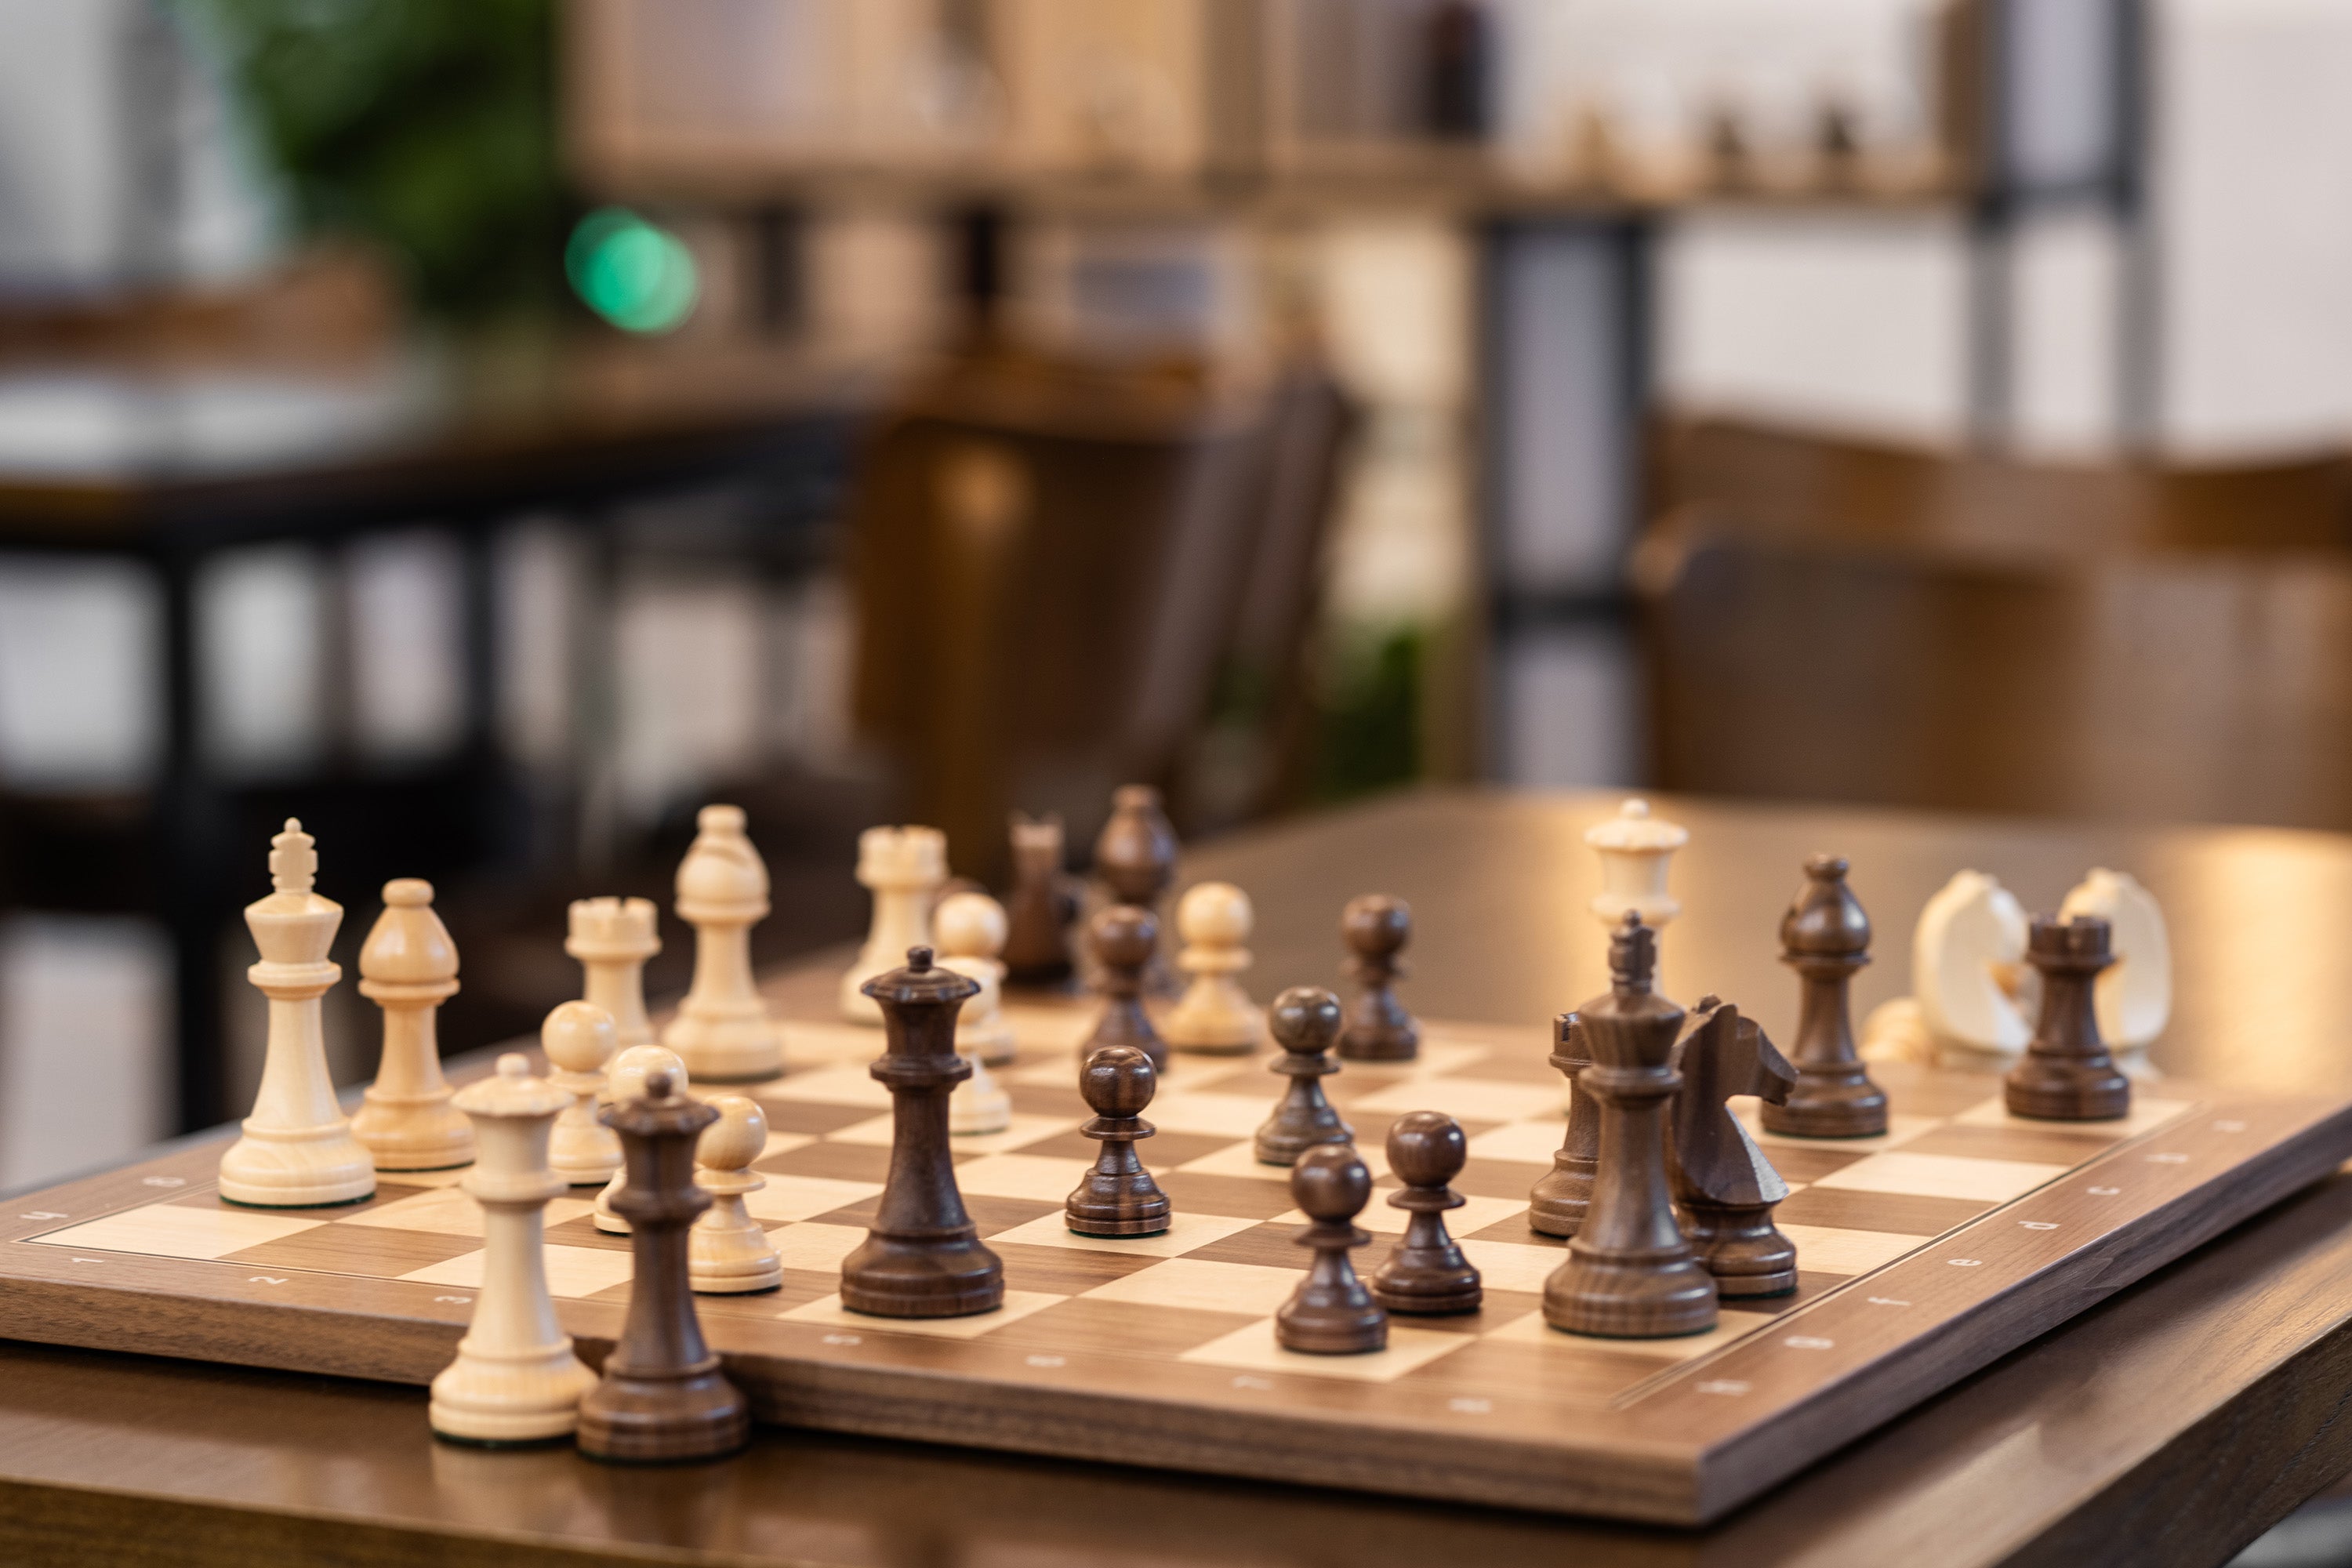
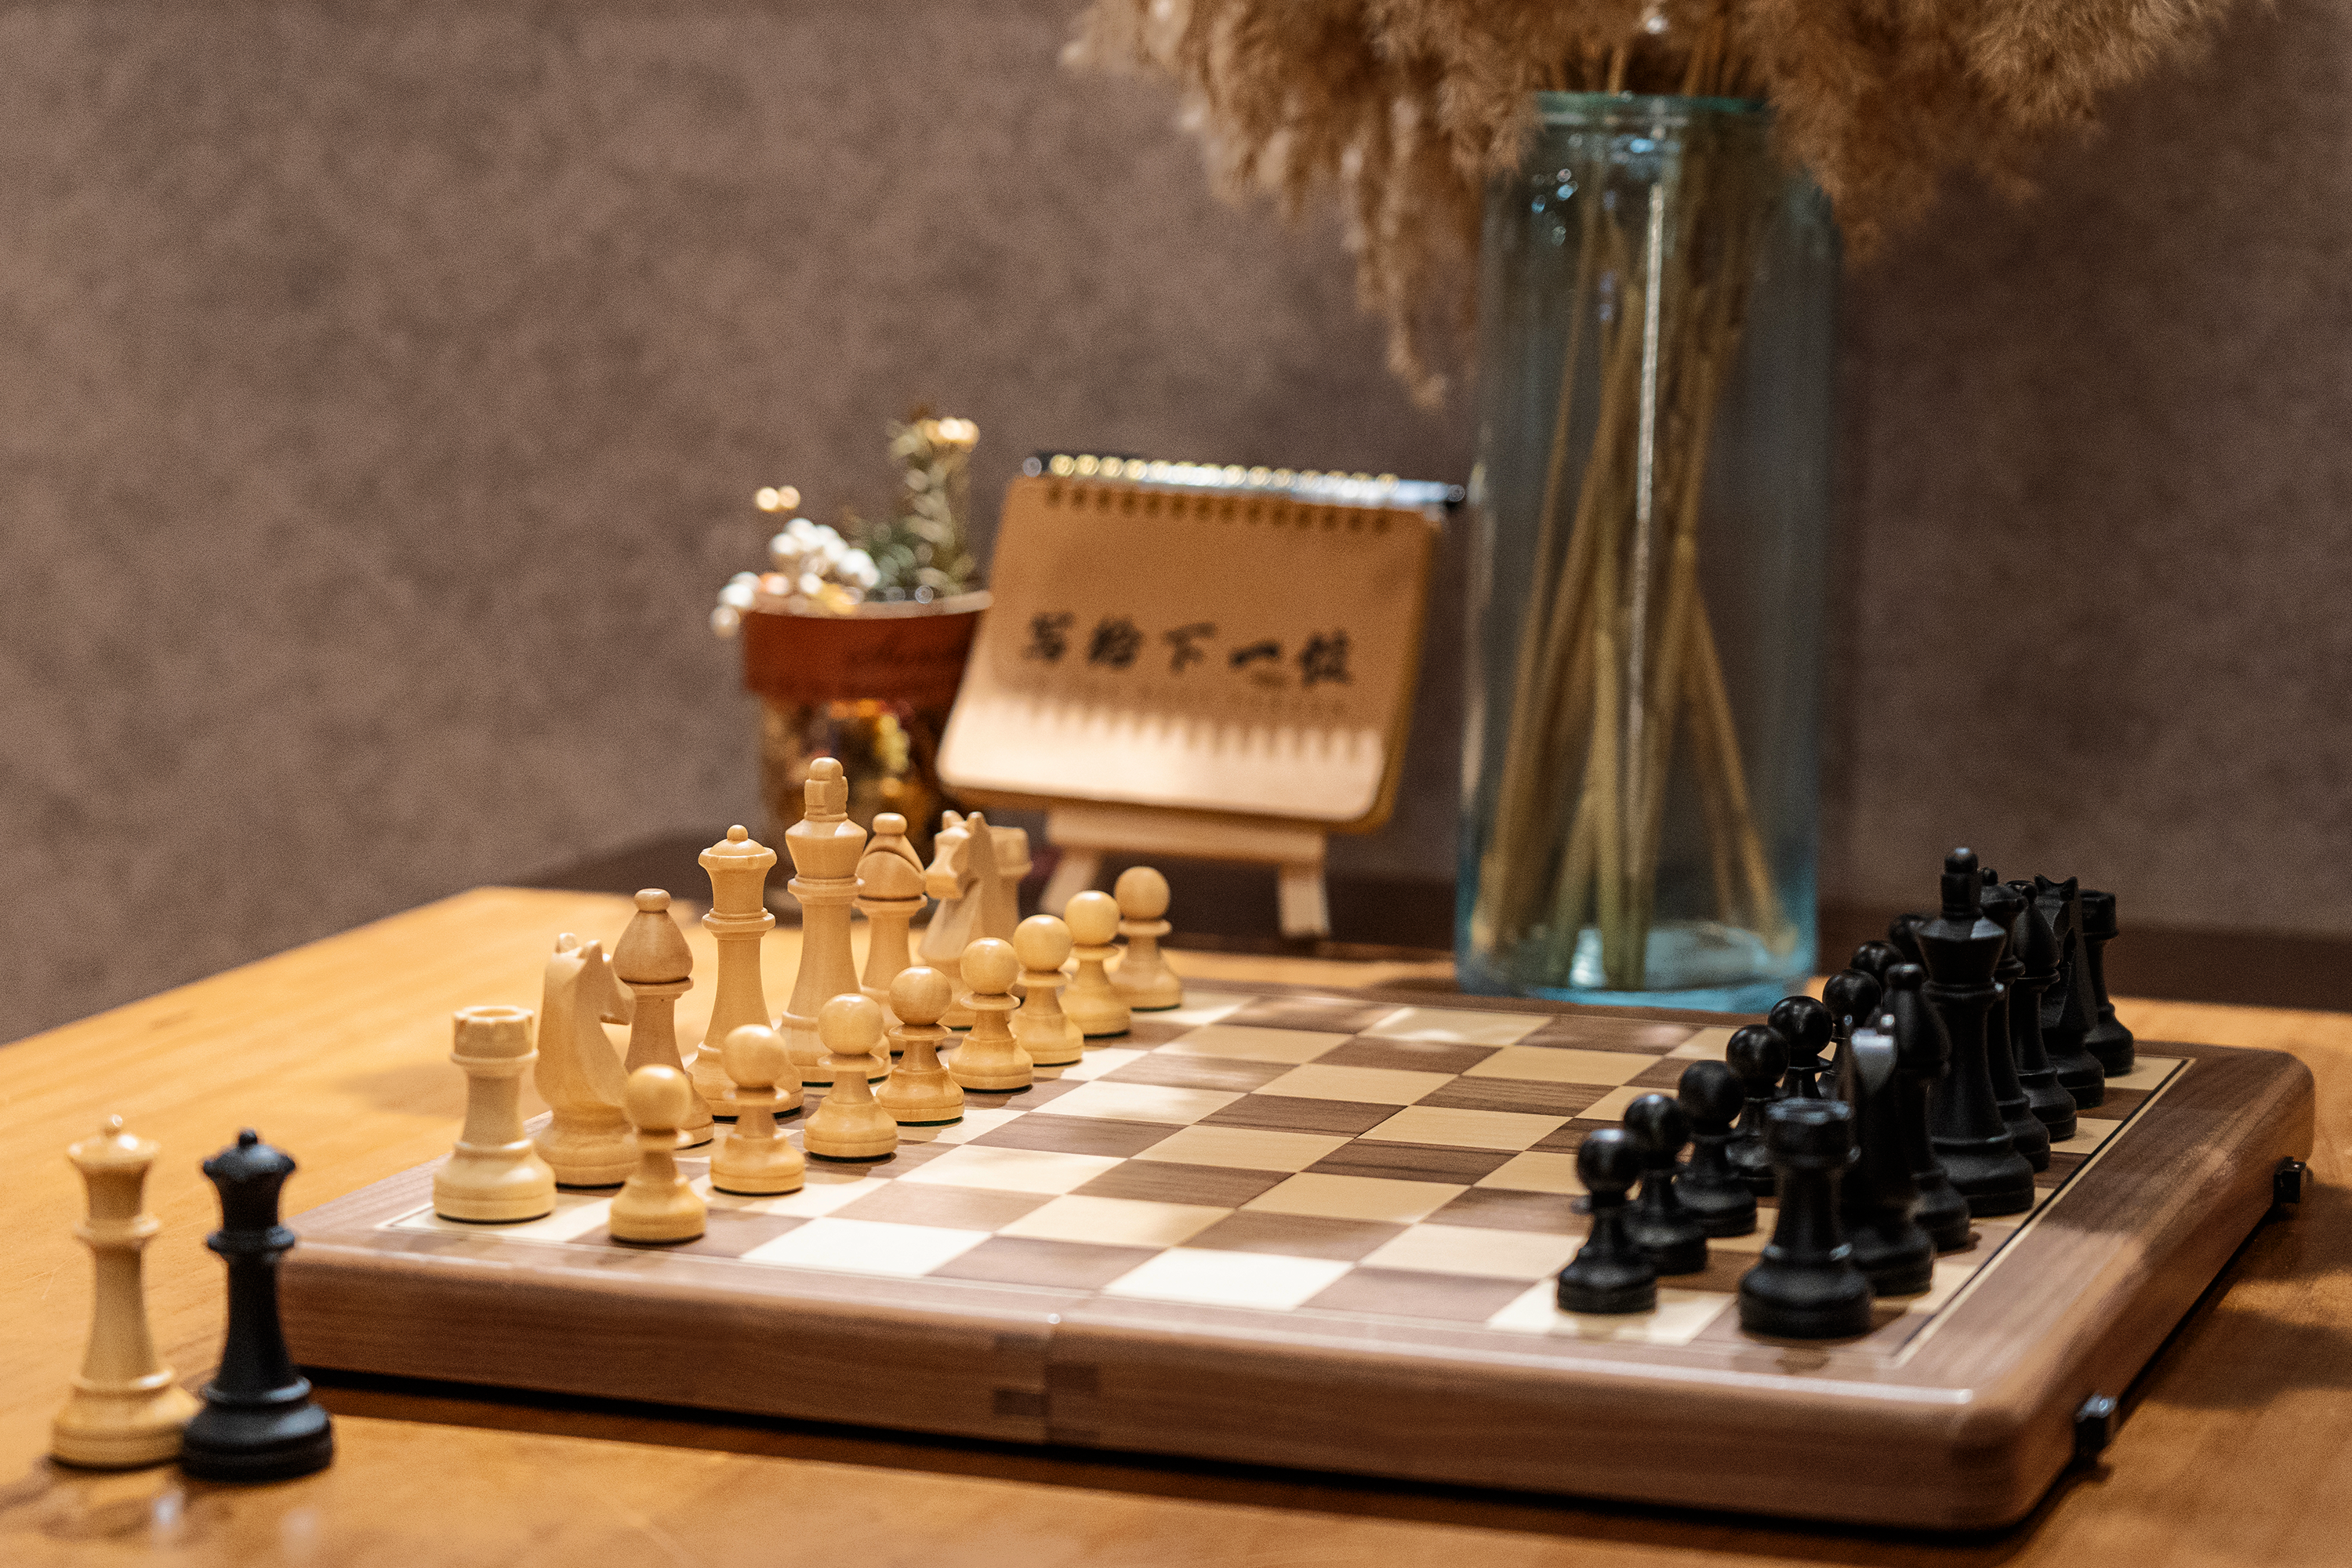
If you practice on a clear, tournament-style physical board, these patterns come faster. Consider using a readable chess set and steady, weighted chess pieces for drilling endgame positions. A robust set keeps pieces from sliding during long calculations and makes tactical repetition more satisfying—useful when you replay positions dozens of times.
2. The anatomy of a king-and-pawn ending

A king-and-pawn ending involves kings and pawns only (sometimes other minor pieces are present briefly). The key elements to evaluate:
King activity: Which king is more centralized and can reach key squares first?
Pawn structure: Are there passed pawns? Are pawns fixed on one side?
Tempo & opposition: Who moves at the right time?
Key squares: Squares that, when occupied by a king, force promotion or prevent it.
Potential for zugzwang: Positions where the side to move is at a disadvantage because any move worsens their position.
These pieces combine: a more active king plus an outside passed pawn often wins; a wrong-tempered pawn race often draws.
3. Opposition: the central rule
Opposition is the most frequently cited concept in king-and-pawn endgames. In its simplest form, opposition occurs when the kings face each other with one square between them:
If it’s Black’s move here, White has the opposition because Black must step away first and cede squares. The player who has the opposition typically can force the opposing king away from key squares and create paths for pawns.
There are three opposition types to know:
Direct opposition: Kings on same file or rank with one square between them (e.g., Ke5 vs Ke7).
Diagonal opposition: Kings on the same diagonal with one square between (e.g., Kf5 vs Ke7 with diagonal separation).
Distant opposition: Kings separated by more than one square but the idea is the same—who reaches the critical square with control.
Practical rule: If you can force the opponent’s king backward while keeping your king in front of your advancing pawn, you often convert to a win.
Example (simple):
White: King on e5, pawn on e4. Black: King on e7.
If it’s Black to move, they have no good way to stop White’s king from approaching and supporting e-pawn promotion. White uses opposition to shepherd the pawn.
Opposition is central when evaluating whether to trade into a king-and-pawn ending: if you can take the opposition, the ending is promising.
4. Key squares and the concept of promotion zone
Key squares are squares that, if your king can occupy them, your pawn will be unstoppable. For a given pawn (not counting rook or knight pawns), the rule of thumb:A pawn on the 2nd or 3rd rank (from White’s perspective): If the attacking king reaches the “key squares” ahead of the pawn, promotion is forced even if the enemy king tries to block.
Commonly used simplified table (White pawn, empty board, best-case scenario):
| Pawn Rank (White) | Key Squares (example) |
|---|---|
| 2 (a2–g2) | 4th rank squares in front of the pawn (a4–g4) |
| 3 (a3–g3) | 4th & 5th rank squares depending on file |
| 4 (a4–g4) | 5th rank (and nearby) — very strong |
| 5 (a5–g5) | 6th rank — often decisive |
| 6 (a6–g6) | Close to promotion — only a few moves away |
More concretely: If White has a pawn on e4 and White’s king can reach d6/e6/f6 (key squares) before Black’s king can blockade, White typically wins.
Practical tip: When you see a candidate pawn race, quickly compute which side’s king can reach key squares first. If you can get your king into the key squares you should usually trade pieces and head into the pawn ending.
5. Outside passed pawn: how and why it wins
An outside passed pawn is a pawn on the flank (a- or h-file often) that draws the defender’s king away from stopping a more central or opposite-side passed pawn. The classic idea: while your opponent’s king is busy stopping your outside pawn, your king will penetrate the opponent’s position on the other side and support the promotion of a second pawn.
Typical plan:
Create or push an outside passed pawn (e.g., a-pawn).
Force the opponent’s king to chase it.
Use your king to break through on the other side, often capturing a crucial pawn or supporting your remaining central pawn to promotion.
Illustrative sequence (conceptual):
White pawns: a4 and e4. Black pawns: e5. Kings mostly blocked in center.
White pushes a4–a5–a6. Black’s king must chase the a-pawn. While Black’s king is chasing, White’s king slips through via the center (f4–e5–d6) to escort the e-pawn to promotion.
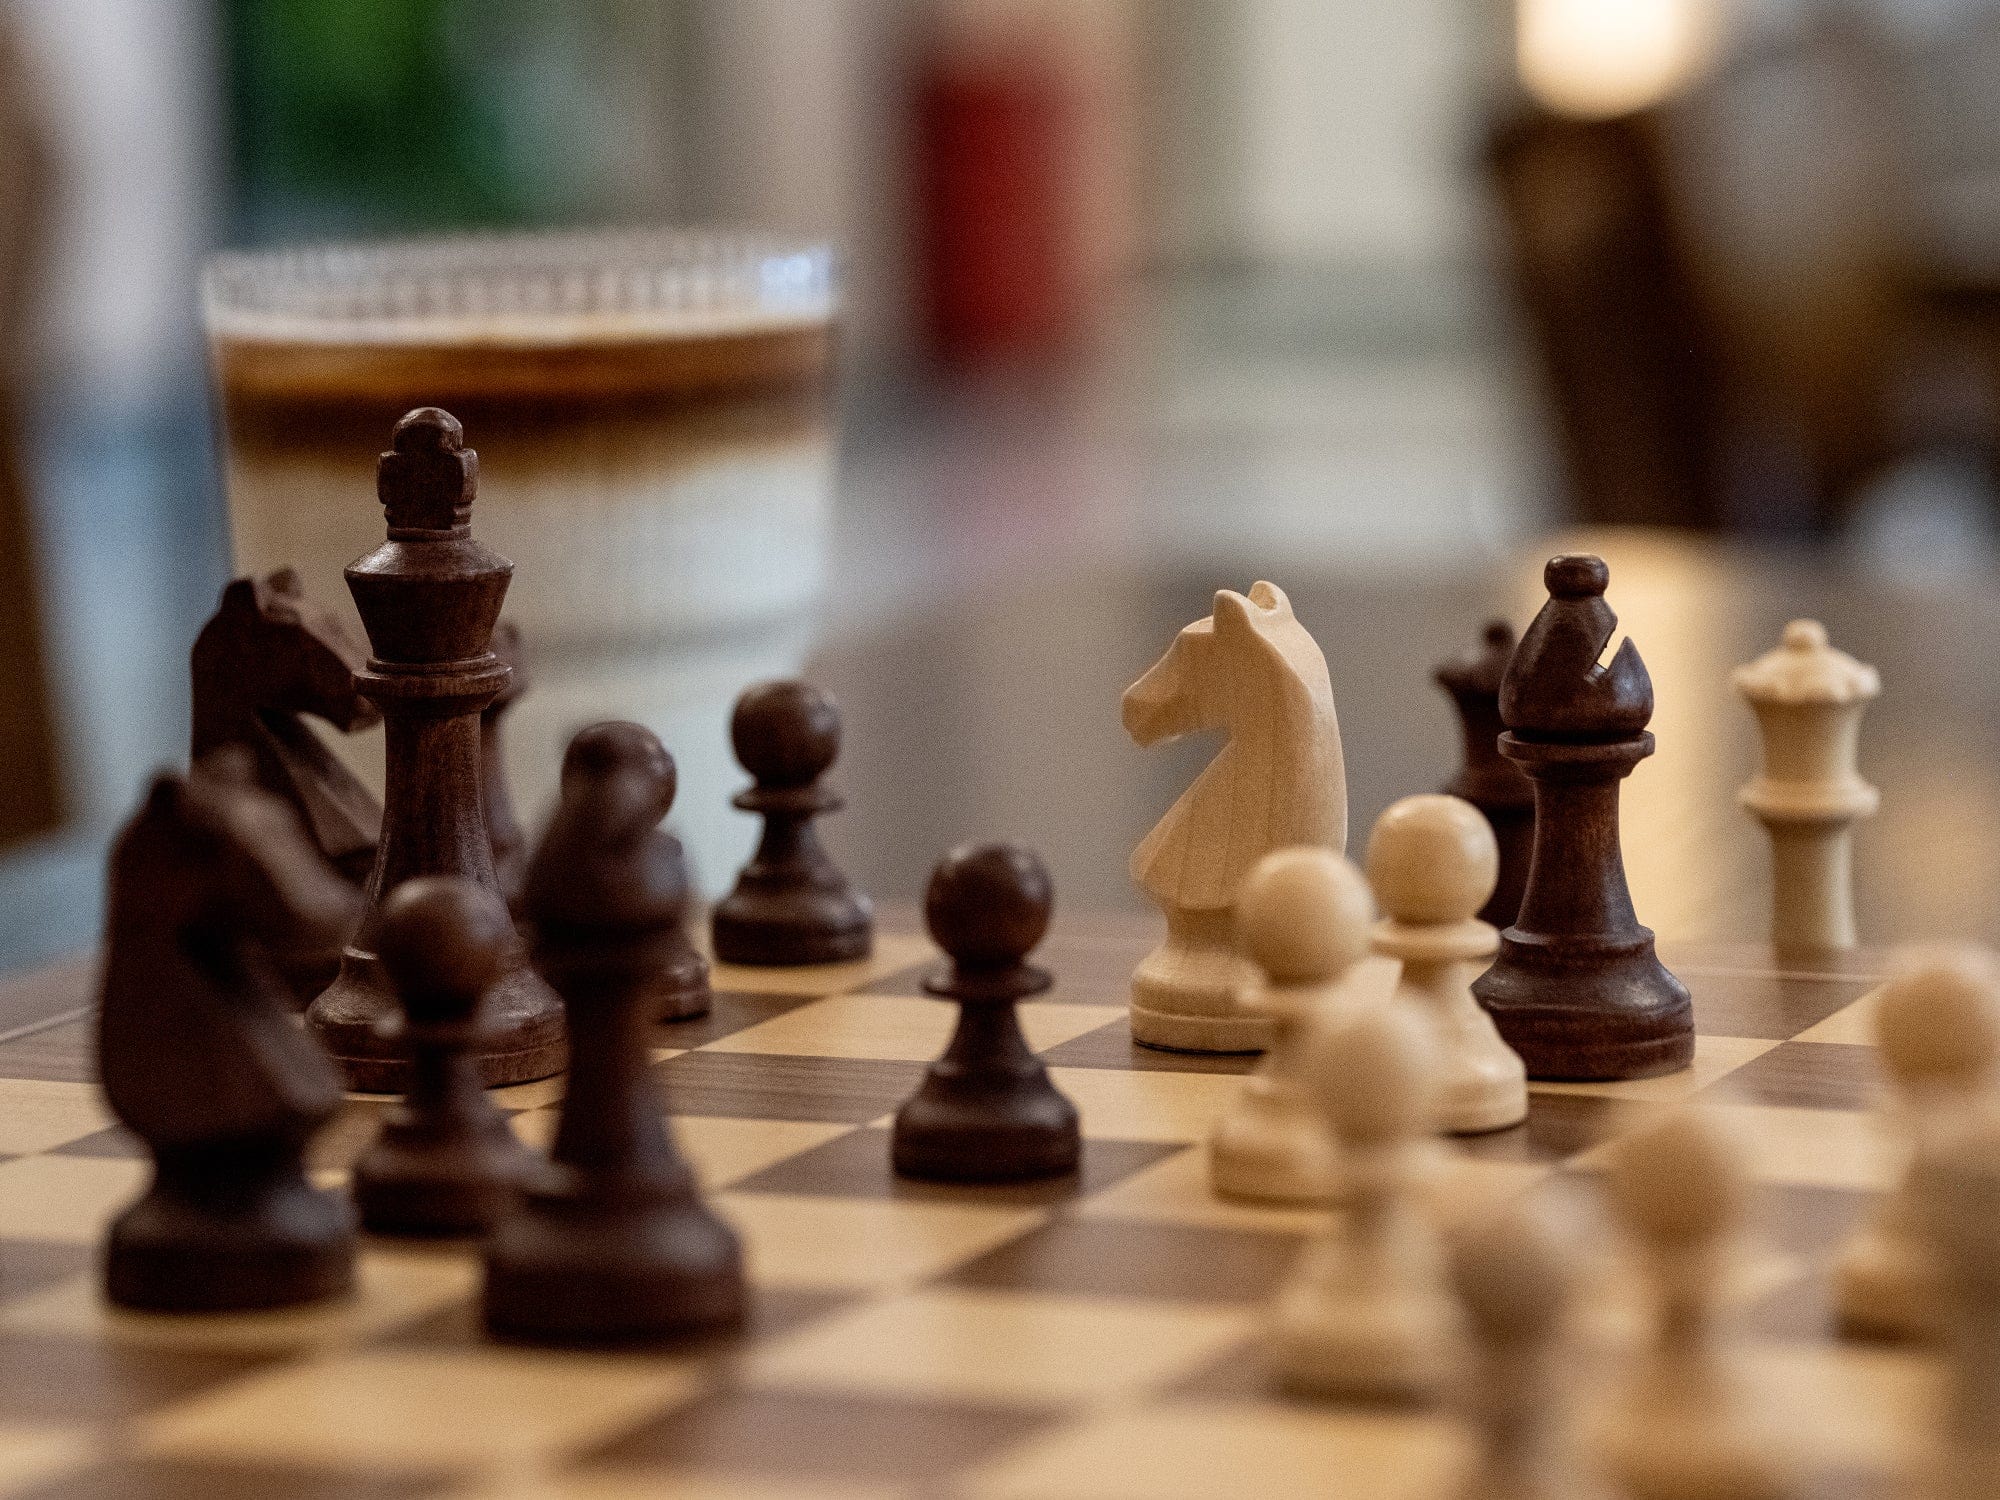
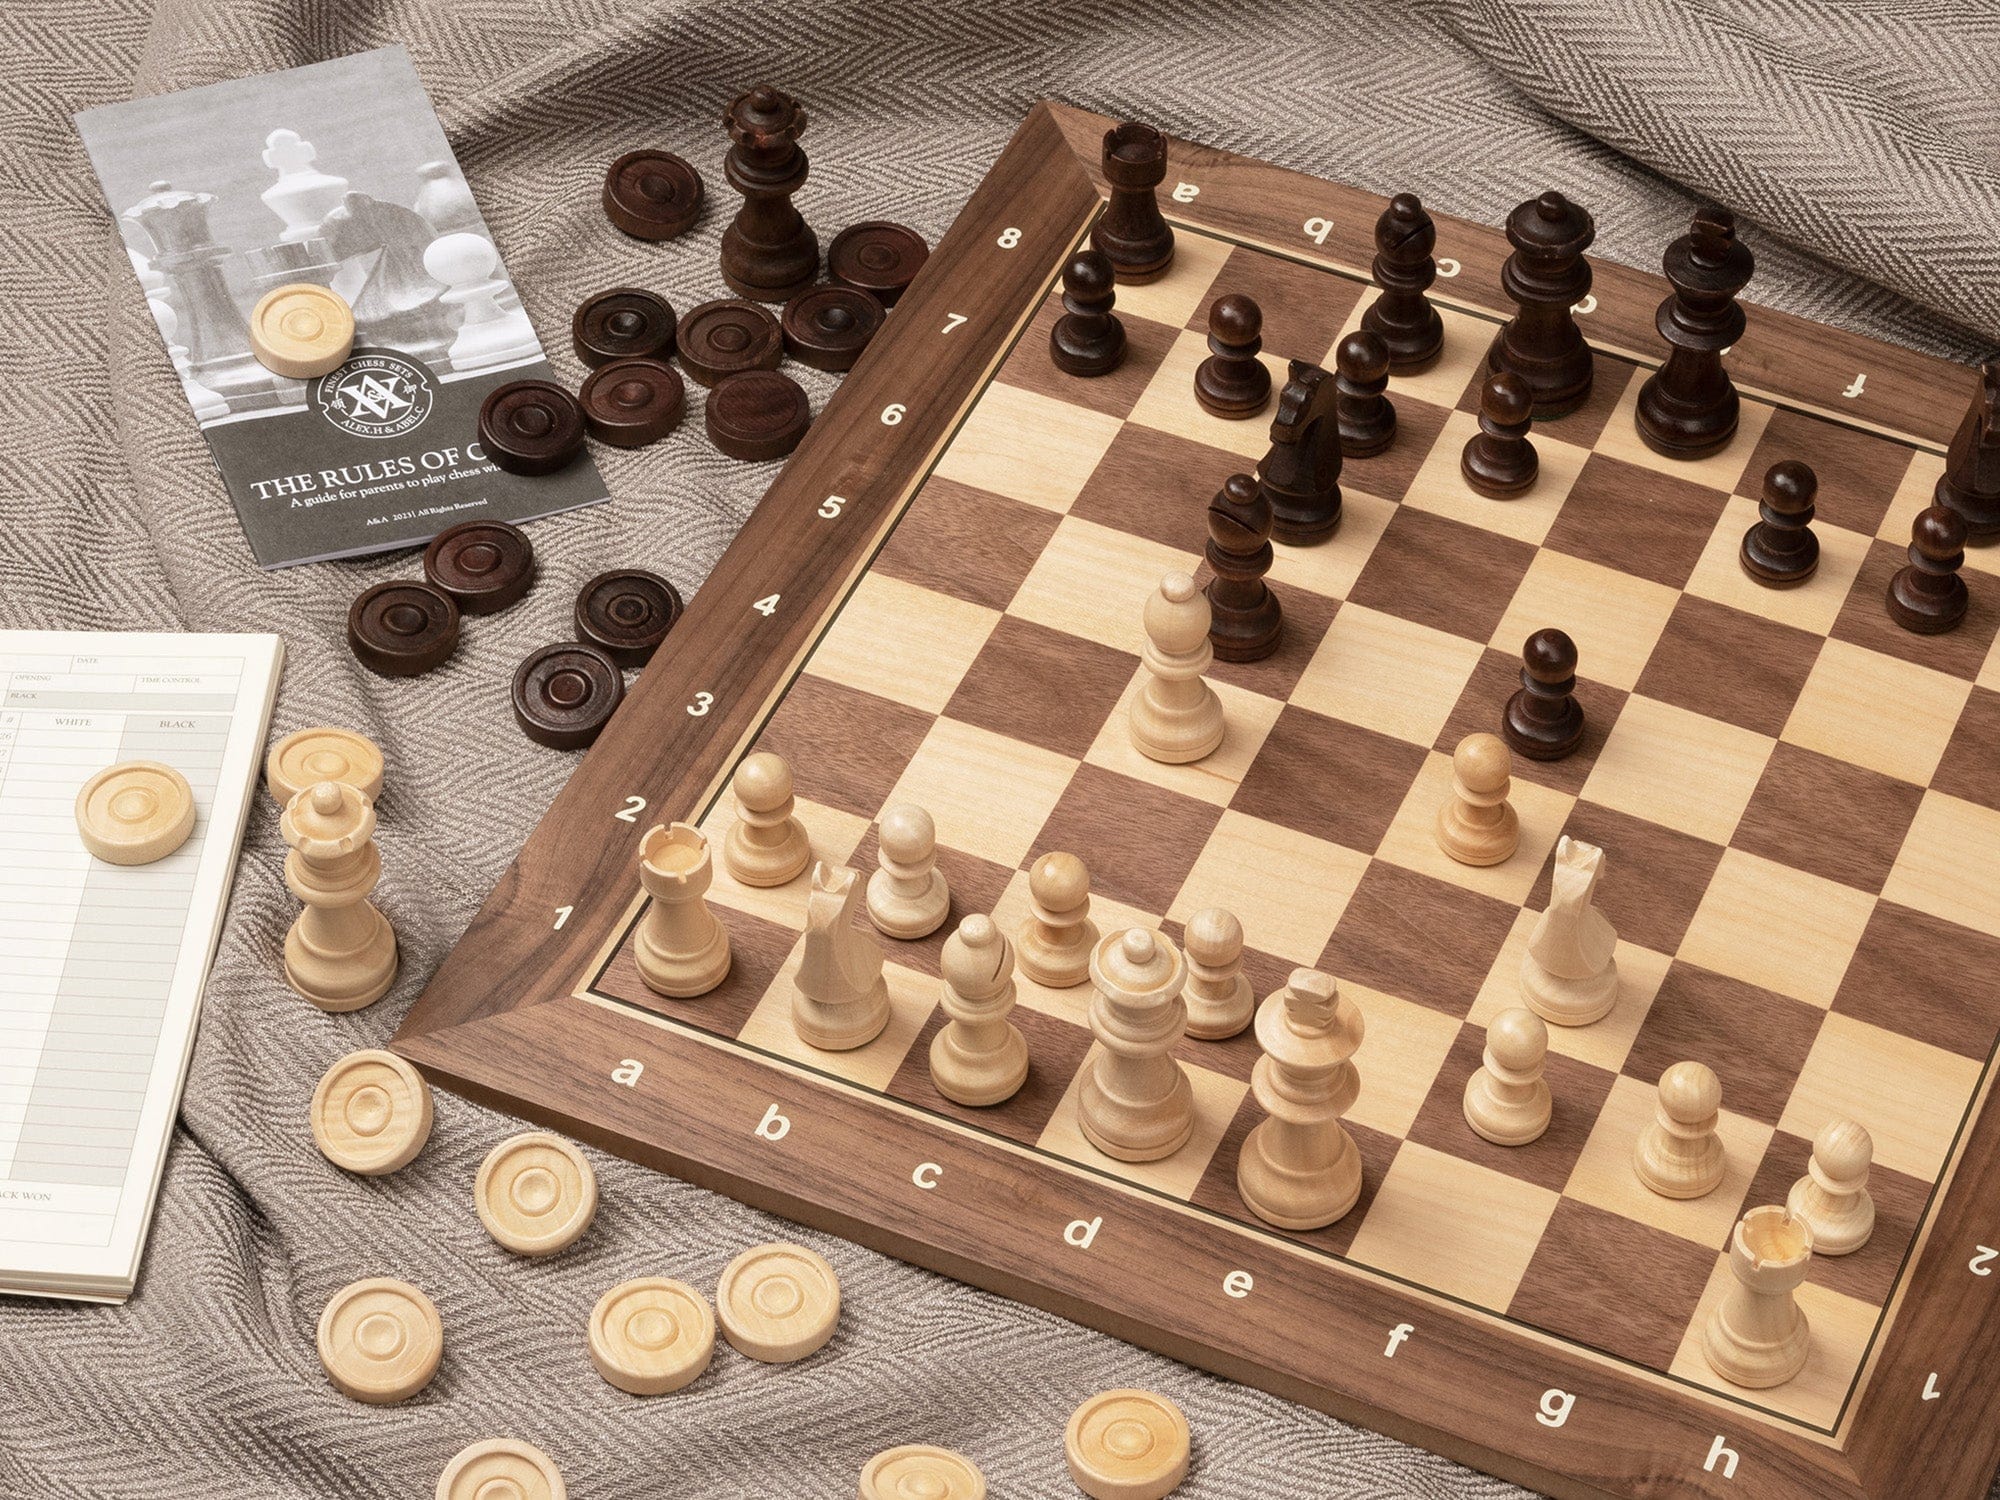
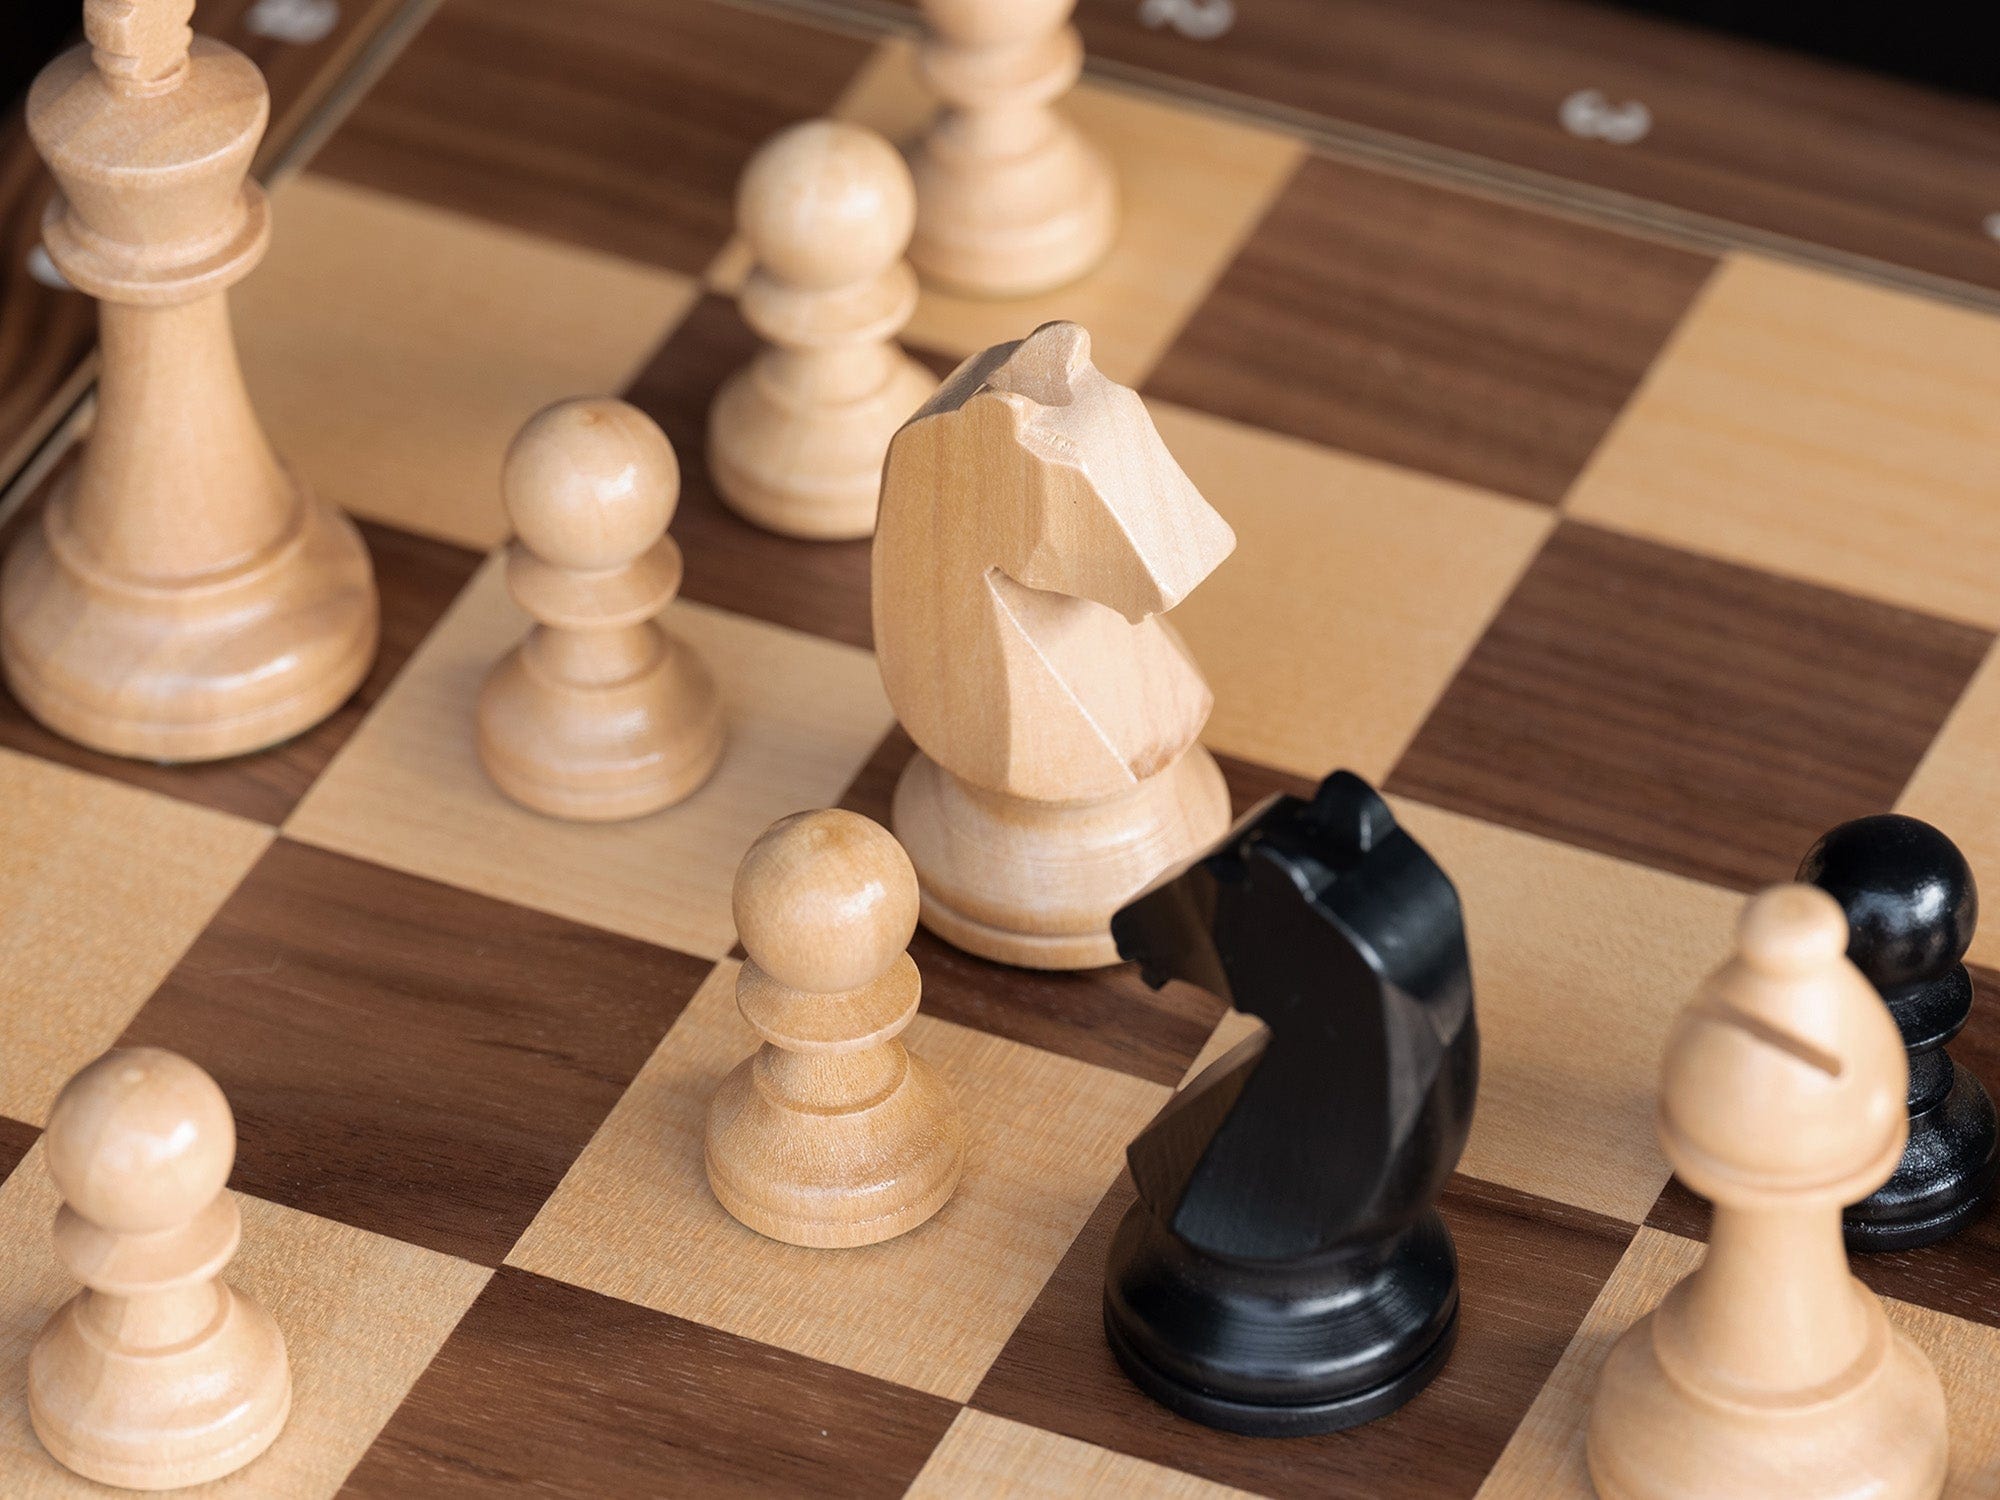
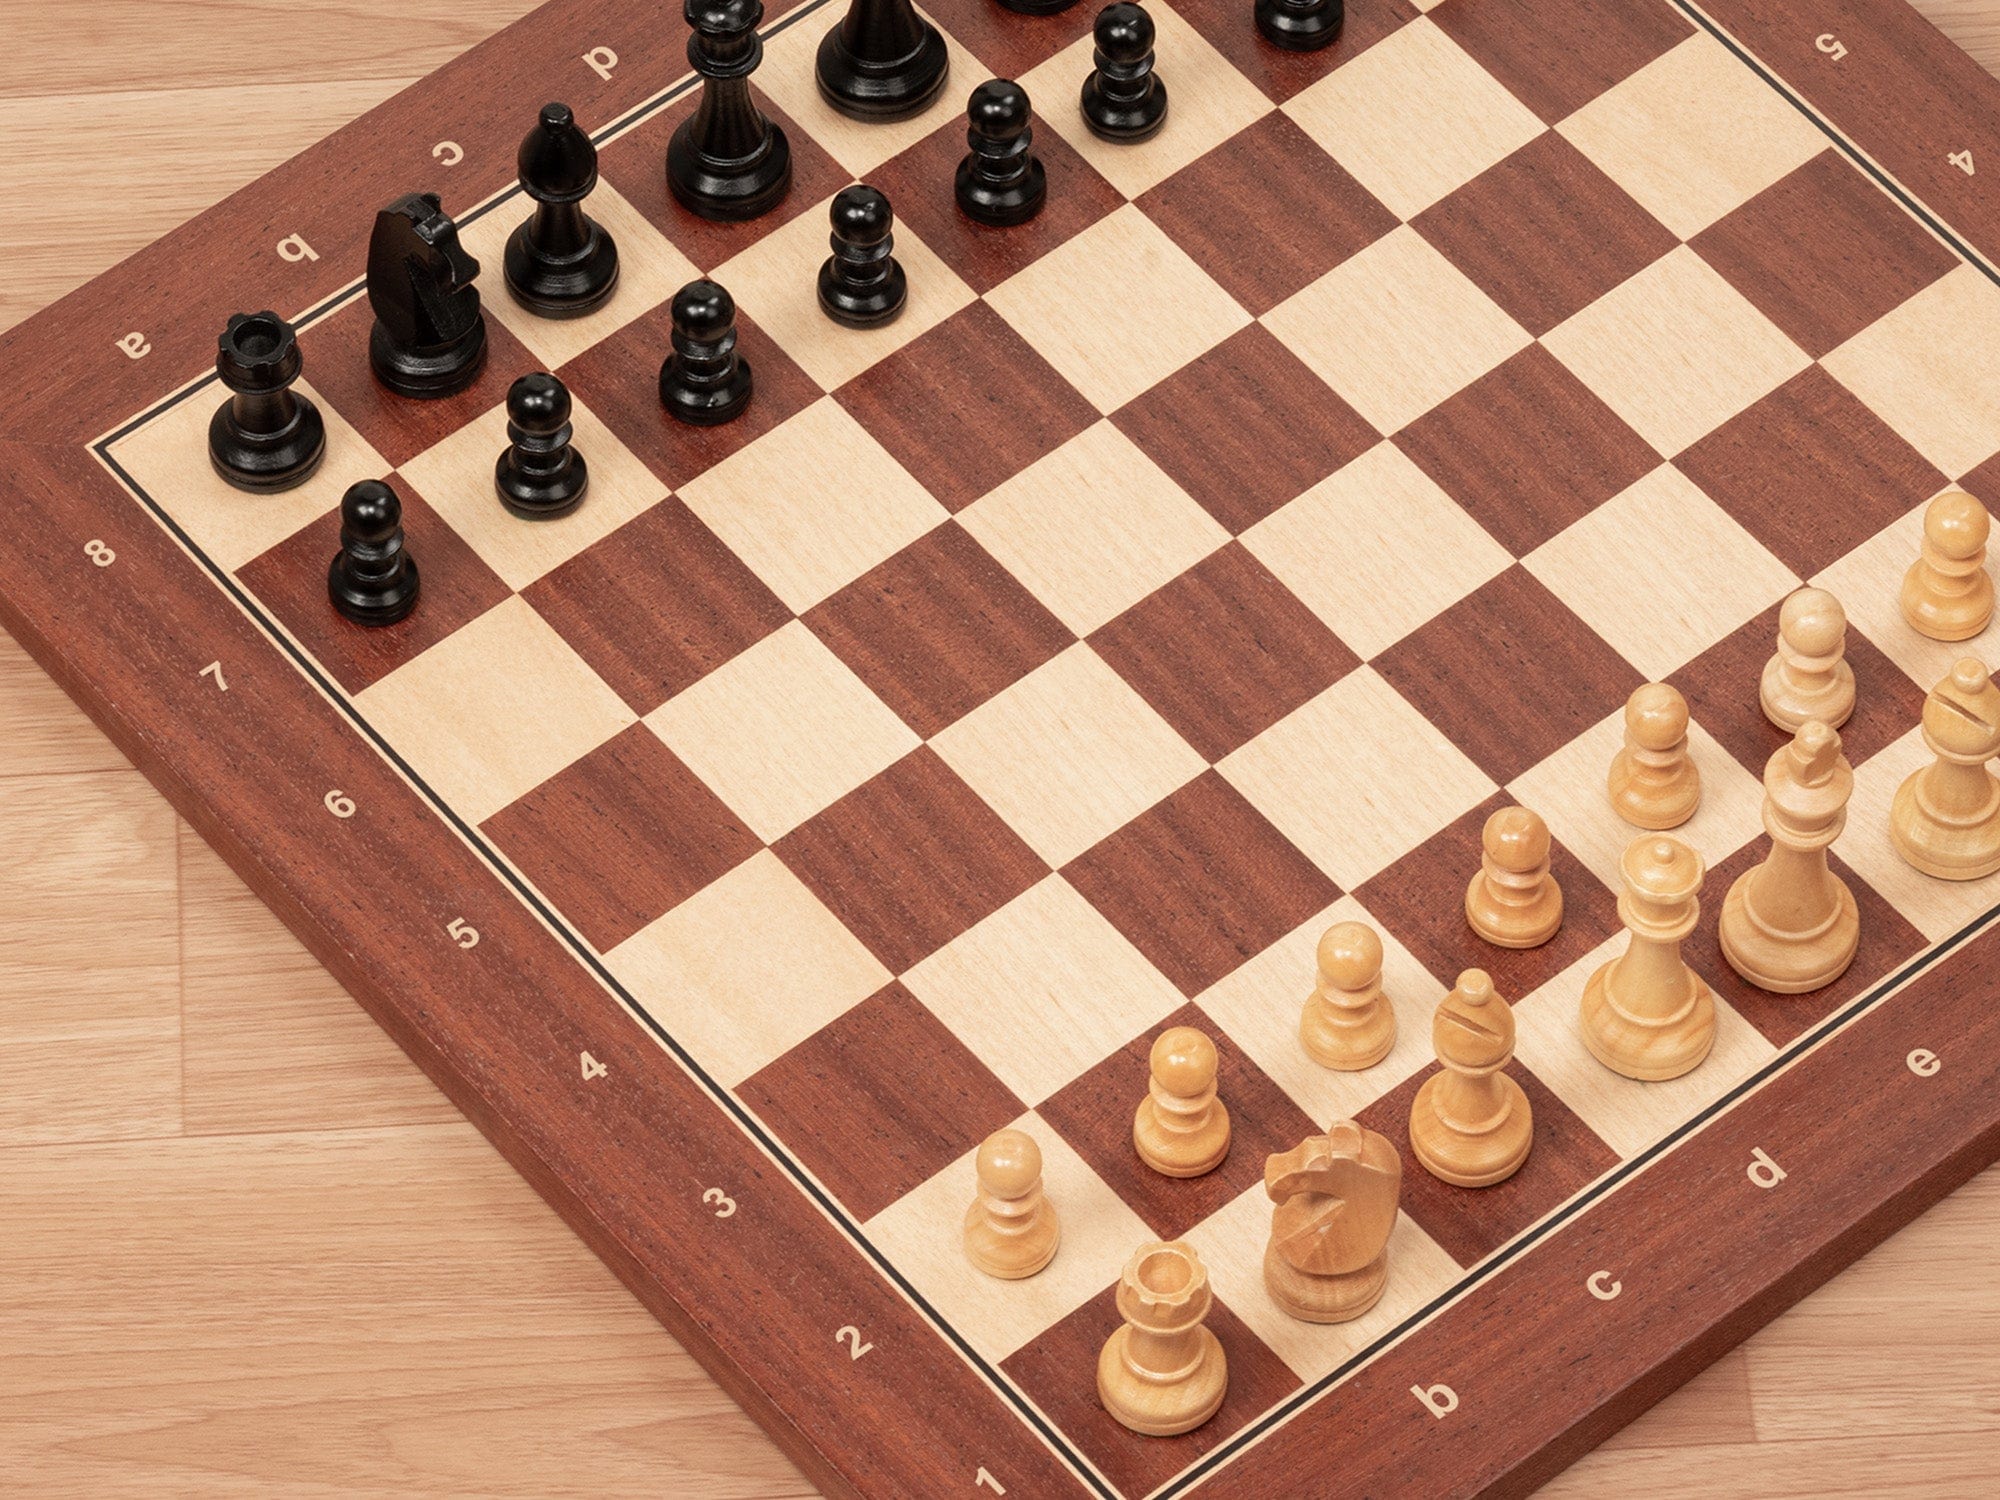
Exercise: Practice positions where you are a tempo or two ahead in advancing an outside pawn; set them up on a physical chess set and replay the forcing king routes to internalize the idea.
6. Zugzwang: the power of “no move”
Zugzwang arises when any legal move worsens a player's position. In king-and-pawn endings this is common and decisive. The side that can put the opponent in zugzwang will often force them into losing a pawn or stepping aside and allowing promotion.
Classic zugzwang pattern example (simple):
White: King on d6, pawn on d5. Black: King on e8, pawns blocked.
If it’s Black to move and every move loses (e.g., stepping to f8 allows White king to capture or advance pawn), Black is in zugzwang.
How to create zugzwang:
Use opposition and distant opposition to control tempo.
Centralize your king and position your pawn so any reply by the opponent opens lines or loses squares.
Convert by making waiting moves that preserve critical opposition until the opponent is forced to expose a weakness.
Zugzwang is a tactical weapon in quiet positions—look for it when kings near each other and one side has no useful pawn moves.
7. Basic winning and drawing setups (with move sequences)

Below are several standard setups you must recognize.
A. King and pawn vs King — outside pawn winning (example)
Position: White: King d4, pawn e4 on e4; Black: King e7
If White to move: Kxe5? No; but 1. Kd5! and White reaches key squares to escort e-pawn. Compute moves: 1.Kd5 Kd7 2.e5 Ke7 3.e6 Ke8 4.Kd6 Kd8 5.e7+ Ke8 6.Ke6 a draw? (Adjust specifics when rehearsing)
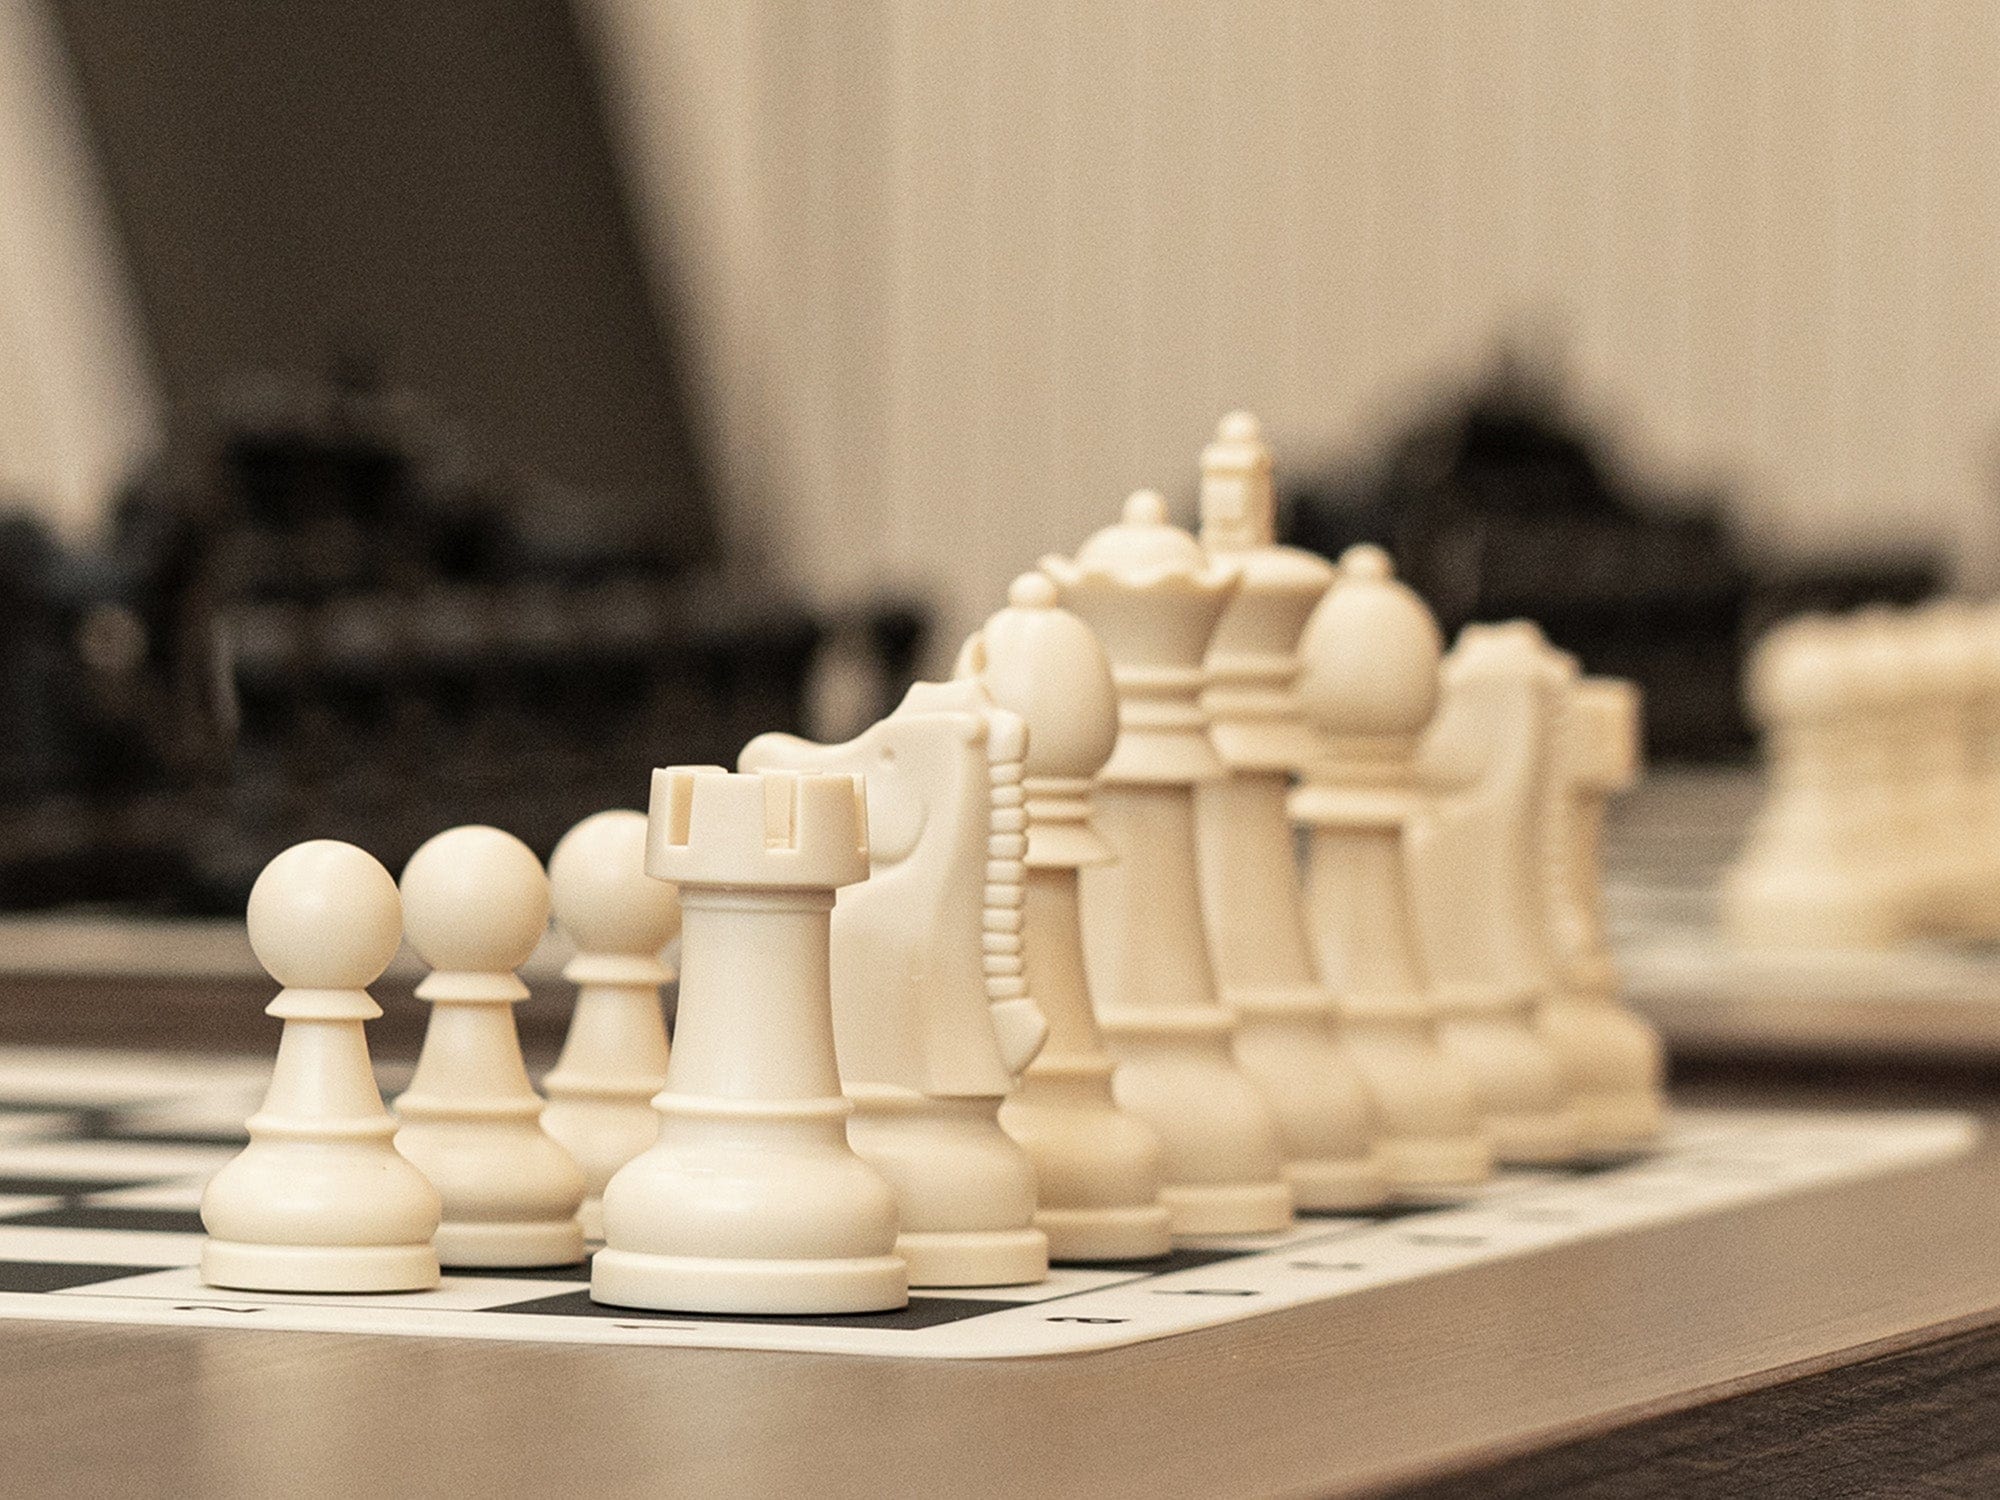
Practical move order exercise: Set up a simple pawn on e4 and practice marching your king to e6 or d6 to force promotion. Replaying these on a physical board with solid pieces (for example, weighted chess pieces) helps your visualization.
B. King and pawn vs King — the square rule (fast check)
The square rule tells you whether a lone pawn can promote before the enemy king catches it. Imagine a square from the pawn to the promotion square; if the opponent’s king is outside the square, the pawn promotes; if inside, king can catch it.
How to use it instantly: If a pawn is on e4 and needs 4 moves to queening, draw the square from e4 to e8 and see if the opposing king is inside.
C. Opposite-colored central pawn races (drawing technique)
When pawns are on opposite color squares, drawing techniques often apply because bishops are irrelevant. In king-and-pawn-only positions, opposite-colored pawn structure can simplify to a draw if the defender can trade into king and pawn vs king or blockade.
Example: Carefully calculate whether a passed pawn can be stopped by the king or whether sacrificing a pawn to create a passed pawn leads to a drawn bishopless capture race.
8. Lucena and Philidor (practical rookless analogies and context)
Although Lucena and Philidor are classic rook endgame names (Lucena is winning, Philidor is drawing), the ideas translate: when you have the pawn and the opponent's pieces are limited, building a "bridge" or keeping a defensive barrier matters. In pure king-and-pawn endgames the analogies are:
Lucena idea (building a path): If you can create a path for your king and pawn (or use tempo to force the opponent to the wrong side), you promote.
Philidor idea (stalemate/drawing resource): If you can keep the opponent from penetrating and use opposition/waiting moves, you force a draw.
For club play, memorize the core patterns in king-pawn endings first; borrow the Lucena/Philidor mindset for planning against rook/major piece transitions.
9. Practical drills and training routine
A consistent training routine accelerates improvement. Here’s a high-impact plan focused on king and pawn endings:
Daily (20–30 minutes):
10 minutes: Opposition and key-square drills on a physical board.
10 minutes: Pawn race exercises (square rule & outside passed pawn).
10 minutes: Solve 5 endgame puzzles that require conversion or defense.
Weekly (2–3 hours total):
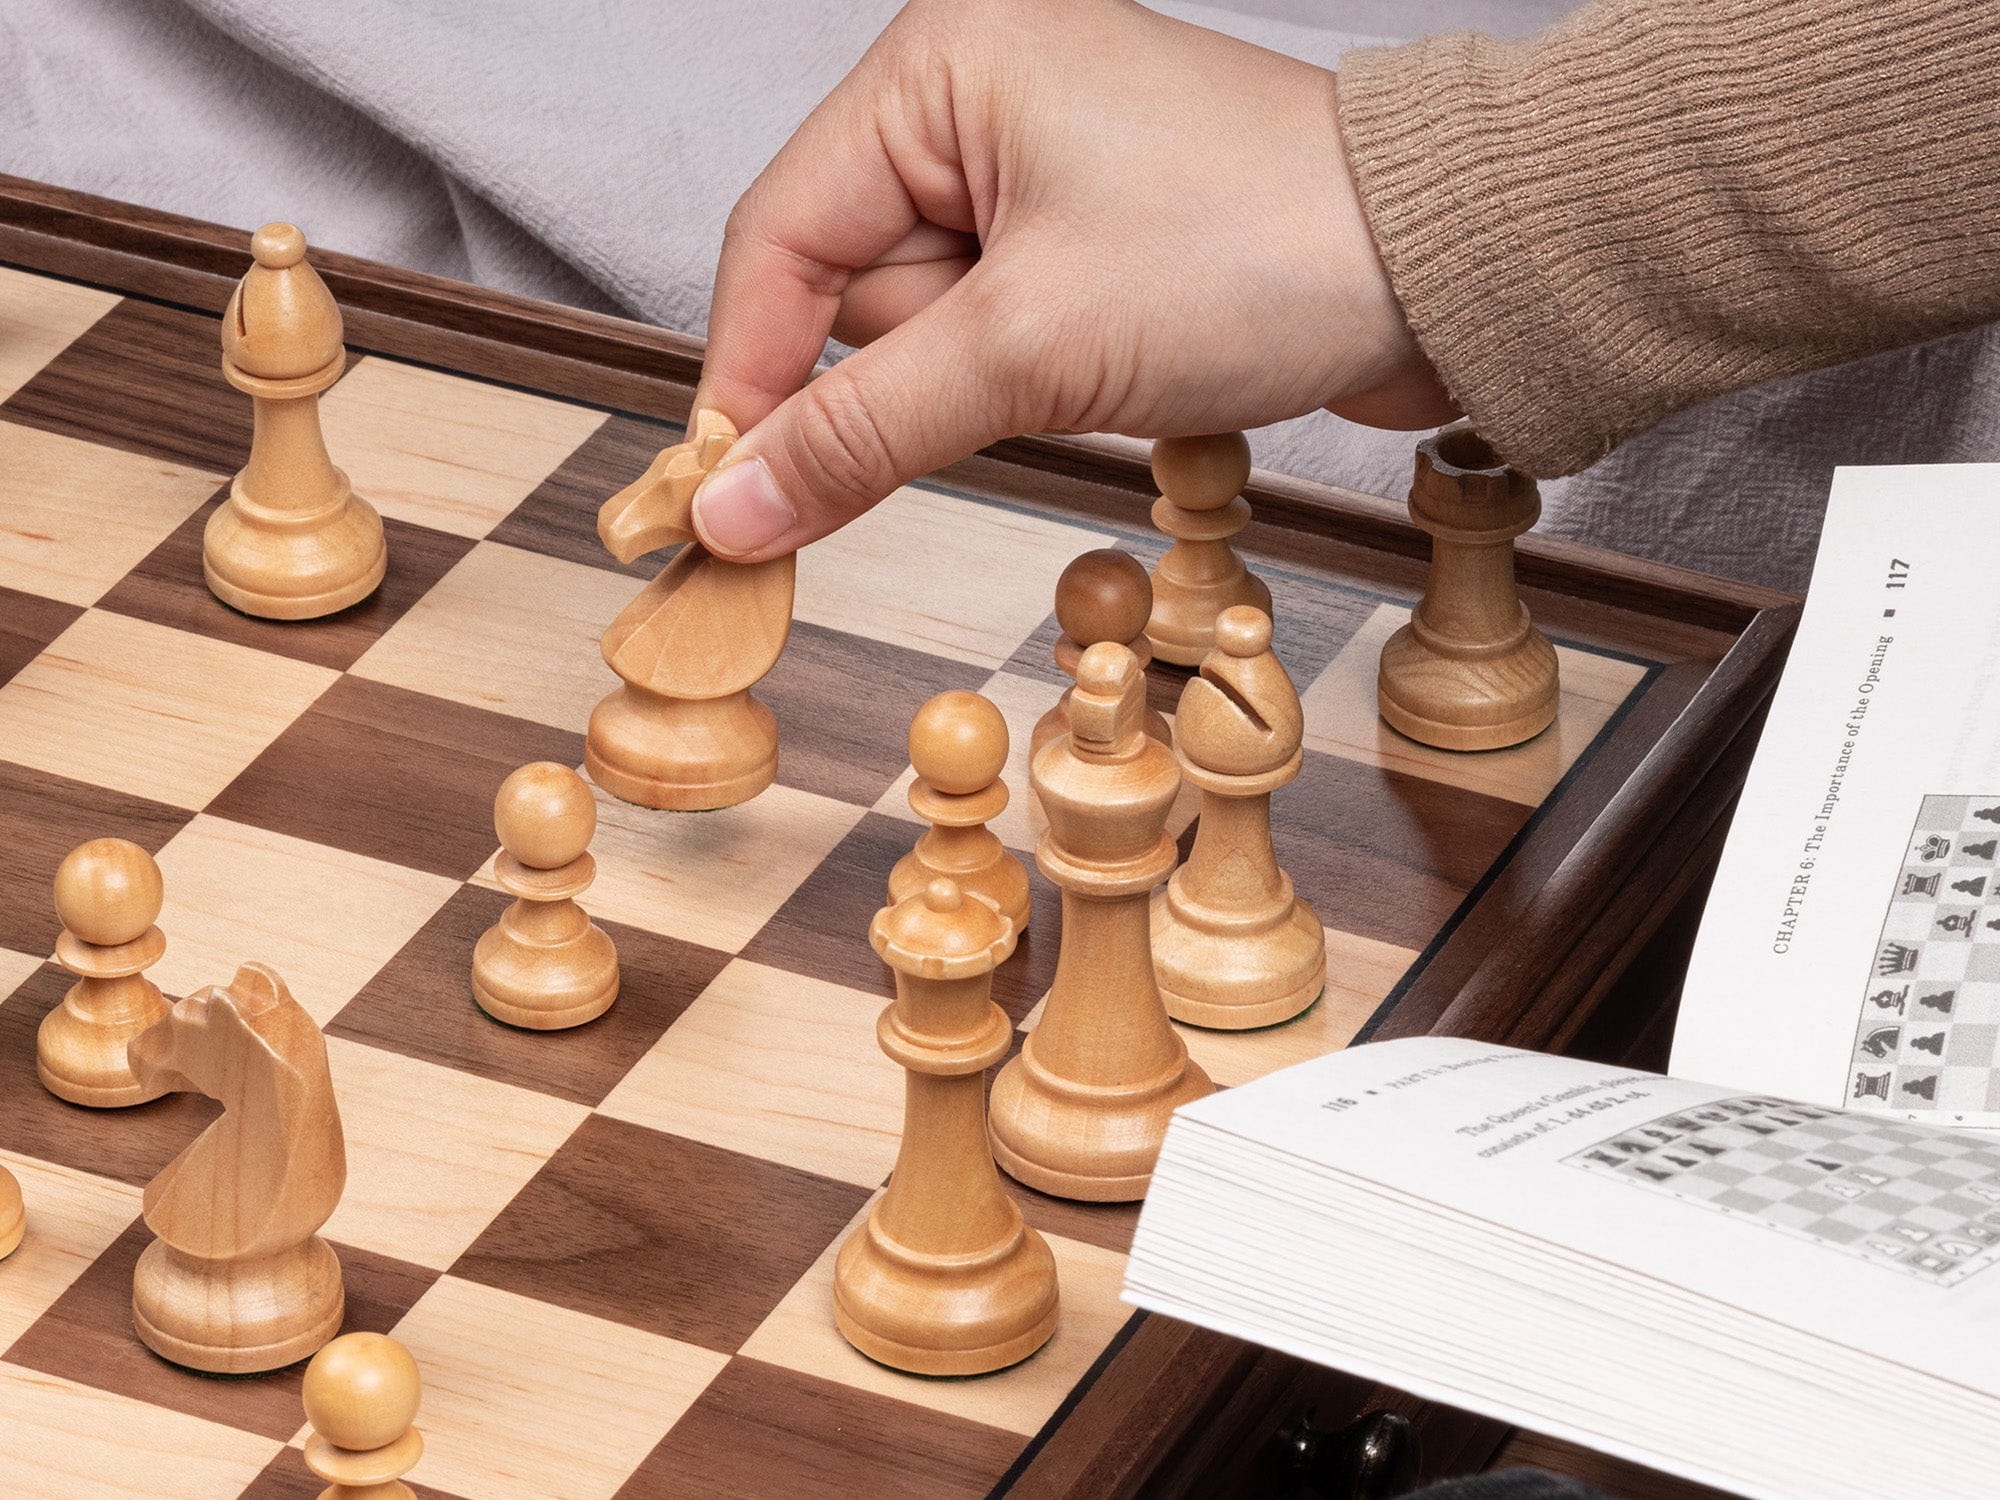
Replay 6 classic endgames from books or online (e.g., Capablanca or Nimzowitsch examples). Use a physical chess set to move pieces as you analyze.
Annotate one lost game and check if you missed an endgame conversion line.
Monthly:
Play longer time-control games and aim to reach king-and-pawn endings deliberately to test your technique.
Equipment tip: A sturdy chess set and weighted chess pieces are small investments that yield better training focus because tactile repetition is more pleasant and accurate.
10. Common traps and how to avoid them
Trap 1 — Miscounting tempo in pawn races: Always count moves precisely (use the square rule).
Fix: Write down move sequence or play it out on the board.
Trap 2 — Giving up opposition too early: Stepping away from opposition without calculating consequences often loses key squares.
Fix: If opponent can take opposition on the next move, compute whether that returns to parity.
Trap 3 — Overlooking outside passed pawn resource: Dismissing a flank pawn as irrelevant can cost the game.
Fix: Evaluate every pawn as a potential outside passed pawn, especially when kings are centralized.
Trap 4 — Forcing a draw by stalemate oversight: In pawn endings, promotion threats can become stalemates if you’re careless.
Fix: Before queening, check for opponent stalemate resources and use a waiting move if necessary.
11. A quick reference table: conversion & saving rules
| Situation | Likely result | Key test |
|---|---|---|
| King + pawn (central) vs King, attacking king in front | Win if opposition & key squares reachable | Can king reach key squares first? |
| Outside passed pawn vs central pawn | Often win for outside pawn side | Can defender’s king chase outside pawn without losing other front? |
| Pawn race with equal tempos | Draw/Depends | Use square rule and count moves |
| Opposite-colored kings & single pawn | Often draw | Blockade and waiting moves |
| Pawn on 7th rank with opposing king nearby | Win if not stalemate trap | Prepare promotion carefully |
12. FAQ — short answers to common questions
Q: How do I quickly check if my pawn will queen?
A: Use the square rule: if the opposing king is outside the square, the pawn queens.
Q: When should I trade into king-and-pawn endgames?
A: Trade when you can secure opposition or reach key squares faster than your opponent; avoid trades if you’re behind in king activity.
Q: Can an outside passed pawn always win?
A: Not always; it wins when it forces the opponent’s king away and you can use that time to advance another pawn or penetrate. Evaluate king paths.
Q: What is the single most important skill for endgames?
A: Accurate counting of tempi and knowing opposition/key squares. Practice makes these calculations immediate.
13. Conclusion: a 30-minute study plan to improve quickly
If you have 30 minutes today, follow this checklist:
5 minutes — Quick review: definitions of opposition, key squares, and zugzwang.
10 minutes — Drill the square rule on three pawn positions (use a chess set).
10 minutes — Play through an outside passed pawn example and practice king penetration. Use stable chess pieces so you can focus on calculation.
5 minutes — Note one recurring mistake from your own games to fix next week.
Investing a few short, focused sessions weekly will dramatically increase your endgame conversion rates. If you need a portable, clear board for practice, check the curated options at the AA Chess store (their chess sets and chess pieces are designed for repeatable training).
Dejar un comentario
Este sitio está protegido por hCaptcha y se aplican la Política de privacidad de hCaptcha y los Términos del servicio.